Who uses this: Admins building their first Zap with FieldPulse. Availability: All regions; requires a Zapier account.This walkthrough builds one Zap end to end: a new row in a Google Sheet creates a lead in FieldPulse. It’s a common lead-capture setup — a “Contact Us” form on your website, Facebook, or Instagram writes to a Google Sheet, and the Zap turns each new row into a FieldPulse lead automatically. The order you connect the apps in matters: the source app (Google Sheets) has to come first, then FieldPulse.
Overview
Zapier connects two apps so an event in one triggers an action in the other. In this example, FieldPulse is the receiving app: it pulls in customer records as leads, which land under Company Settings > Customers > Leads. Google Sheets is the trigger app, and its trigger event is a new spreadsheet row. Once you’ve built this Zap, you can repeat the same pattern with any app Zapier supports. New to Zaps? Start with the Zapier Overview for what triggers and actions are.Before you begin
- You need a Zapier account. If you don’t have one, create one at zapier.com.
- Have the source app ready — in this example, a Google Sheet where new rows represent new leads.
- Know which Google Sheet columns map to which FieldPulse lead fields (for example, which column holds the first name).
Build the Zap
- Log in to your Zapier account and start a new Zap.
-
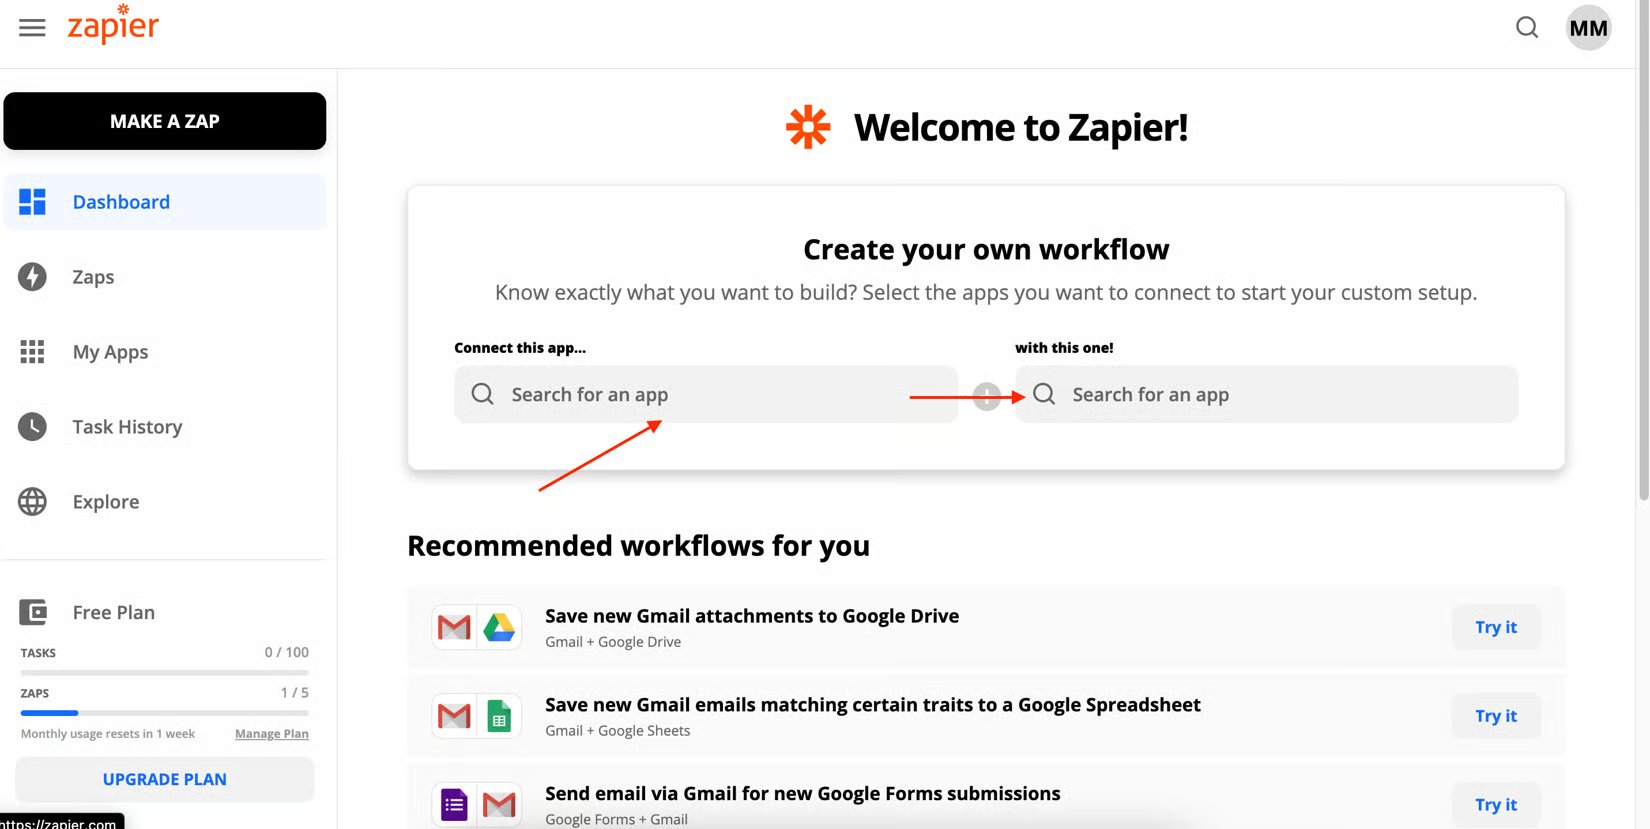
Search for and select the app you’re connecting to FieldPulse first — in this example, Google Sheets — then FieldPulse as the second app. Connect them in this order: the source app first, FieldPulse second.
-
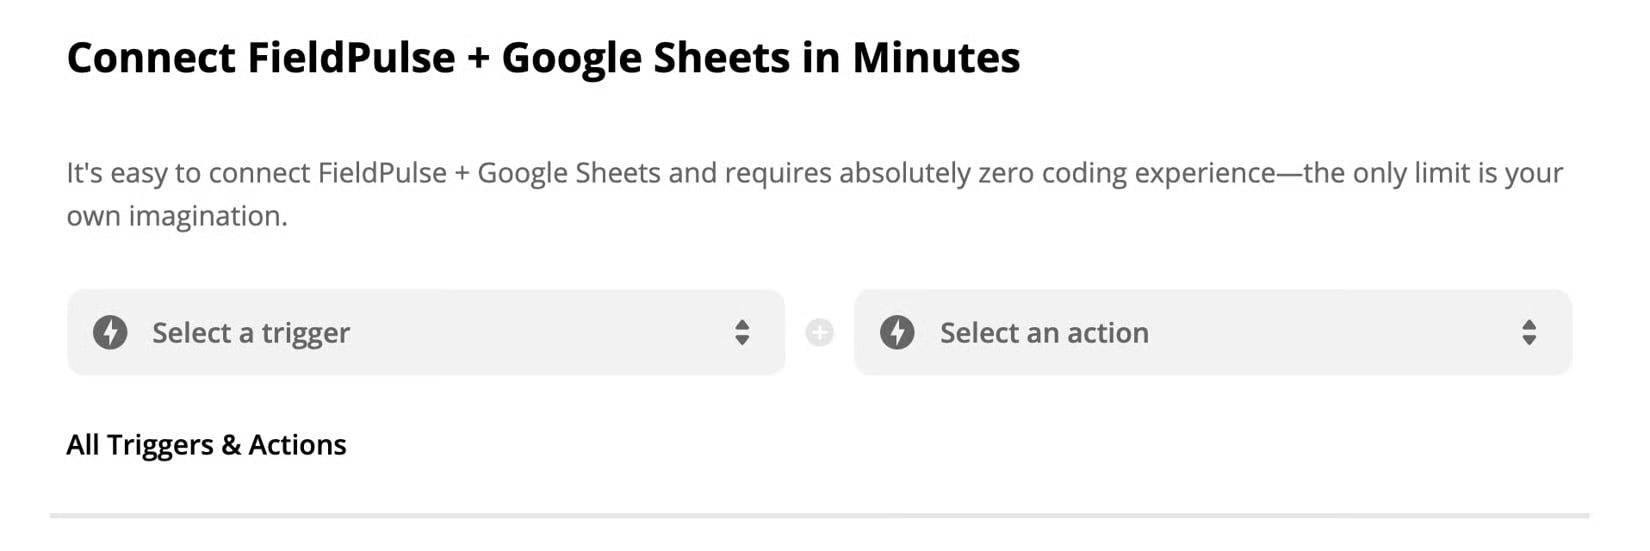
Choose the trigger — the event in Google Sheets that starts the Zap. For this example, select New Spreadsheet Row.
-
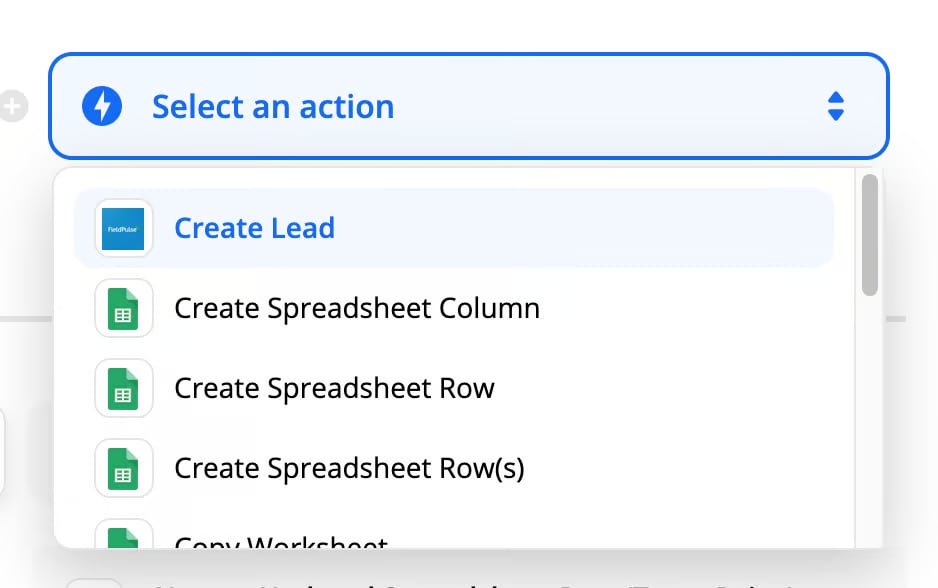
Choose the action — what FieldPulse does in response. Because FieldPulse is the receiving app, select Create Lead.
-
Select Connect Google Sheets + FieldPulse to link the two apps.
-
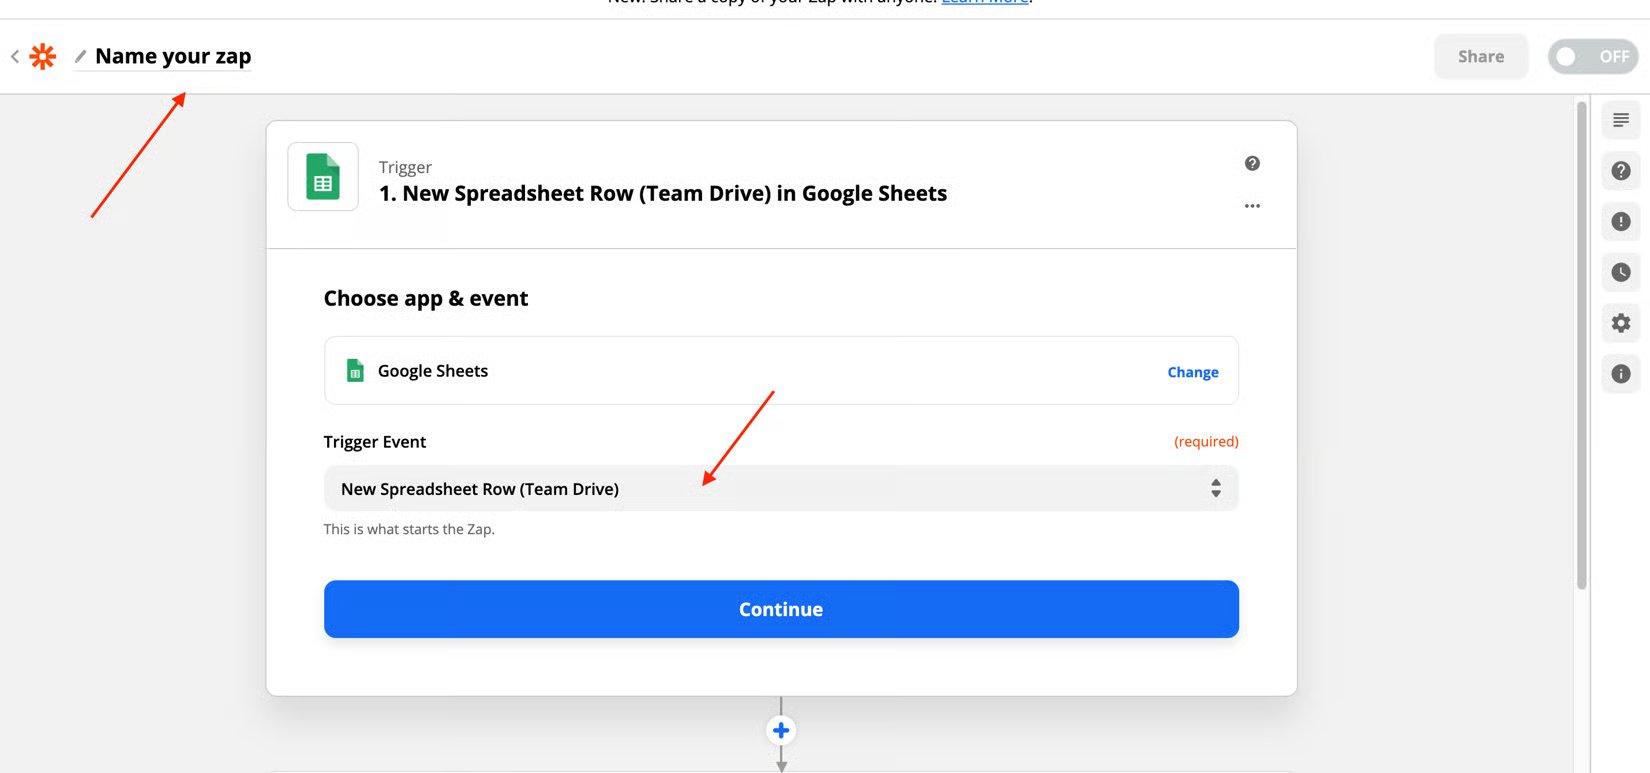
Name your Zap so you can find it later, confirm the trigger event is New Spreadsheet Row, and select Continue.
-
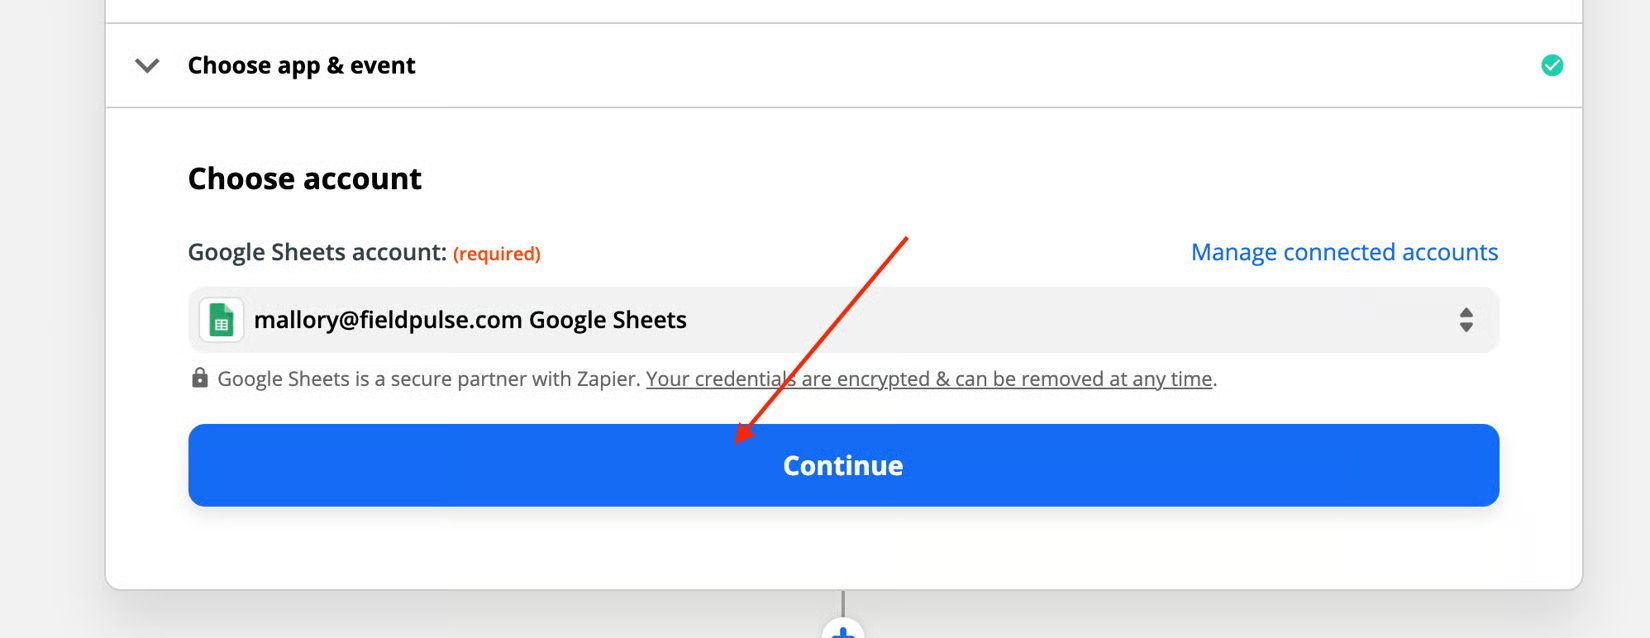
Choose the Google account to connect (or + Connect a New Account), then select Continue.
- Fill in the remaining trigger options for Google Sheets, then select To Continue, Finish Required Fields.
-
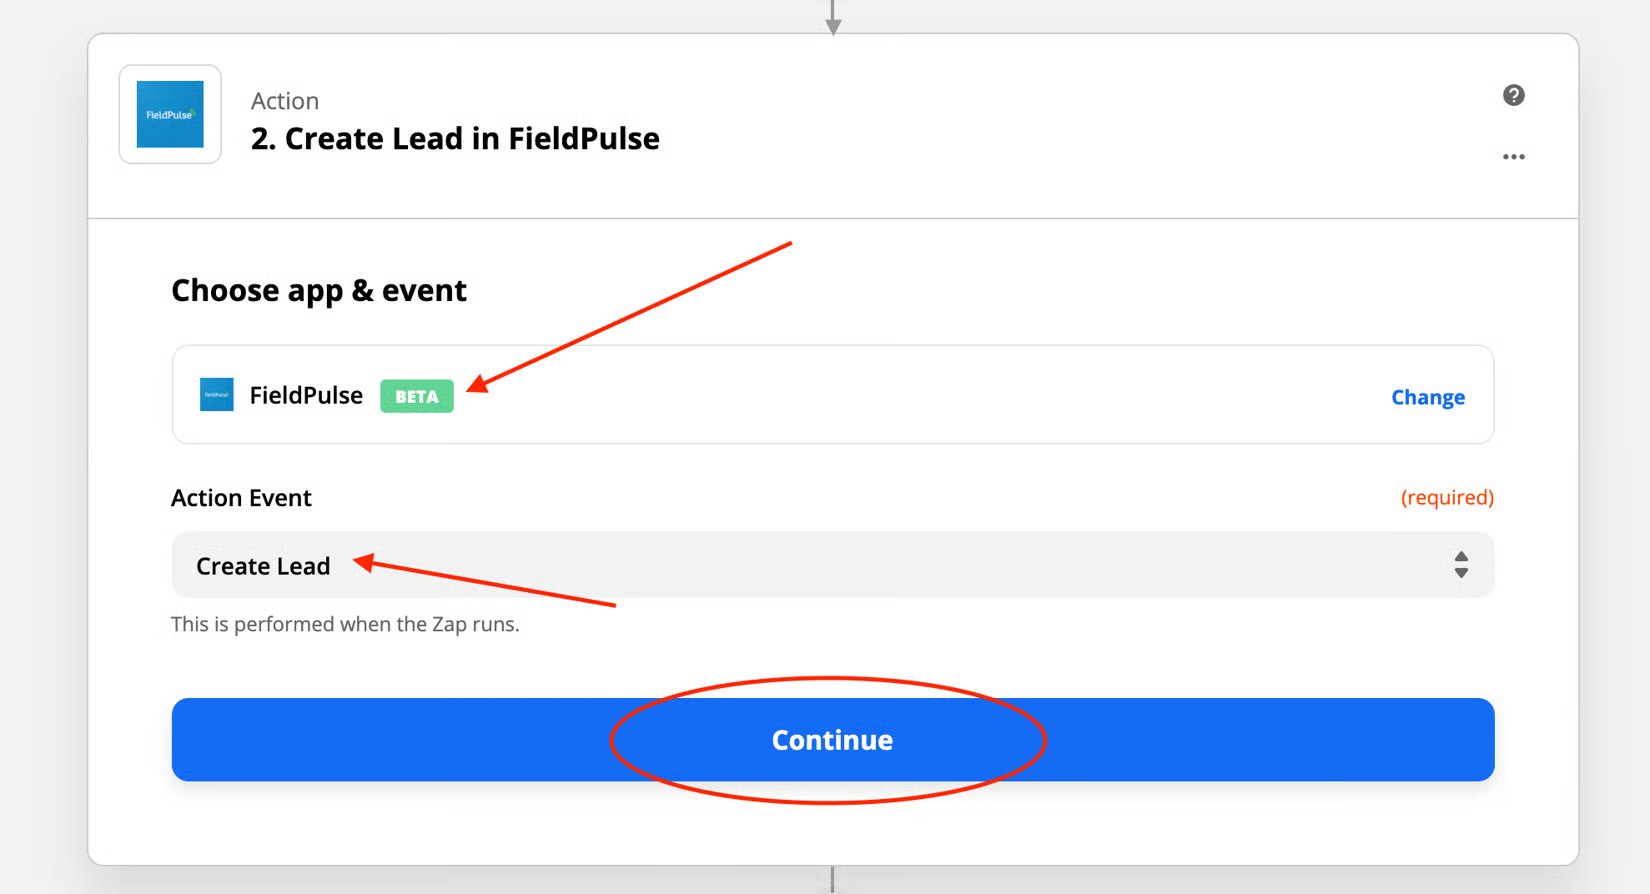
Select the FieldPulse account to connect and confirm the Action Event is Create Lead, then select Continue.
-
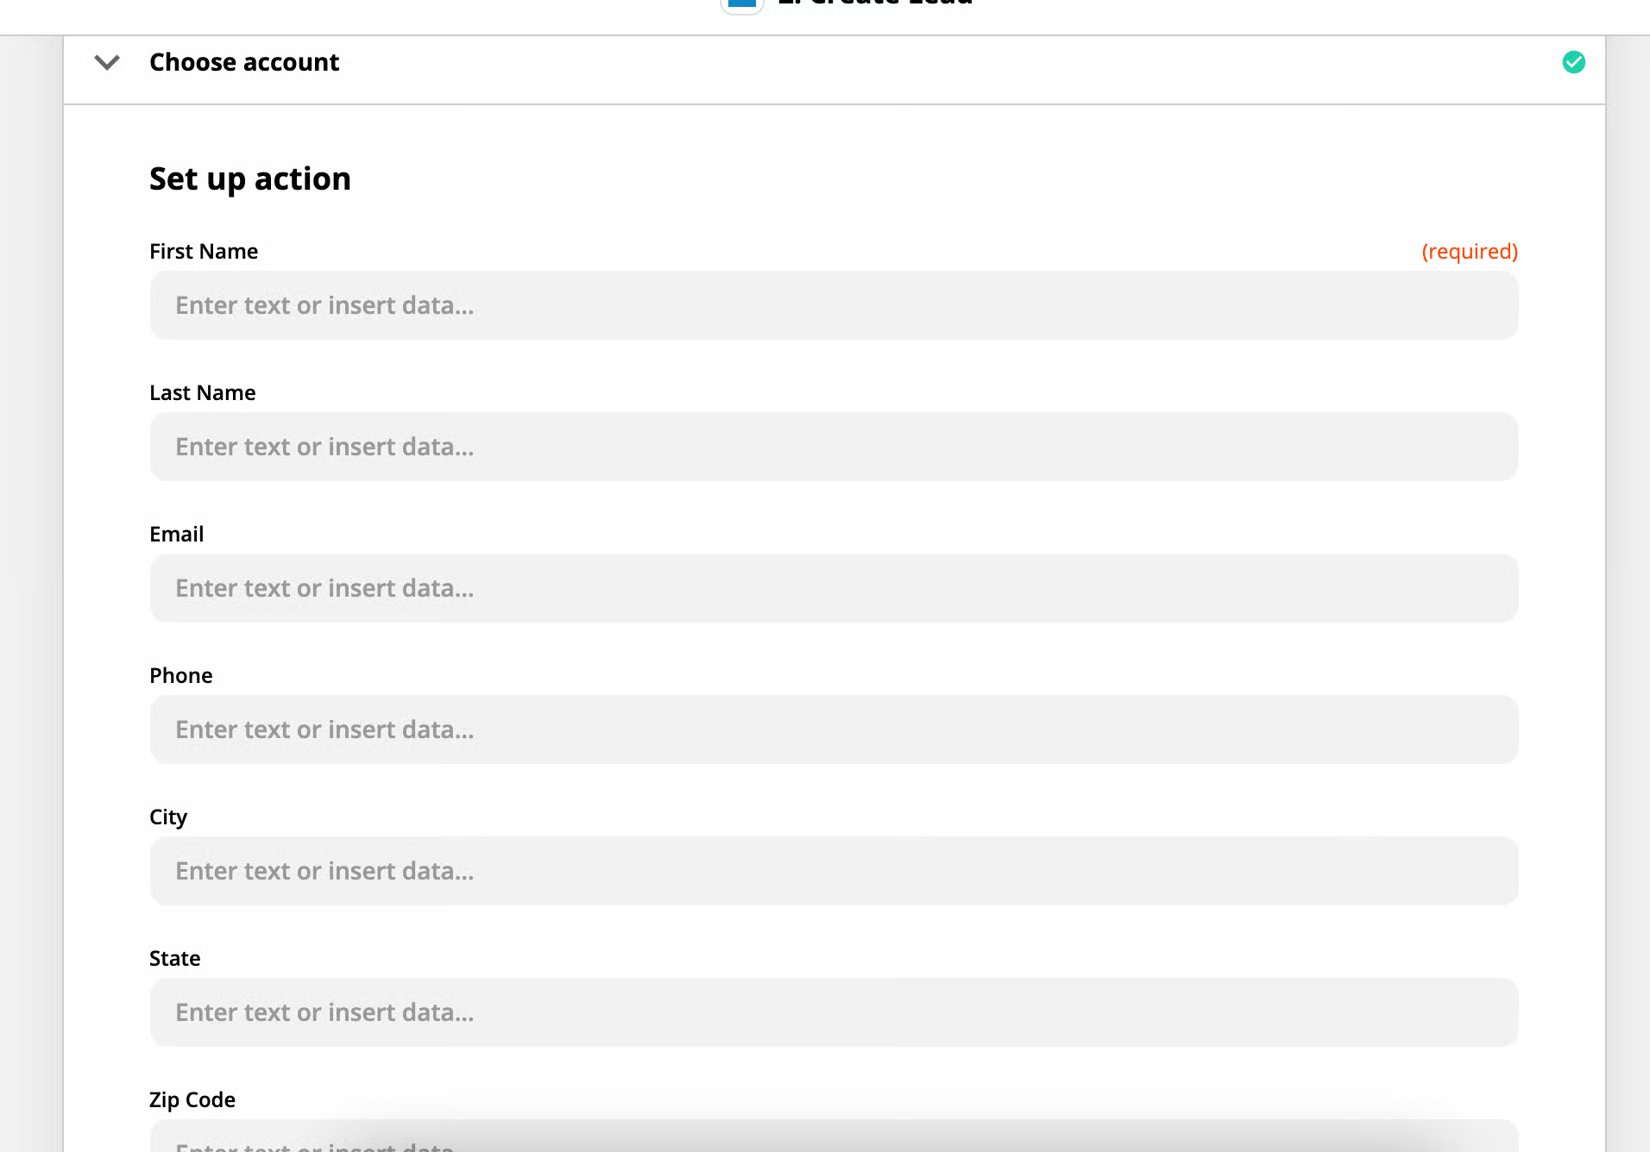
Map the fields: for each FieldPulse lead field, pick the Google Sheet column that fills it. For example, select First Name, then choose the spreadsheet column whose values should populate the FieldPulse First Name field.
-
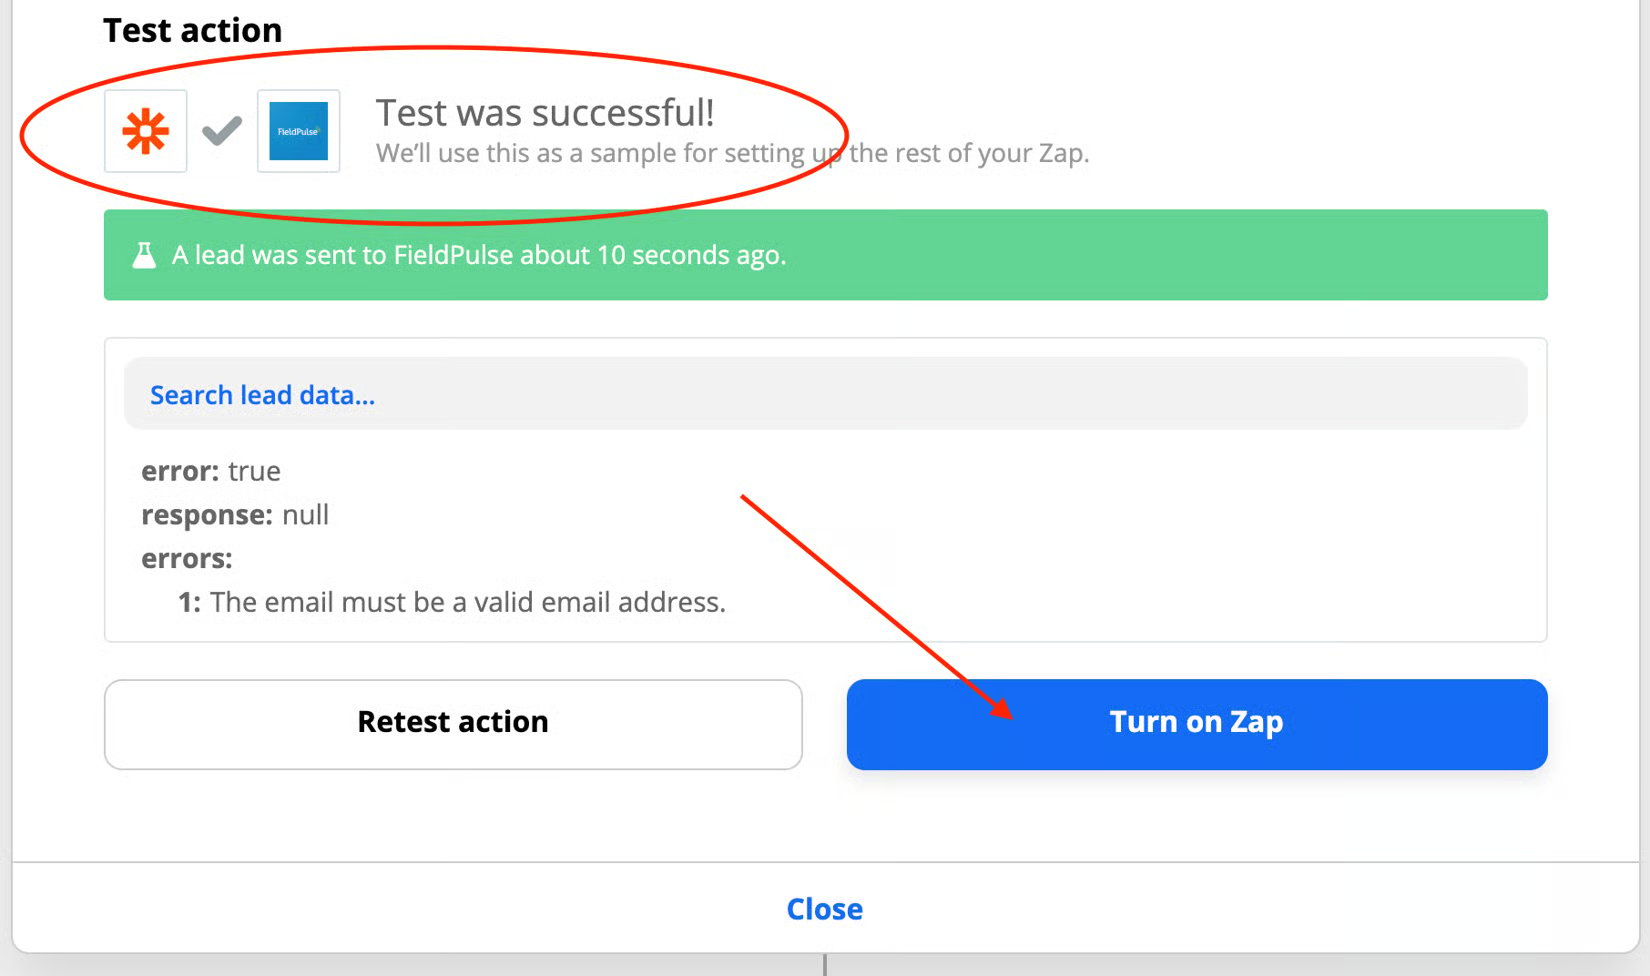
On the Test Action screen, run the test to confirm the data flows from the Google Sheet into FieldPulse the way you want.
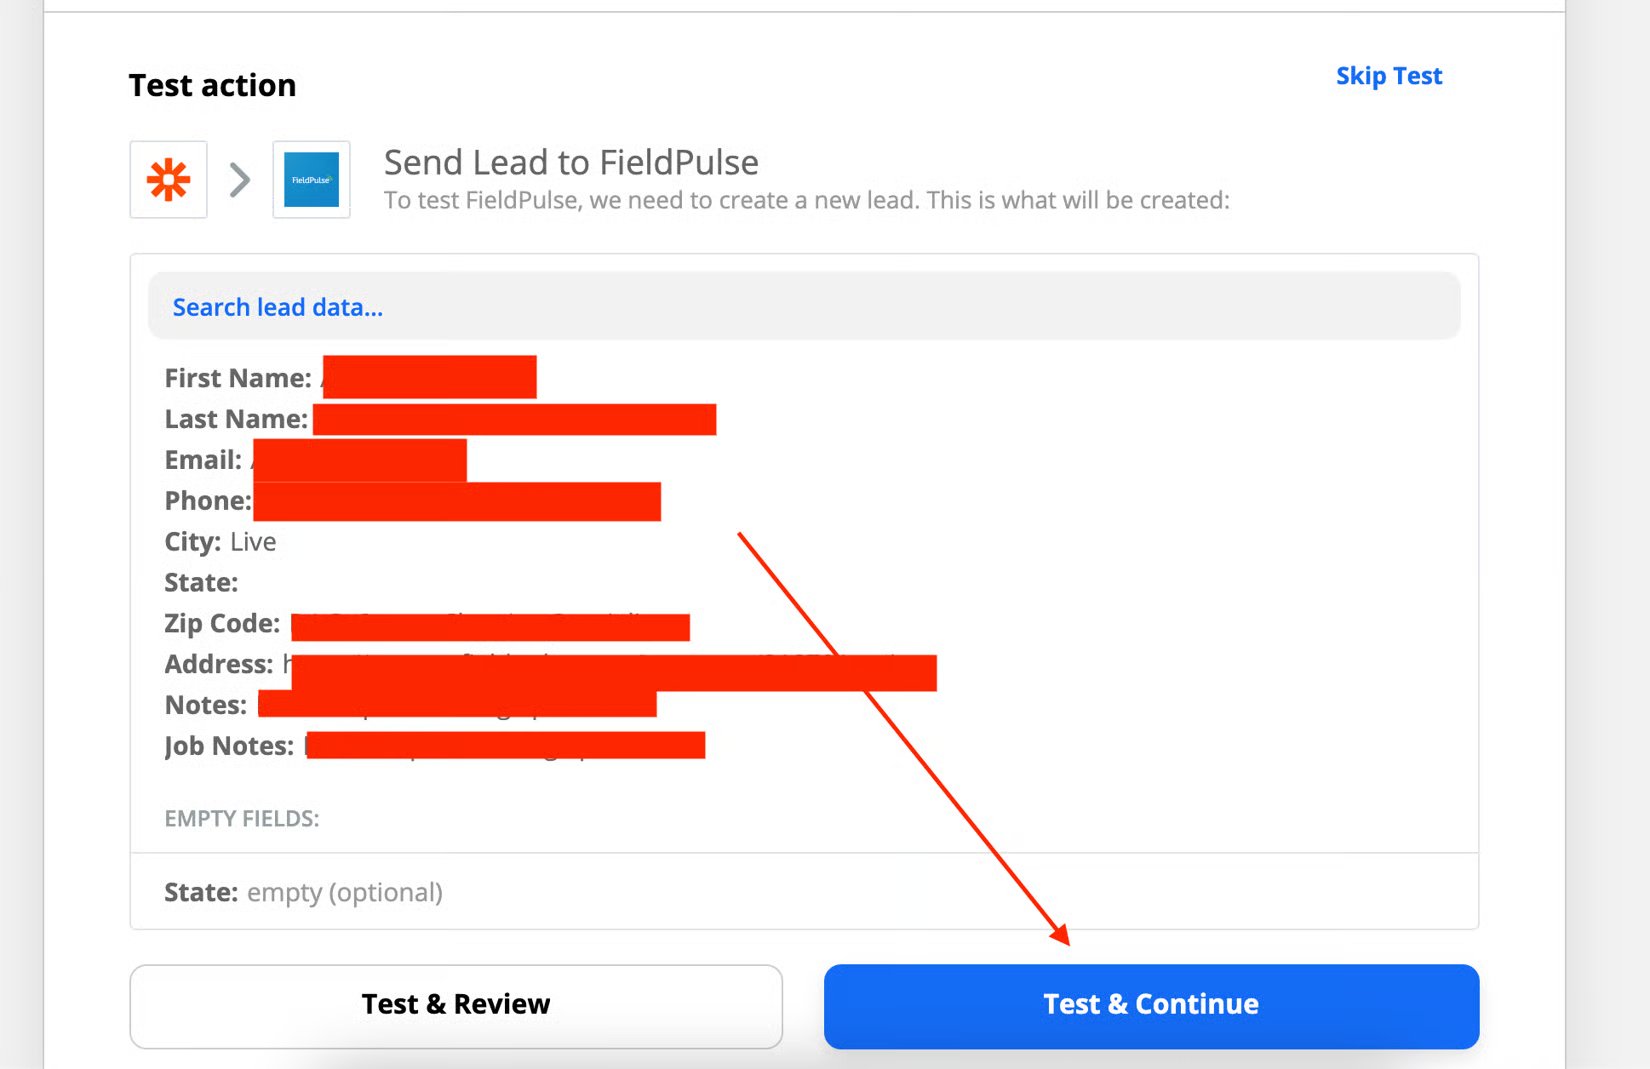
- When the screen reads Test was Successful!, select Turn on Zap. The connection is now live.