
Who uses this: Admins and Team Managers hold the Create & send Estimates/Invoices permission by default, and an Admin can enable it for a Service Agent. Availability: All regions.Estimate options let you put several priced choices on one estimate — a Good, Better, Best layout, a Repair, Replace, Upgrade layout, or whatever set of choices you want to present. Add-on options are extras the customer can add on top of the option they choose, such as a maintenance agreement or an upgraded part. The customer makes both selections themselves on the estimate you send.
Overview
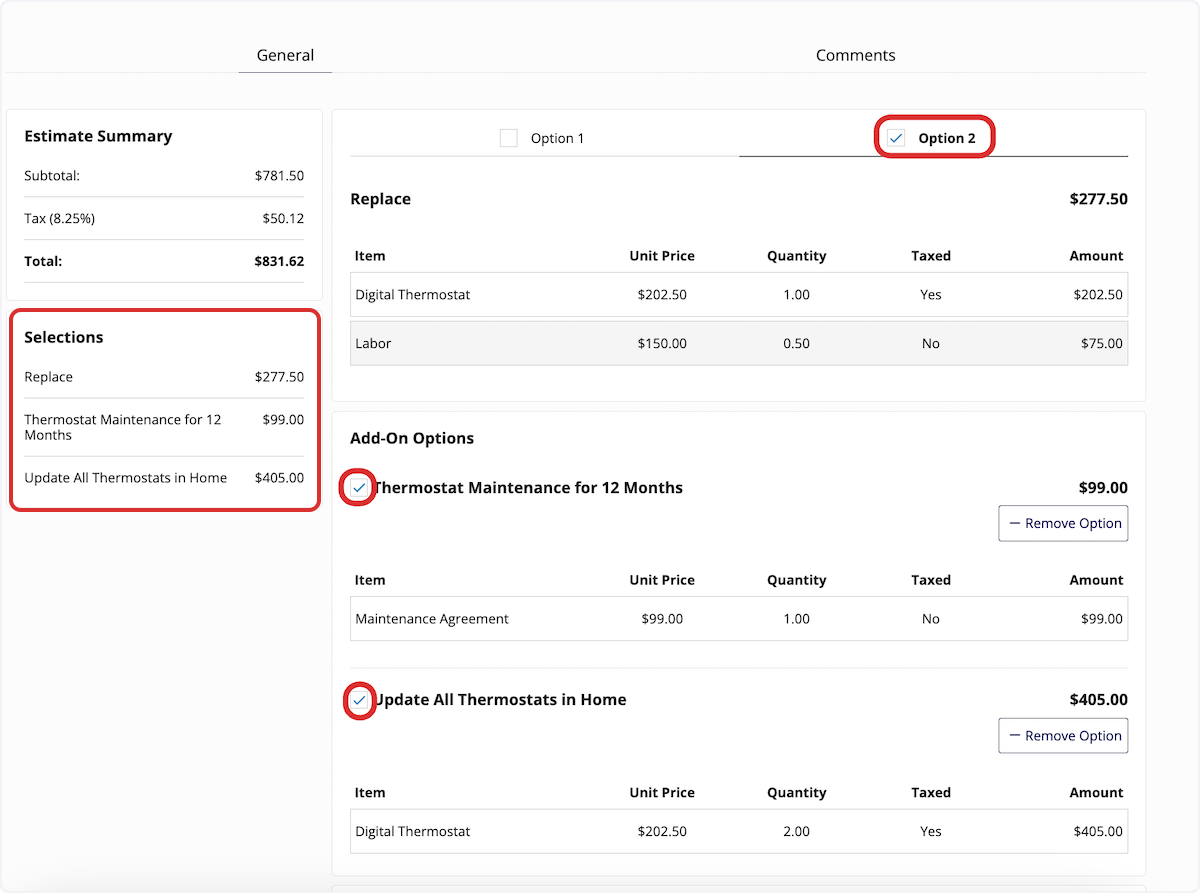
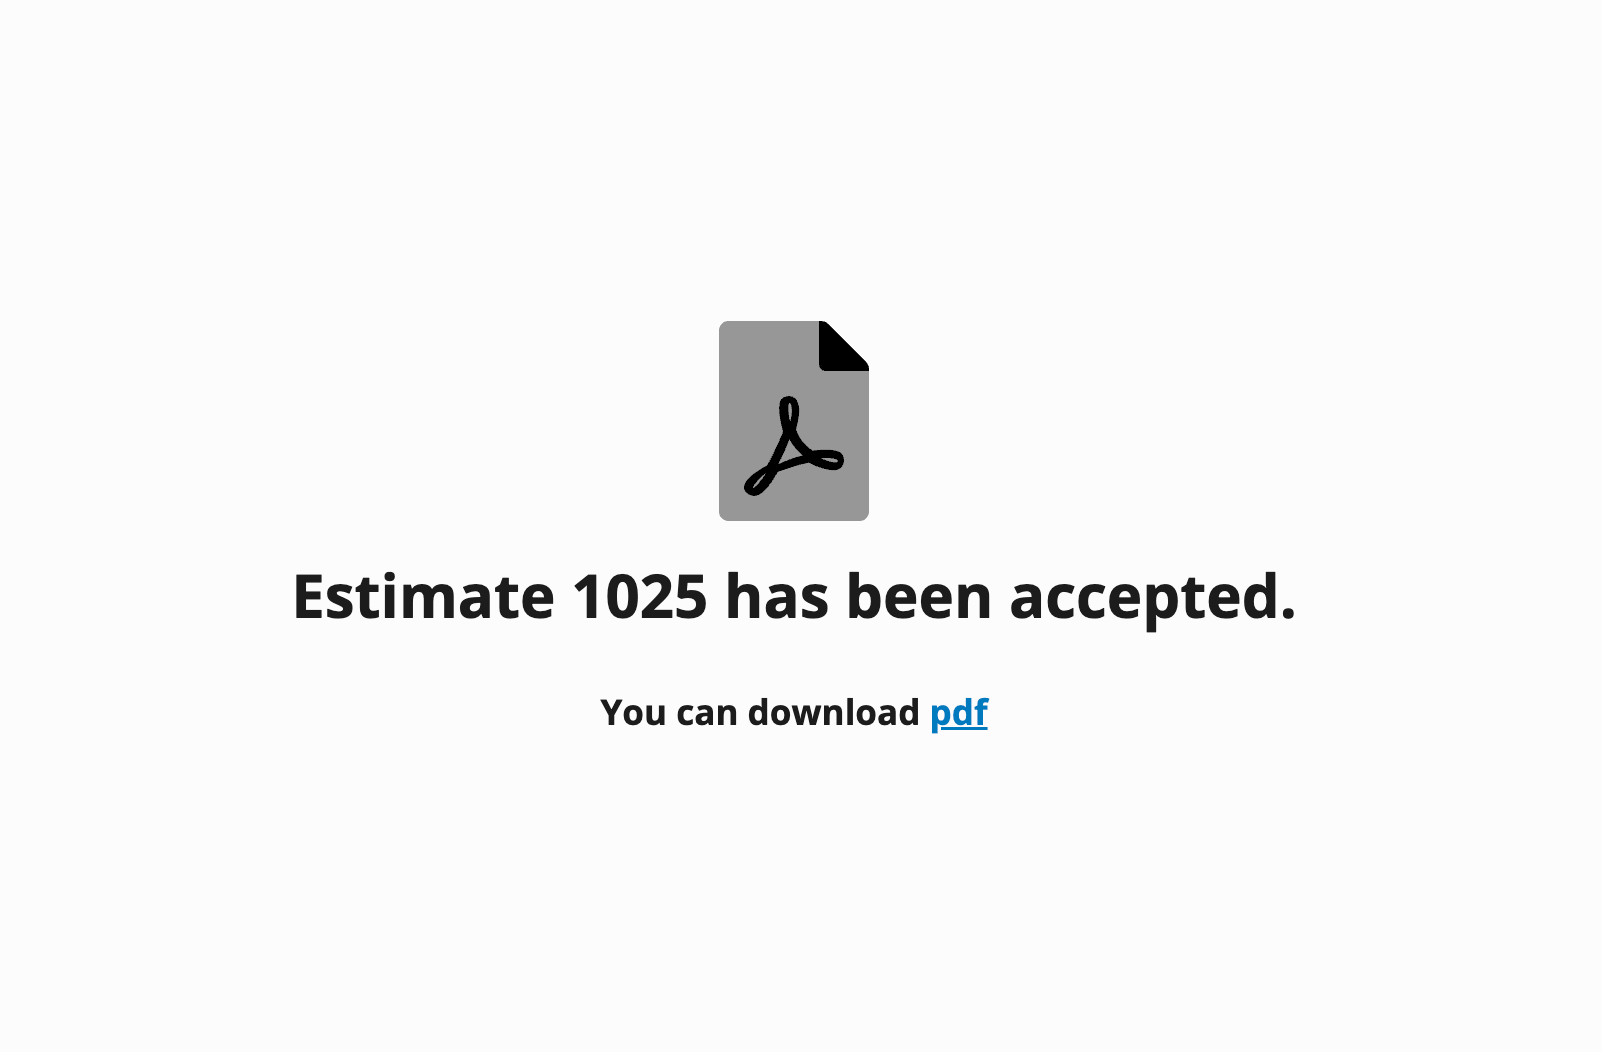
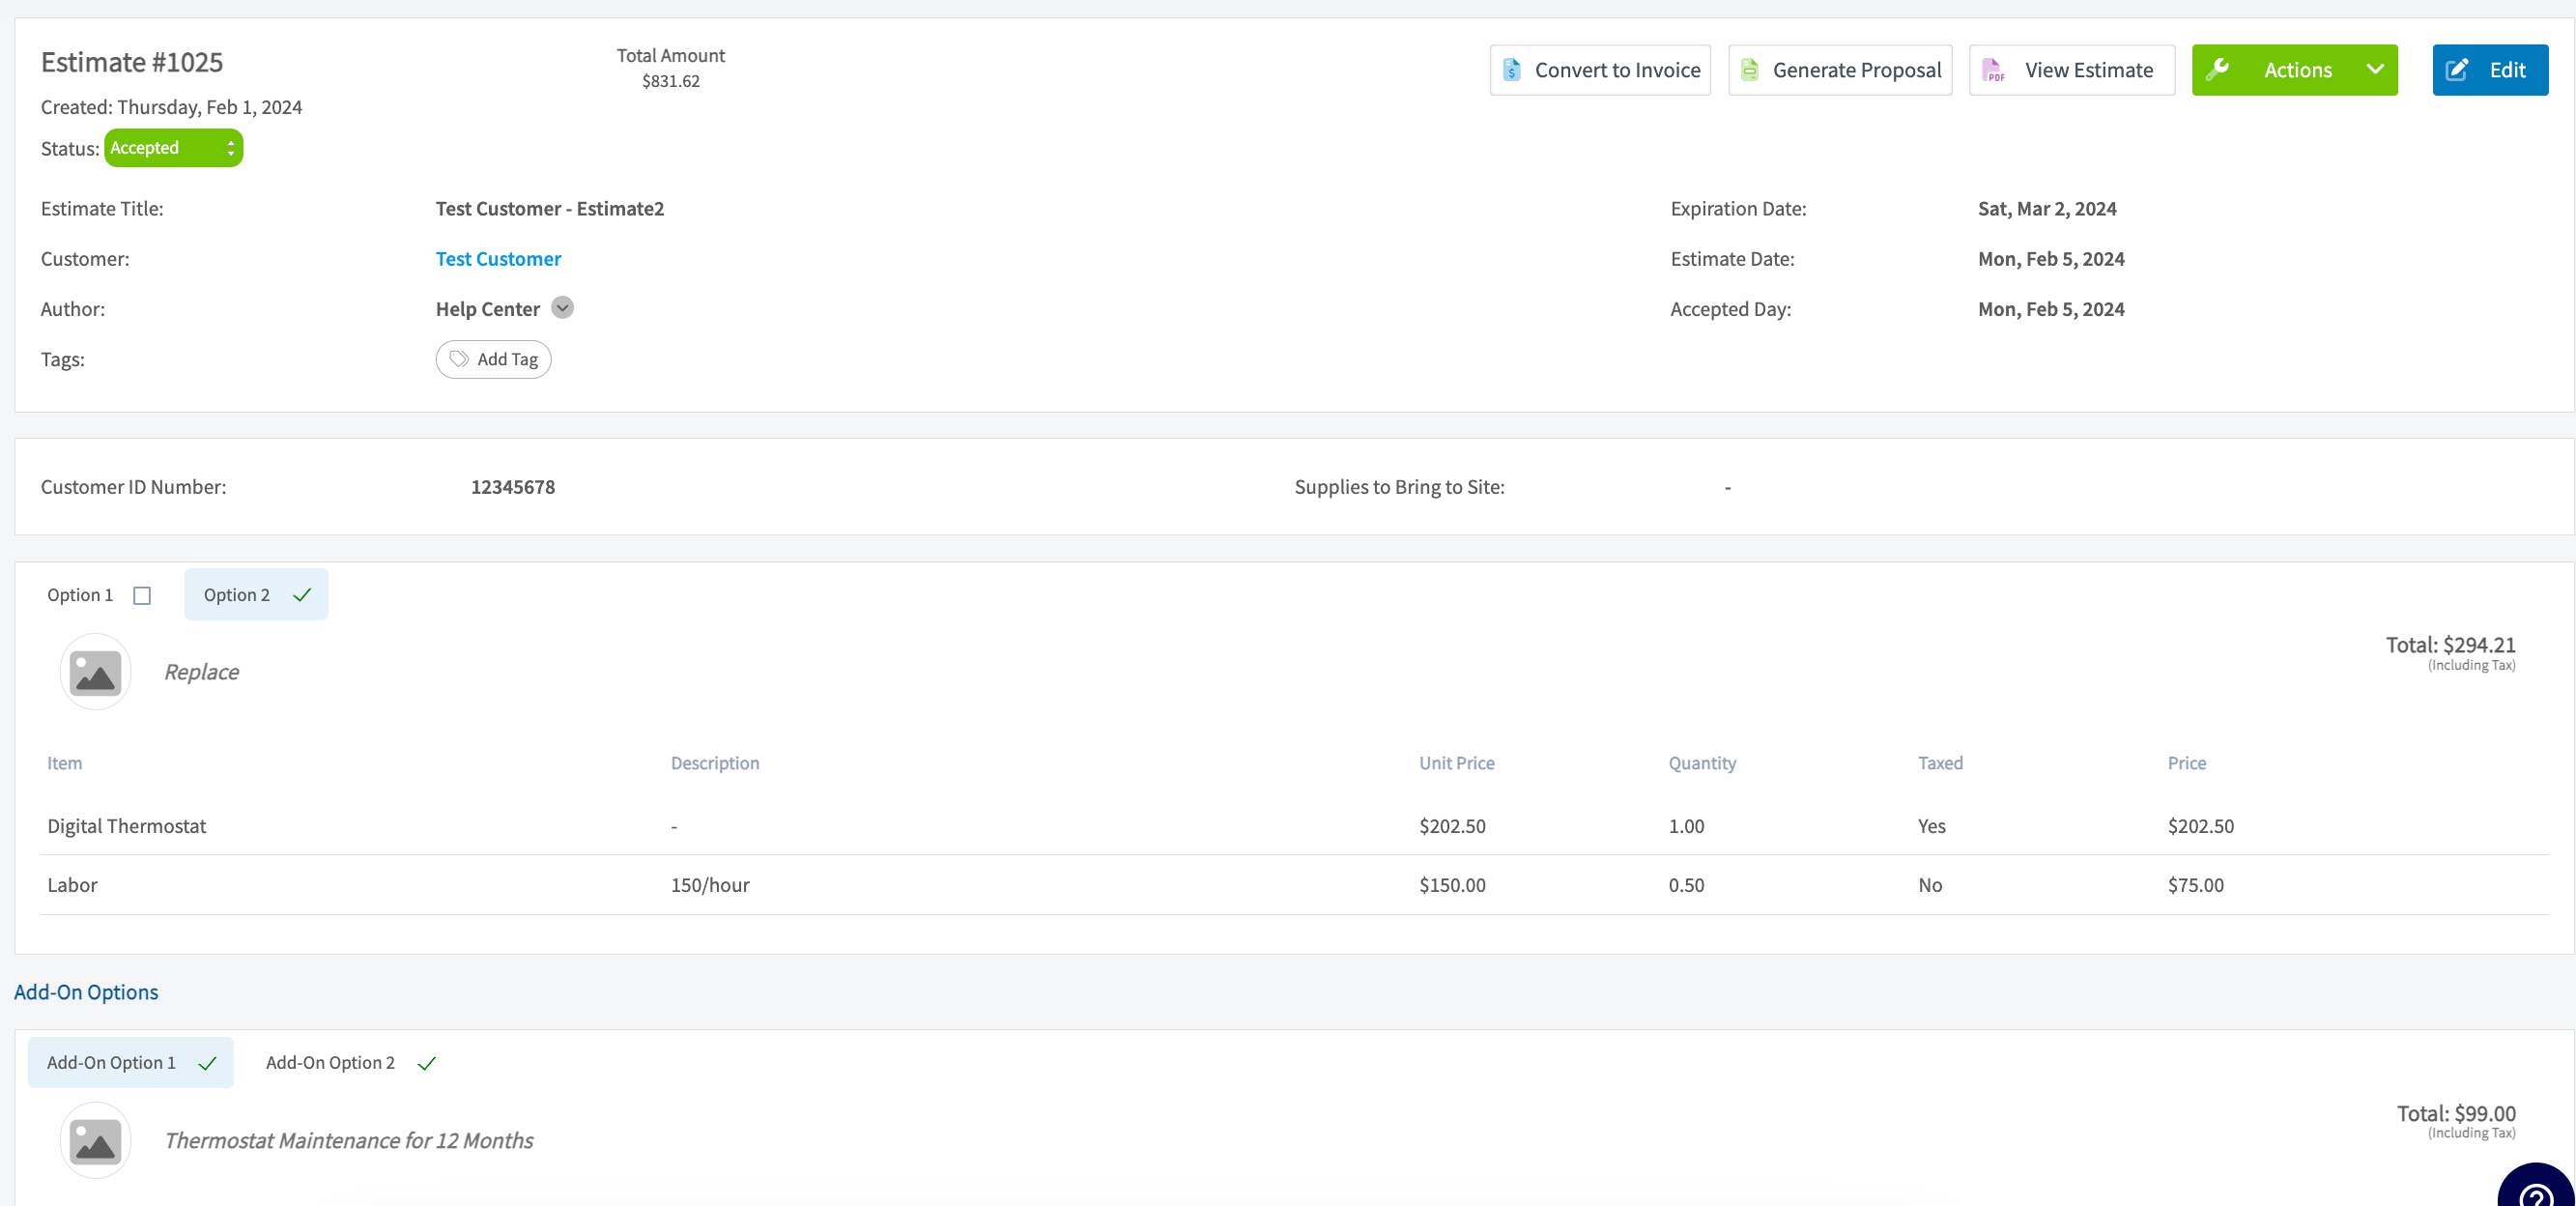
You build estimate options and add-on options in the line item area of the estimate, and both live on the same estimate record. Each estimate option holds its own line items and its own total, and every new estimate opens with Option 1 already in place. Add-on options are listed separately under Add-On Options, so the customer can add any of them on top of whichever estimate option they pick. When you send the estimate, the customer selects one option, adds the add-ons they want, and confirms. The estimate status in FieldPulse then reads Accepted, and the option and add-ons the customer chose are checked off on the estimate record.Video walkthrough
Watch the estimate options and add-ons walkthrough, then follow the written steps below.Before you begin
- Create the estimate you want to build options on. See How to Create an Estimate.
- Confirm your role can create estimates. Admins and Team Managers hold the Create & send Estimates/Invoices permission by default, and an Admin can enable it for a Service Agent — see User Roles and Permissions Details.
Build estimate options
- Open the estimate and scroll to the line item area. Option 1 appears there by default.
- Add the line items for Option 1.
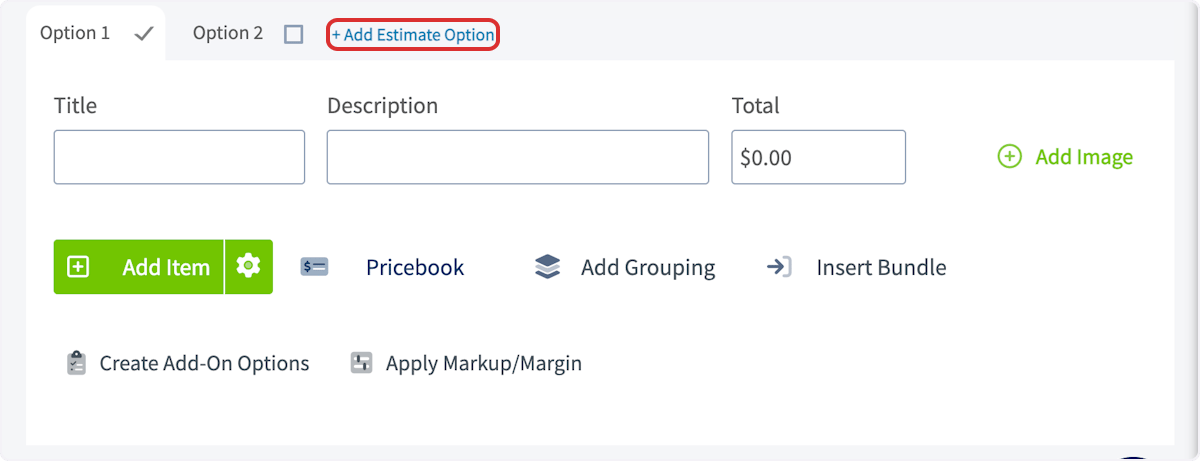
- Select + Add Estimate Option to create the next option, then add its line items.
-
Repeat for each option you want to offer.
-
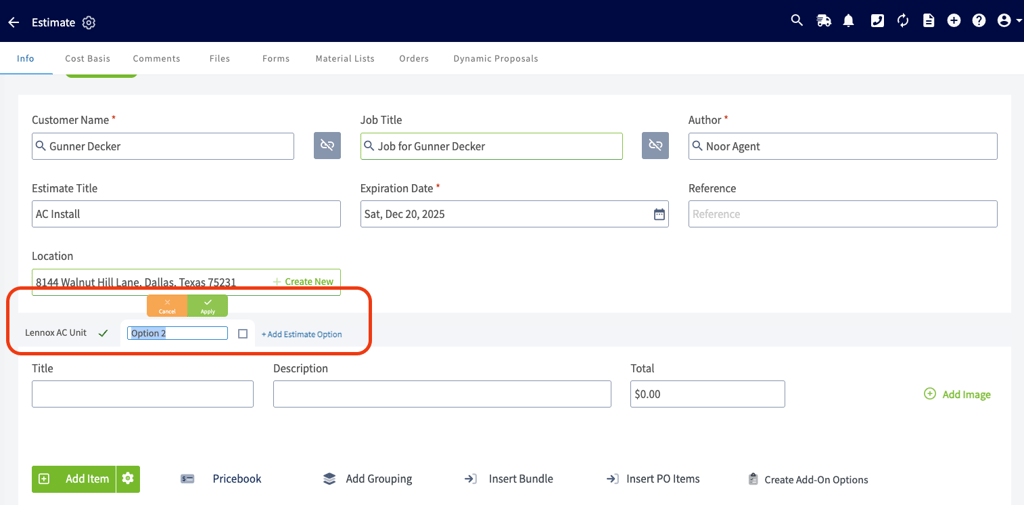
To rename an option, select the option tab name, type the title you want, and select Apply. Option titles can be up to 30 characters, and the text wraps as needed so the full title stays visible.
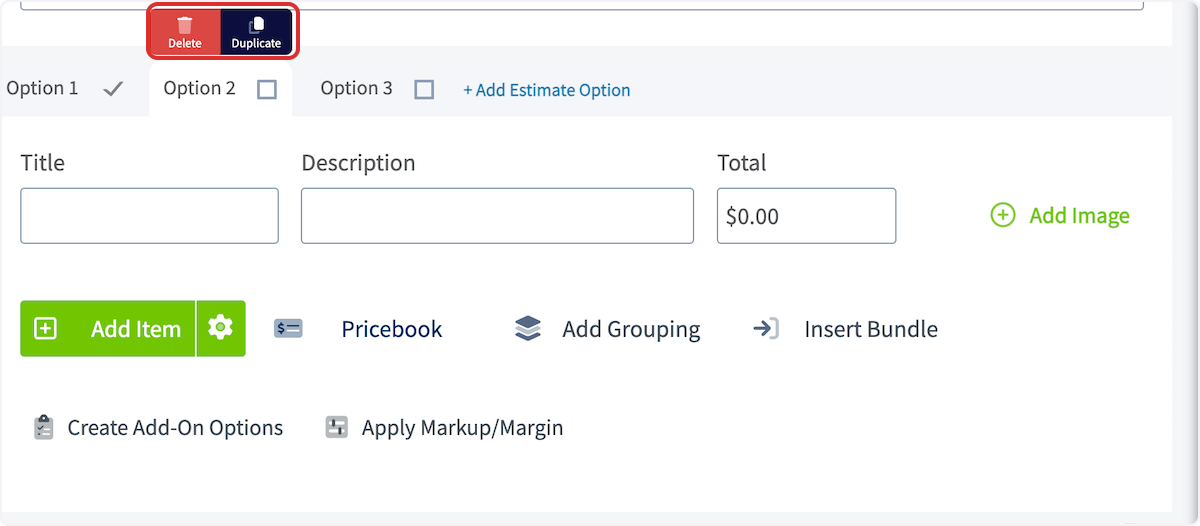
- To delete or duplicate an option, hover over the option title and select Delete or Duplicate.
- Estimate View
- Estimate Preview
- Dynamic Estimate (web and mobile)
- PDF exports
Build add-on options
-
On the same estimate, select Create Add-On Options.
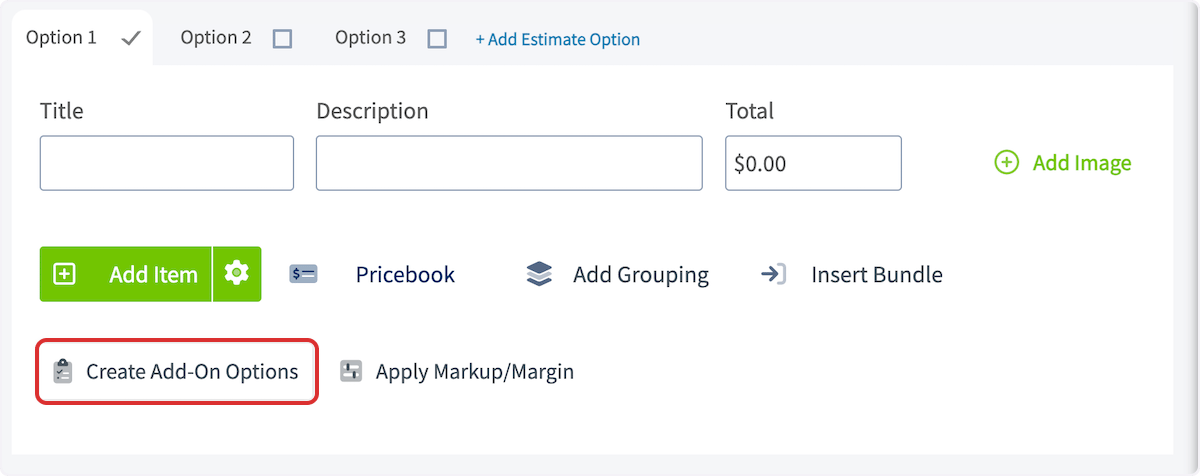
- Add the line items for Add-On Option 1.
-
Select + Add Add-On Option to create another add-on option, then add its line items.
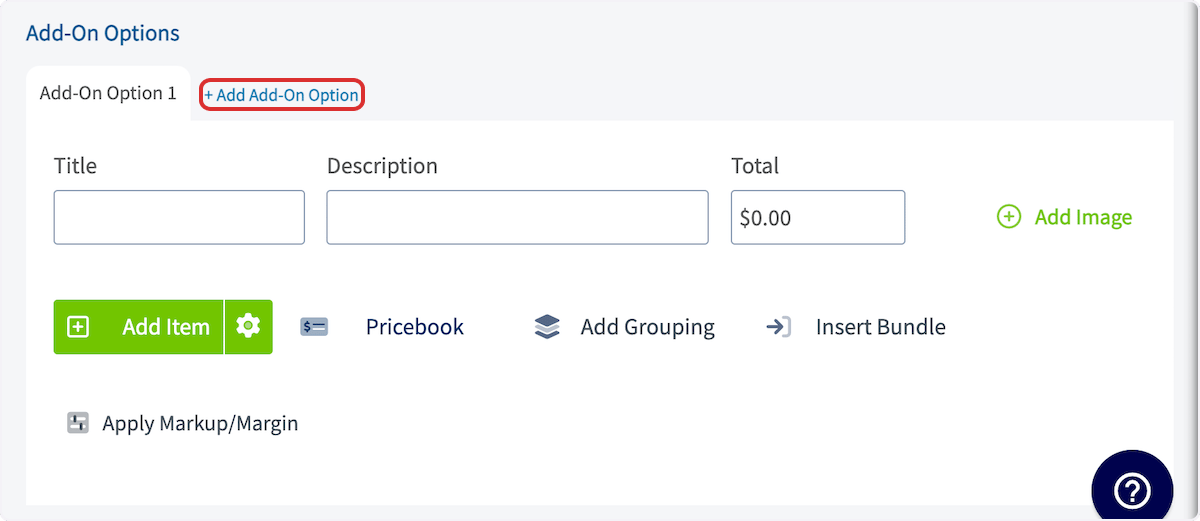
- To delete or duplicate an add-on option, hover over its title and select Delete or Duplicate.
What the customer sees
The customer opens the estimate and sees each option on its own tab with an Add-On Options list underneath, and the Total reads $0.00 until they make a selection.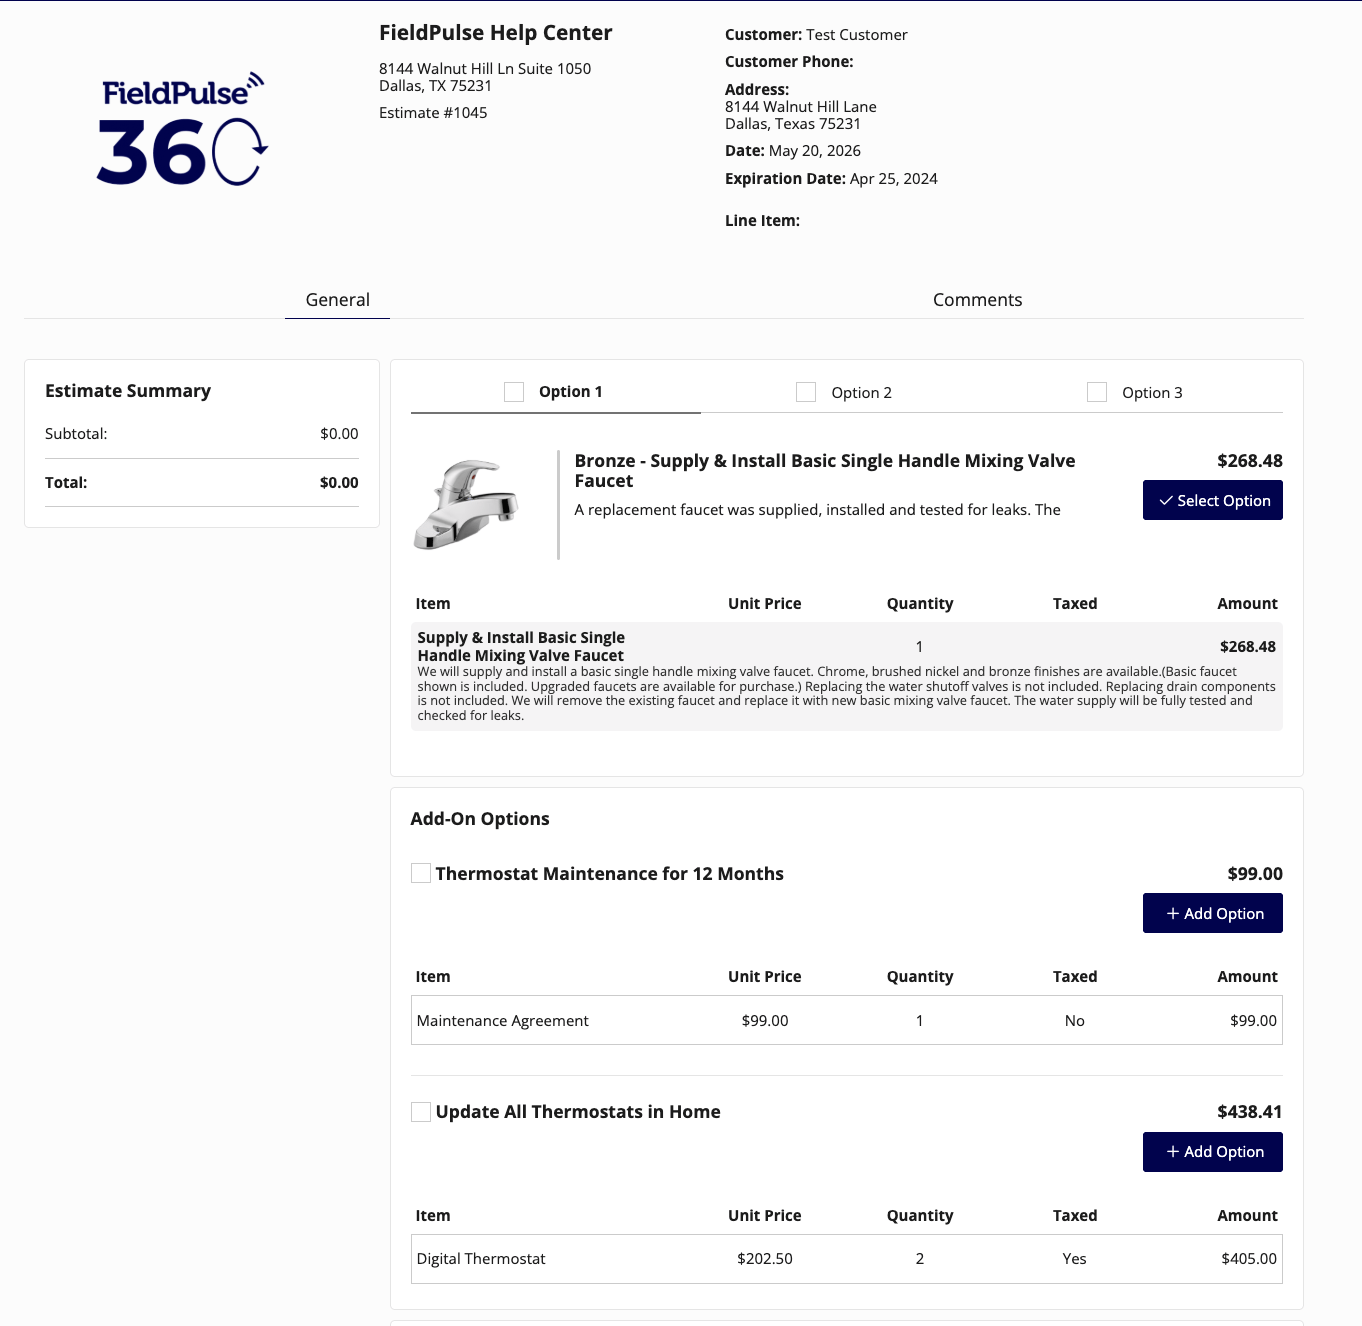
FAQs
What happens if I email an estimate with options and the customer does not select one?
An error message tells the customer they must select an option before they can sign and accept the estimate.Still need help?
Reach the FieldPulse support team at support@fieldpulse.com or through the chat feature in the bottom-right corner of your screen.Related articles
- How to Create an Estimate
- How to Request a Customer Signature
- How to Use Line Item Bundles & Groupings
- Estimate & Invoice Customer Experience Overview
- Dynamic Proposals Overview