
Who uses this: Admins build Status Action Flows in Company Settings; technicians follow them in the field. Availability: Included with your FieldPulse subscription at no extra cost.A Status Action Flow tells your team exactly what to do during each status of a job — the instructions to read, the buttons to tap, and the job details to see on screen. Status Action Flows are part of ClearPath, and you build one flow per service on top of a Custom Status Workflow you already use.
Overview
A Status Action Flow adds the detail to a Custom Status Workflow. The workflow is the blueprint — the high-level statuses a type of work moves through — and the flow specifies the exact actions and instructions for each of those statuses. Flows can be as simple or as complex as you need, and each one is built from three pieces:- Status Instructions — the written steps for the technician at that status.
- Action Buttons — quick-tap buttons that complete a task without navigating through multiple screens.
- Widgets — the job details shown on the Focus View screen, in the order you set.
Action Buttons, Status Instructions, and Focus View can be used independently or in tandem with one another.
Video walkthrough
Video walkthrough: ClearPath overview and Status Action Flow configuration
Before you begin
- Build the Custom Status Workflow you want to guide first. A Status Action Flow attaches to an existing workflow, so its statuses have to exist before you can add actions to them. Workflow Design Overview covers what a workflow needs and what makes one efficient.
- To start from a proven structure, copy one of the workflow blueprints for installations, standard service calls, and emergency jobs.
- Decide which services need their own flow, and list the statuses in each workflow you will configure.

Step-by-step setup
Create the flow first, then configure its statuses one at a time — steps 2 through 5 cover a single status, so repeat them for every status in the workflow.1. Create the flow
- Go to Company Settings, open the Jobs tab, then the Custom Status subtab.
- On the workflow you want to guide, select Manage Status Action Flows.
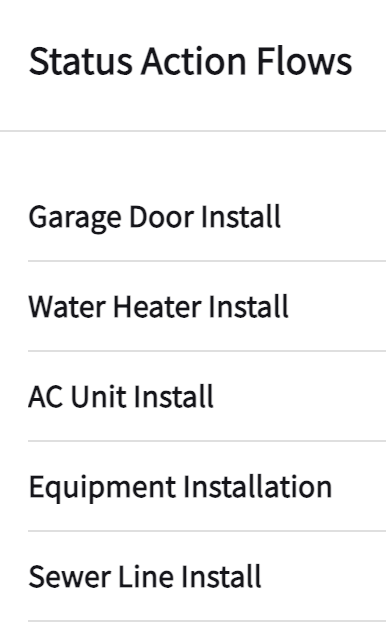
- Add a flow and name it for the service it guides — Water Heater Install, Sewer Line Install, Garage Door Install.

2. Write the Status Instructions
Open a status in the flow and write its Status Instructions — what you want the technician to do during that step of the workflow. List the instructions in numerical order so the technician can follow them top to bottom.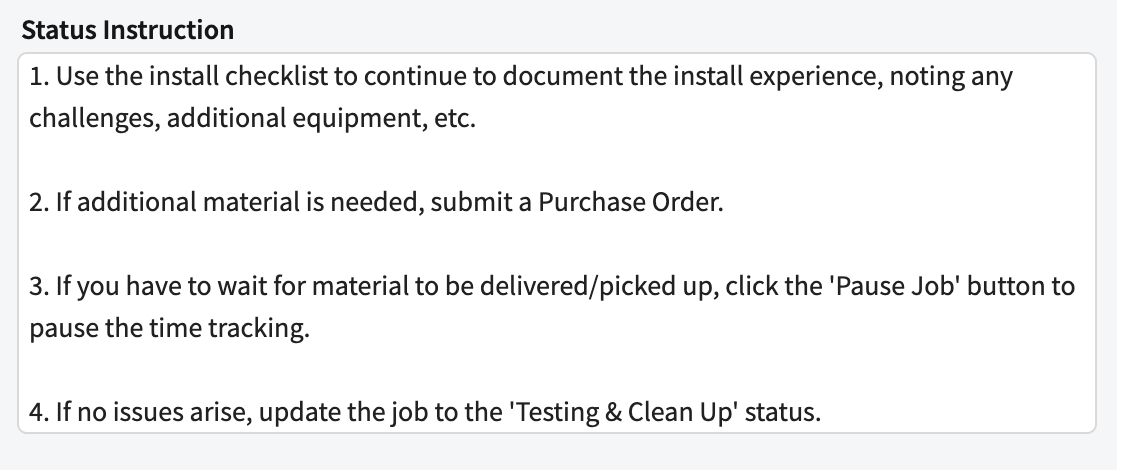
3. Add the Action Buttons
Add Action Buttons for the tasks the technician should complete at that status. You can add 0 to 10 custom-labeled buttons per status, drawn from 27 unique actions — creating an estimate or invoice, filling a form, clocking in and out, taking photos, sending a customer communication, generating a job report, and more. Label each button in the words your team uses. Name a button “Complete Install Checklist” rather than “Fill out Custom Form.”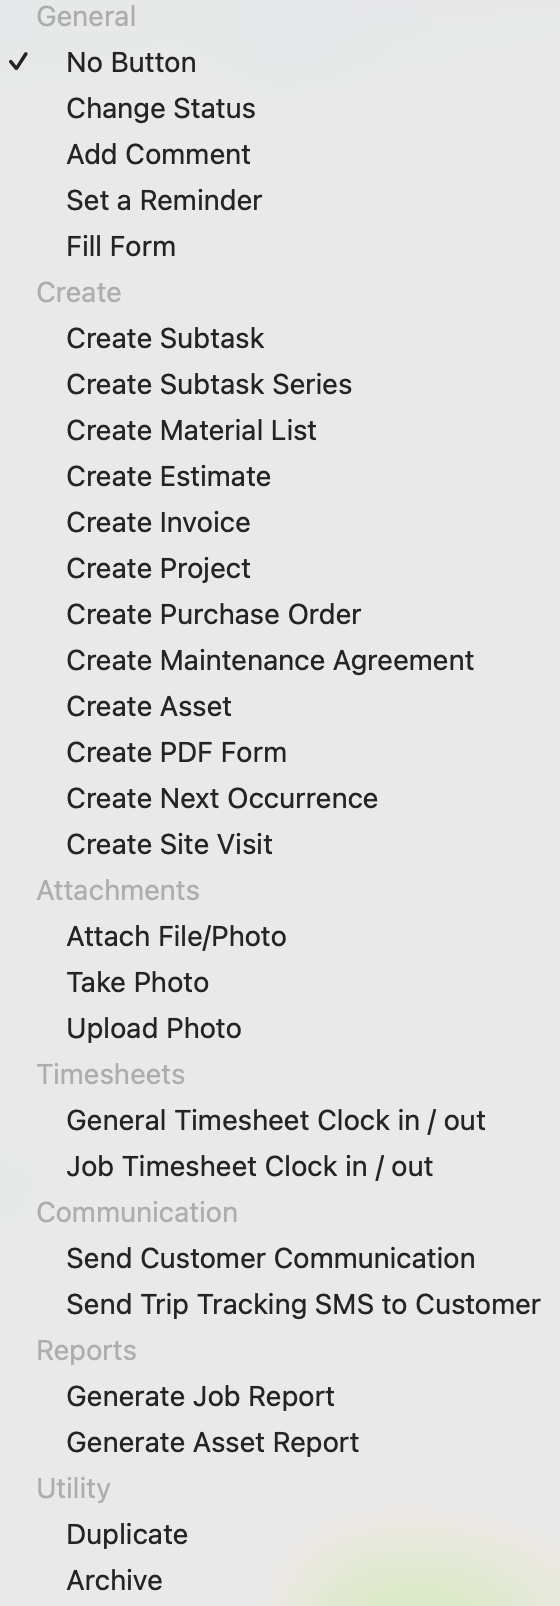
4. Choose and order the Focus View widgets
Widgets display the job’s details in an easy-to-read format and appear only on the Focus View screen. Up to 32 unique widgets are available, and you add, remove, and reorder them per status so your techs see everything they need and nothing they don’t. The ClearPath Widget Details describes every option. Our best-practice recommendation is to include at minimum these widgets in this order, top to bottom: Job Title, Job Status, Status Instructions, then Action Buttons. Keep Action Buttons toward the bottom of the layout, where they are easier to reach with a thumb.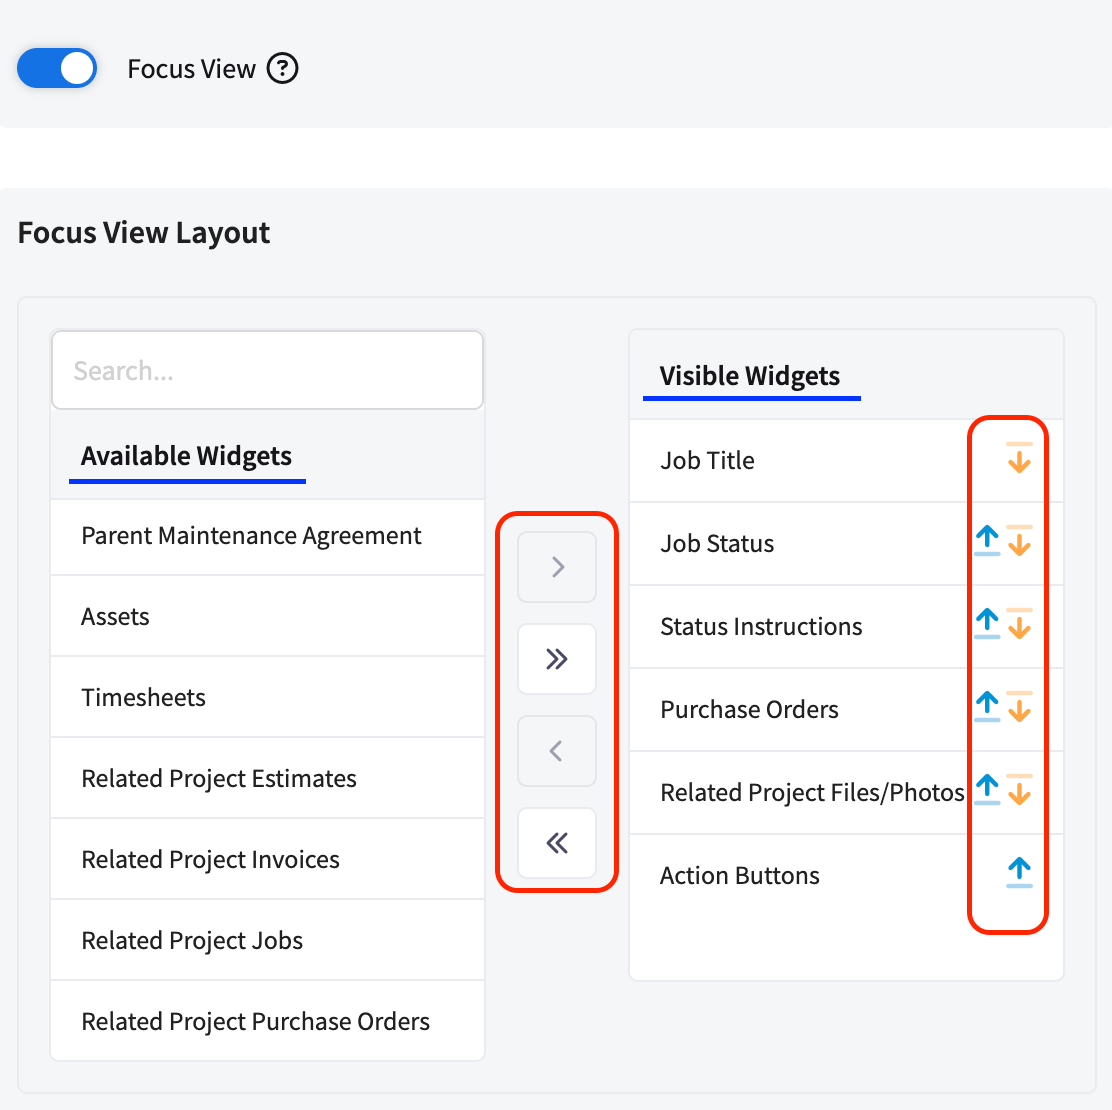
5. Check the layout in Mobile Preview
Use the Mobile Preview on the right side of the screen while you choose widgets, to see how the screen will appear to your team. The preview does not update with the information you have entered — it is a mock-up, so use it to confirm the layout and widget order rather than to check real job data.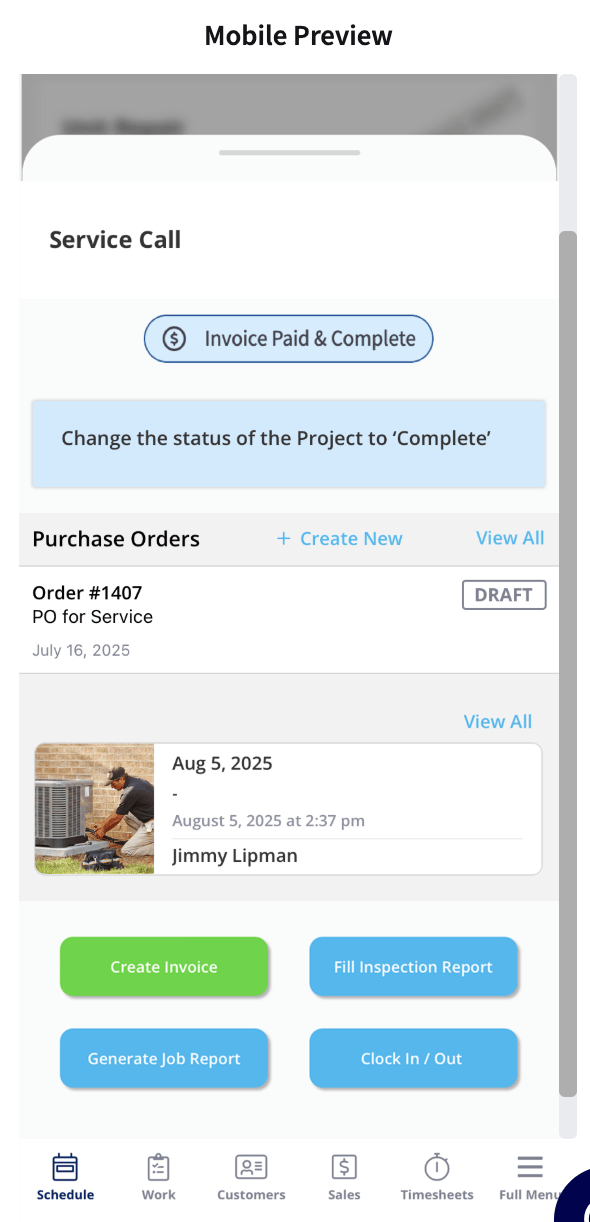
Video walkthrough: ClearPath mobile view setup tips and tricks
6. Add the flow to jobs and job templates
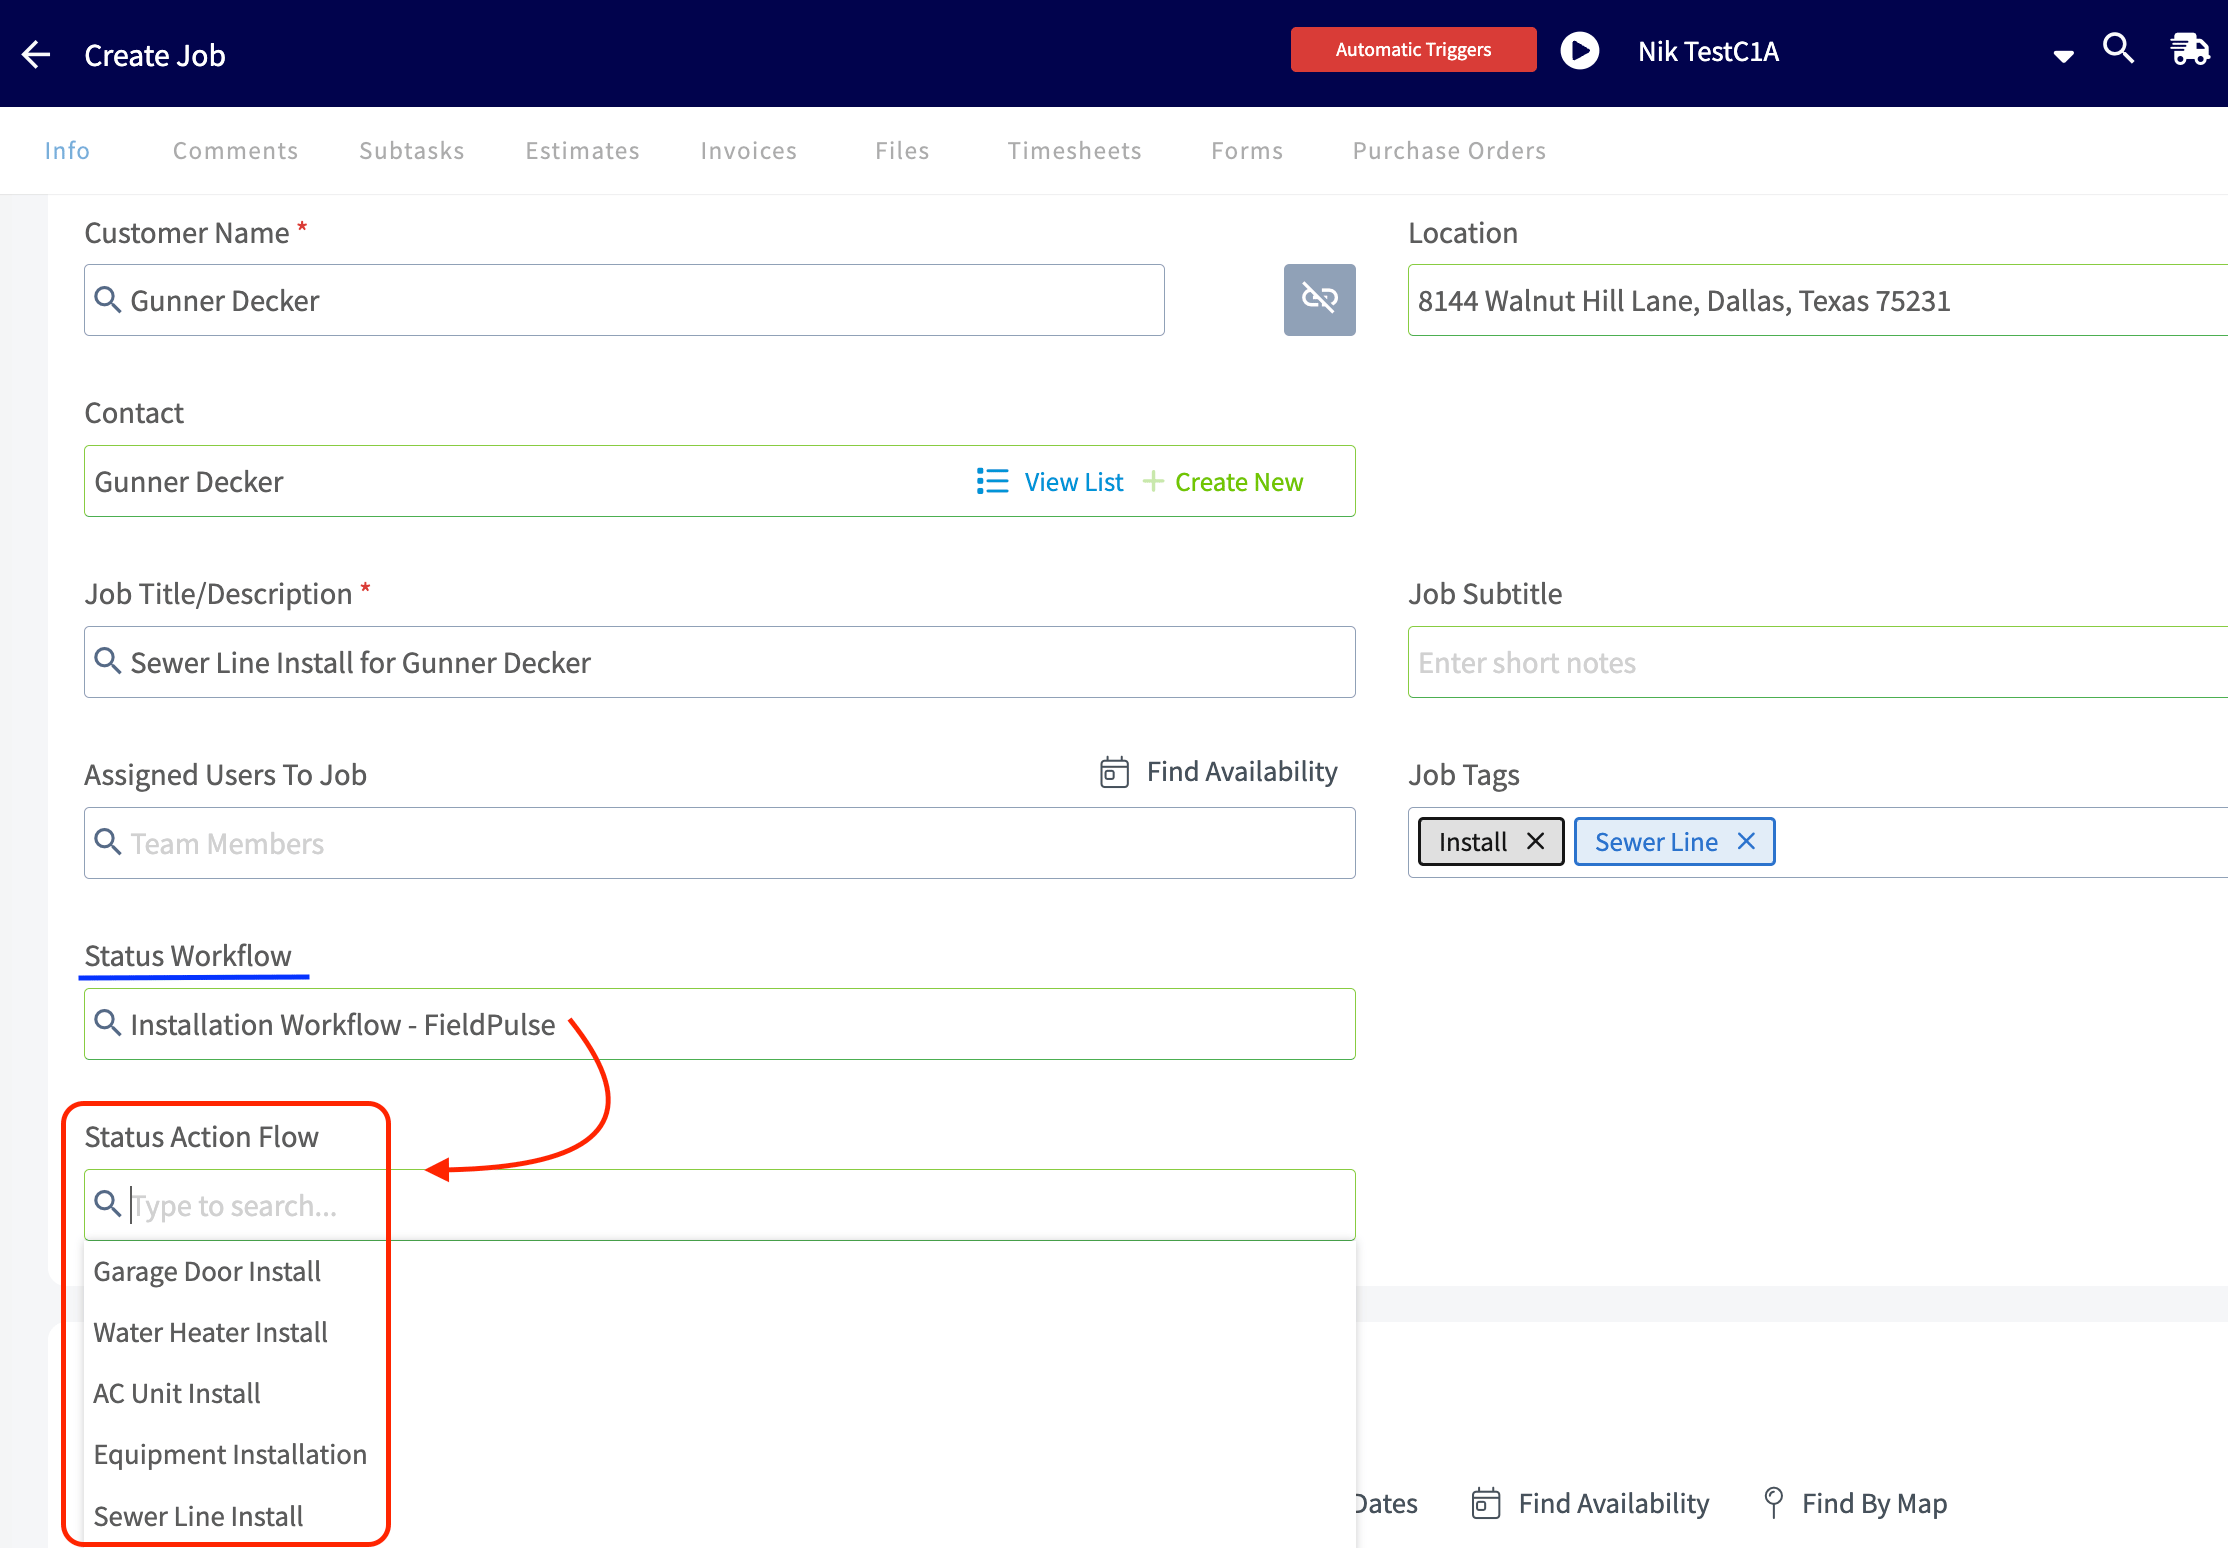
Once a Status Action Flow is configured, add it to Job records and to Job templates — see Setting Up Job Templates:- When you create a Job record or Job template, select the Status Workflow you want to use.
- In the Status Action Flow field that appears, choose the flow that will guide your team through the job.
Only the Status Action Flows associated with the Custom Status Workflow you selected are available in the dropdown menu for you to choose from.
Settings reference
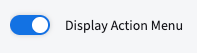
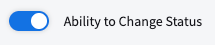
Three toggles control how much freedom the technician has at each status:
With Display Action Menu on, the green Actions button appears on the job:


FAQs
Do I need a separate Status Action Flow for every service?
Not required, but recommended. Create one Status Action Flow per service type so each job gets instructions that fit the work. See Setting Up ClearPath Status Action Flows.How many Action Buttons can I add to a status?
Add 0 to 10 custom-labeled buttons per status, drawn from 27 available actions.Related articles
- ClearPath Overview
- How to Use ClearPath in the Field (Focus View)
- ClearPath Widget Details
- Workflow & ClearPath FAQs
- Workflow Design Overview
- Workflow Blueprint Details