
Who uses this: An Admin user turns Tap to Pay on and manages registered devices; any user with access to collect payments in FieldPulse can take a Tap to Pay payment. Availability: Requires FieldPulse Payments, which is available to businesses located in the United States. Tap to Pay on iPhone runs on iPhone XS or newer with iOS 18 or newer — iPads are not supported.Tap to Pay on iPhone turns a supported iPhone into a card reader, so your technicians accept credit cards, debit cards, Apple Pay, and Google Pay from the FieldPulse mobile app with no extra hardware. The customer holds their card, phone, or smartwatch near the top of the iPhone, and the payment processes in seconds — before the technician leaves the driveway.
Overview
Tap to Pay on iPhone lets a technician collect a contactless payment directly on their iPhone from the FieldPulse mobile app. It accepts credit cards, debit cards, Apple Pay, and Google Pay. An Admin user controls the feature for the whole company from the web app, one Admin user accepts Apple’s terms once on mobile, and each technician’s device registers itself the first time it is used.Before you begin
The device and the account both have to be ready before a technician can collect a payment with Tap to Pay on iPhone.iPhone requirements
- iPhone XS or newer
- iOS 18 or newer
- The device locked with a passcode, Face ID, or Touch ID
- An Apple ID with iCloud enabled
- A stable internet connection
- Location Services enabled
FieldPulse requirements
- FieldPulse Payments enabled on your account
- Tap to Pay on iPhone toggled on in Company Settings
Tap to Pay on iPhone is available on iPhones only. iPads are not supported at this time — this is an Apple platform limitation, not specific to FieldPulse. If a device doesn’t meet the requirements above, or if the feature isn’t enabled in your account, your technicians see the standard payment screen instead.
On web
Enable or disable Tap to Pay
Tap to Pay on iPhone is automatically enabled for all FieldPulse Payments users, and an Admin user turns it on or off for the whole team from the web app.- Go to Company Settings → Estimates & Invoices → Payments.
- Scroll to the Tap to Pay Settings section.
- Toggle Enable Tap to Pay on or off.
- Select Save.
Only Admin users can access Tap to Pay Settings. The toggle applies to all eligible technicians — you can’t enable or disable it for individual team members from this screen. To restrict a specific user from accepting payments altogether, adjust their User Feature Permissions. See User Roles and Permissions Details.
View and deactivate registered devices
The first time a technician uses Tap to Pay on iPhone, their device registers automatically. The Tap to Pay Settings section in the web app shows a table of every registered device, including the device name, device type, registration date, and last used date.- Go to Company Settings → Estimates & Invoices → Payments → Tap to Pay Settings.
- Find the device in the Tap to Pay Devices table.
- Select Deactivate next to the device.
- Confirm the deactivation in the pop-up prompt.
On mobile
Accept Apple’s terms (one time)
Before anyone in your company can use Tap to Pay, one Admin user has to accept Apple’s Tap to Pay terms and conditions. Open an invoice record, select Collect Payment, then tap the Tap to Pay on iPhone button for the first time. The terms appear, and once an Admin user accepts them this never has to be done again — every user with access to collect payments in FieldPulse can then use the feature.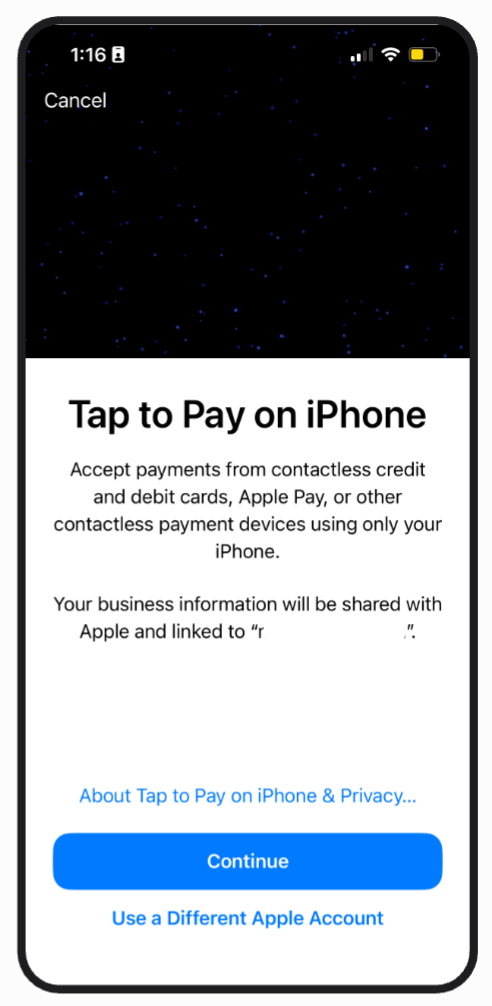
Collect a payment in the field
The first time you use Tap to Pay on iPhone, your device registers as a payment device automatically. This one-time setup runs in the background in a few seconds, with no action needed from you.-
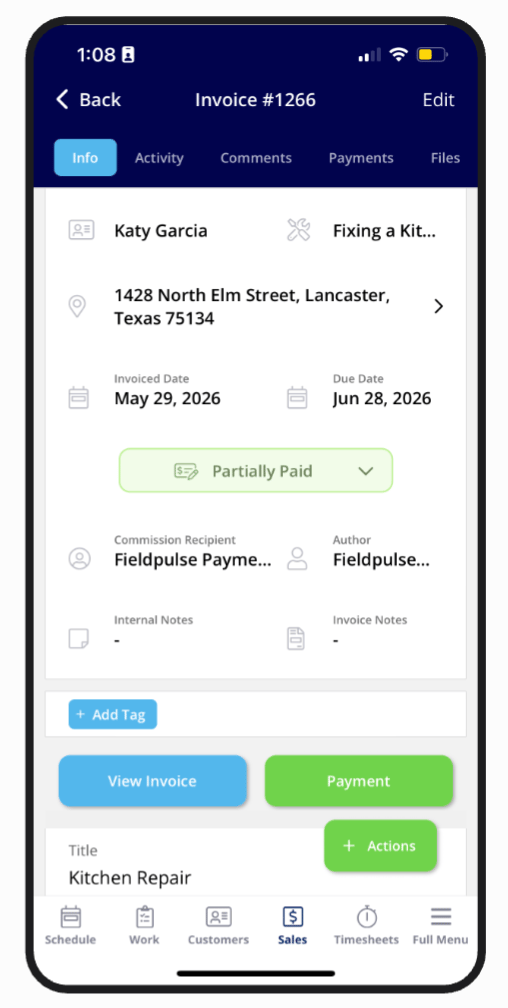
In the FieldPulse mobile app, open the invoice record for the job you completed.
-
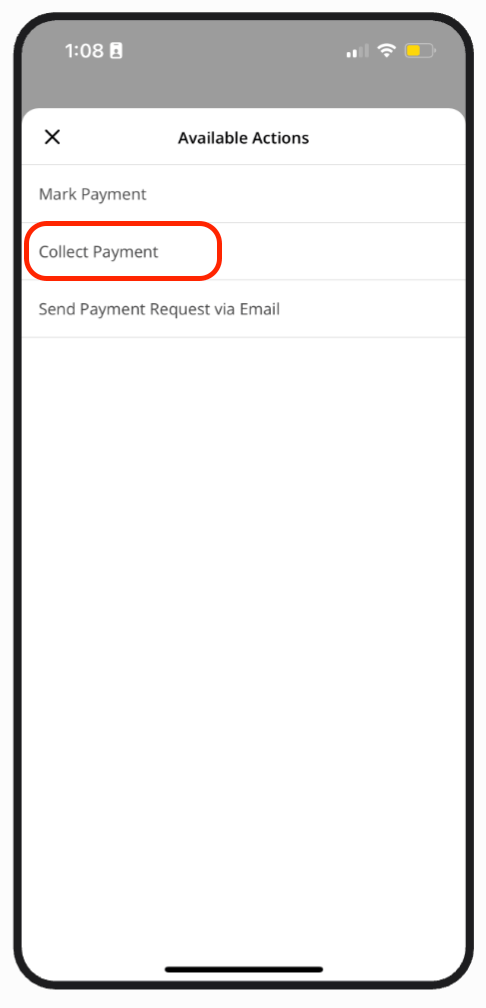
Tap Collect Payment in the Available Actions list.
-
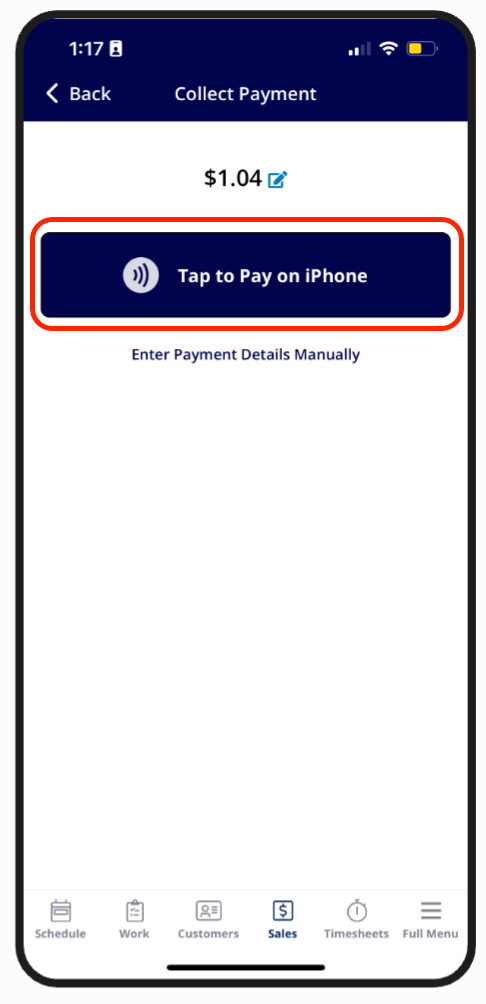
At the top of the Collect Payment screen, tap Tap to Pay on iPhone.
-
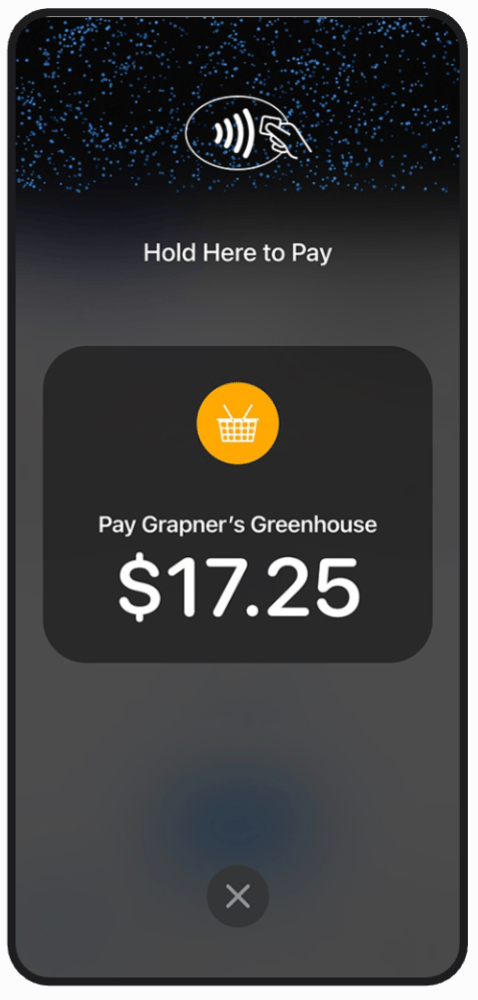
When Apple’s Tap to Pay interface appears, ask the customer to hold their credit card, debit card, Apple Pay, or Google Pay device near the top of your iPhone.
-
Once the card reads successfully, the payment processes automatically and a Payment Successful screen appears.
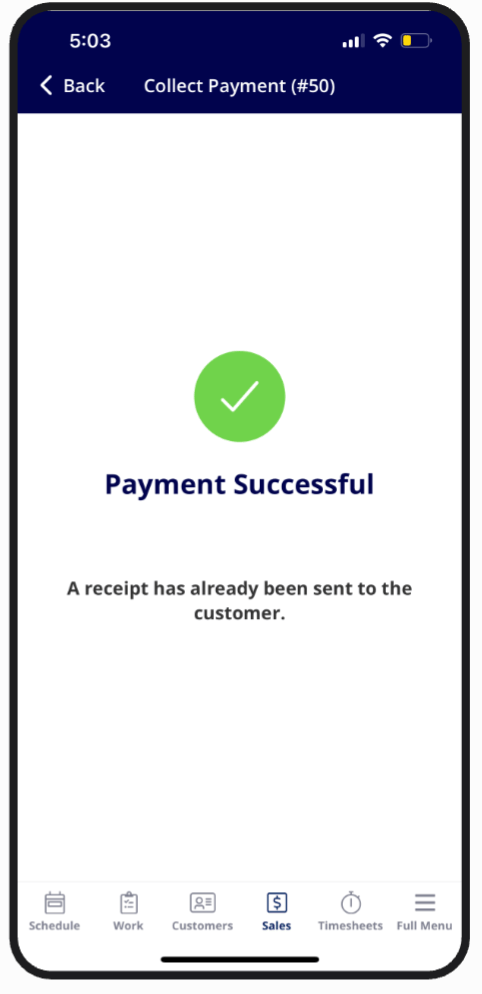
- From the confirmation screen, tap to send a receipt to your customer by email or SMS. If receipts are already configured in your FieldPulse account, a receipt sends to your customer automatically.
If a payment fails
If the payment doesn’t go through — for example, the card is declined — a Payment Failed screen appears. From there you have two options:- Tap Retry to attempt the payment again with Tap to Pay on iPhone.
- Enter the card details manually to process the payment on the Take Payment screen.
FieldPulse Pro Tip: Metal credit cards can sometimes be harder to read on the first tap. If the card doesn’t register, try holding it against the screen a little longer or tapping a second time before switching to manual entry.
Tap to Pay will not work if you are on an active phone call.
What your customer sees
When you start a Tap to Pay payment, Apple’s native Tap to Pay interface appears on your iPhone screen. Your customer sees a prompt to hold their card or device near the top of the iPhone — the same experience they’d have at any contactless terminal. Once their card is read, they see a brief confirmation on screen before you receive the Payment Successful message.Common issues
Error messages and what to do
If you see one of the messages below while using Tap to Pay on iPhone, here’s what to do next.FAQs
Does Tap to Pay on iPhone work with all cards?
Yes. It works with all major credit and debit cards, as well as Apple Pay and Google Pay.Will my payment processing rates change?
No. Your processing rates stay the same when you use Tap to Pay on iPhone, and there are no additional fees for this payment feature.Is there a transaction limit?
Tap to Pay on iPhone itself doesn’t have a transaction limit. Your customer’s bank or card provider may have its own contactless limit. For larger transactions, customers can use Apple Pay or Google Pay — both typically allow higher amounts since they require biometric authentication (Face ID or fingerprint).Does Tap to Pay work with card fee recovery?
Yes. If you have card fee recovery enabled, it applies to Tap to Pay transactions like any other card payment, with no extra setup. See Setting Up Card Fee Recovery.Does this work on iPads?
No. Tap to Pay on iPhone is only available on iPhones (iPhone XS or newer). This is an Apple platform limitation and is not specific to FieldPulse.Does this work on Android?
Not at this time. Tap to Pay on iPhone is currently available on iPhones only. Android support is planned for a future release.Will Tap to Pay payments sync with QuickBooks and other integrations?
Yes. Payments collected with Tap to Pay are processed the same as all other FieldPulse payments.Still need help?
Reach the FieldPulse support team at support@fieldpulse.com or through the chat feature in the bottom-right corner of your screen.Related articles
- How to Collect Payments: 3 Methods
- FieldPulse Payments Overview
- How to Save a Payment Method on File
- Setting Up Card Fee Recovery
- Payment Receipts Overview
- FieldPulse Deposit and Payment Status Details
- User Roles and Permissions Details