
Who uses this: An Administrator submits the application — Administrator is the only role that can open Company Settings; once it is accepted, FieldPulse Payments is available to all admin users, and you choose which other user roles can process payments. Availability: Businesses located in the United States, on an approved FieldPulse Payments merchant account.FieldPulse Payments runs on a merchant account you apply for from inside FieldPulse. You open the application from the FieldPulse Payments tile in Company Settings, fill in your business, ownership, and banking details, and submit it. The application requires a credit check, and you receive a decision within 3 business days.
Overview
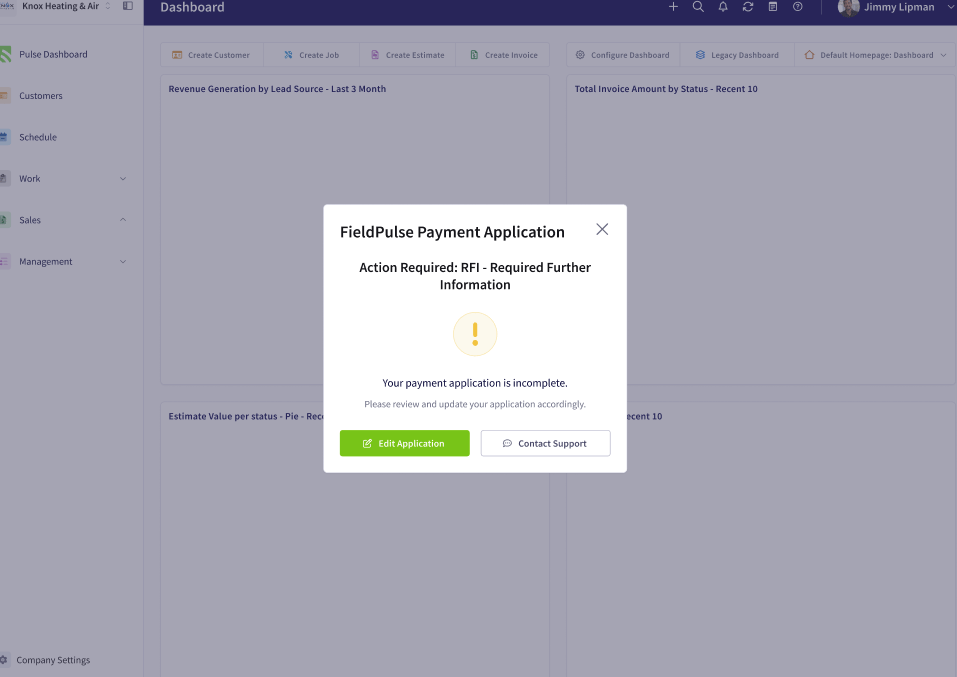
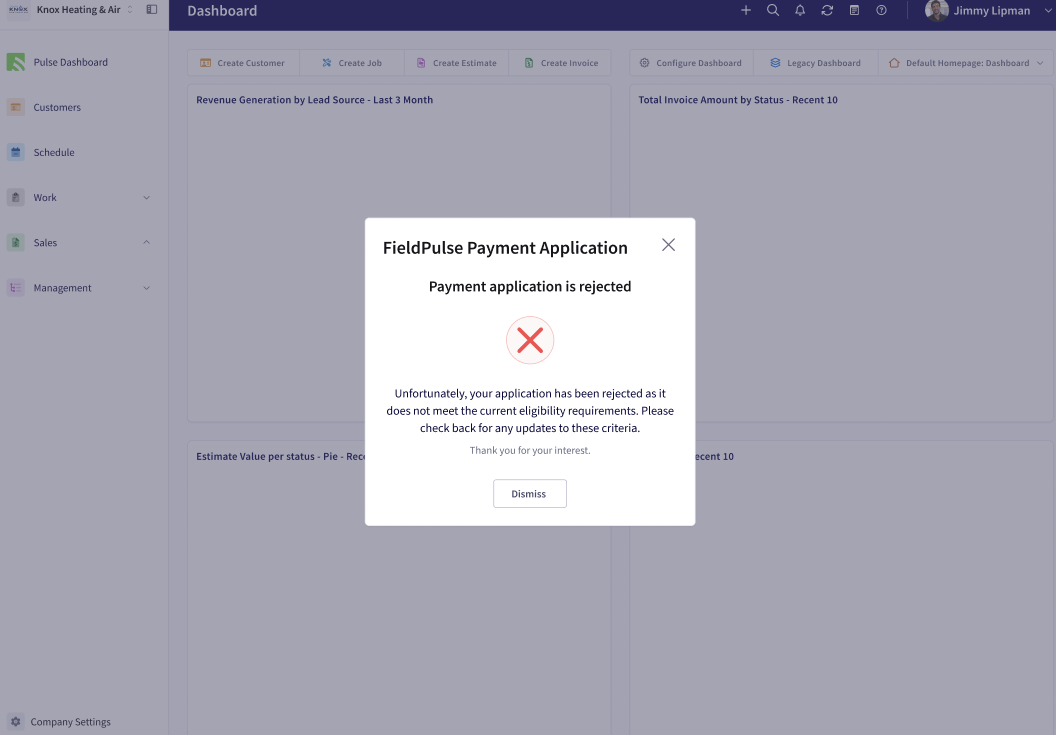
The FieldPulse Payments application collects your business, ownership, and banking details so FieldPulse can set up your merchant account. You start it from the FieldPulse Payments tile in Company Settings > Features & Plugins, and the form opens in a new browser tab. After you submit the application, the tile reads Application Pending while the team reviews it, and within 3 business days a pop-up notification in the web app gives you one of three outcomes — Accepted, RFI, or Rejected. For what FieldPulse Payments does once your merchant account is approved, see the FieldPulse Payments Overview.Before you begin
- Be ready for a credit check. The FieldPulse Payments application requires one.
- Have your business details on hand — legal business name matching your IRS documents, TIN, business type, MCC code, date established, and a legal business address that is not a PO box.
- Have your ownership details — contact type, title, percentage and date of ownership, and your answers on significant responsibility and politically exposed person status.
- Have your banking details — account type, the name on the account as it appears on your checks, and your routing number.
- Have any documents you need to upload ready, such as a business license or SS-4.
Step-by-step setup
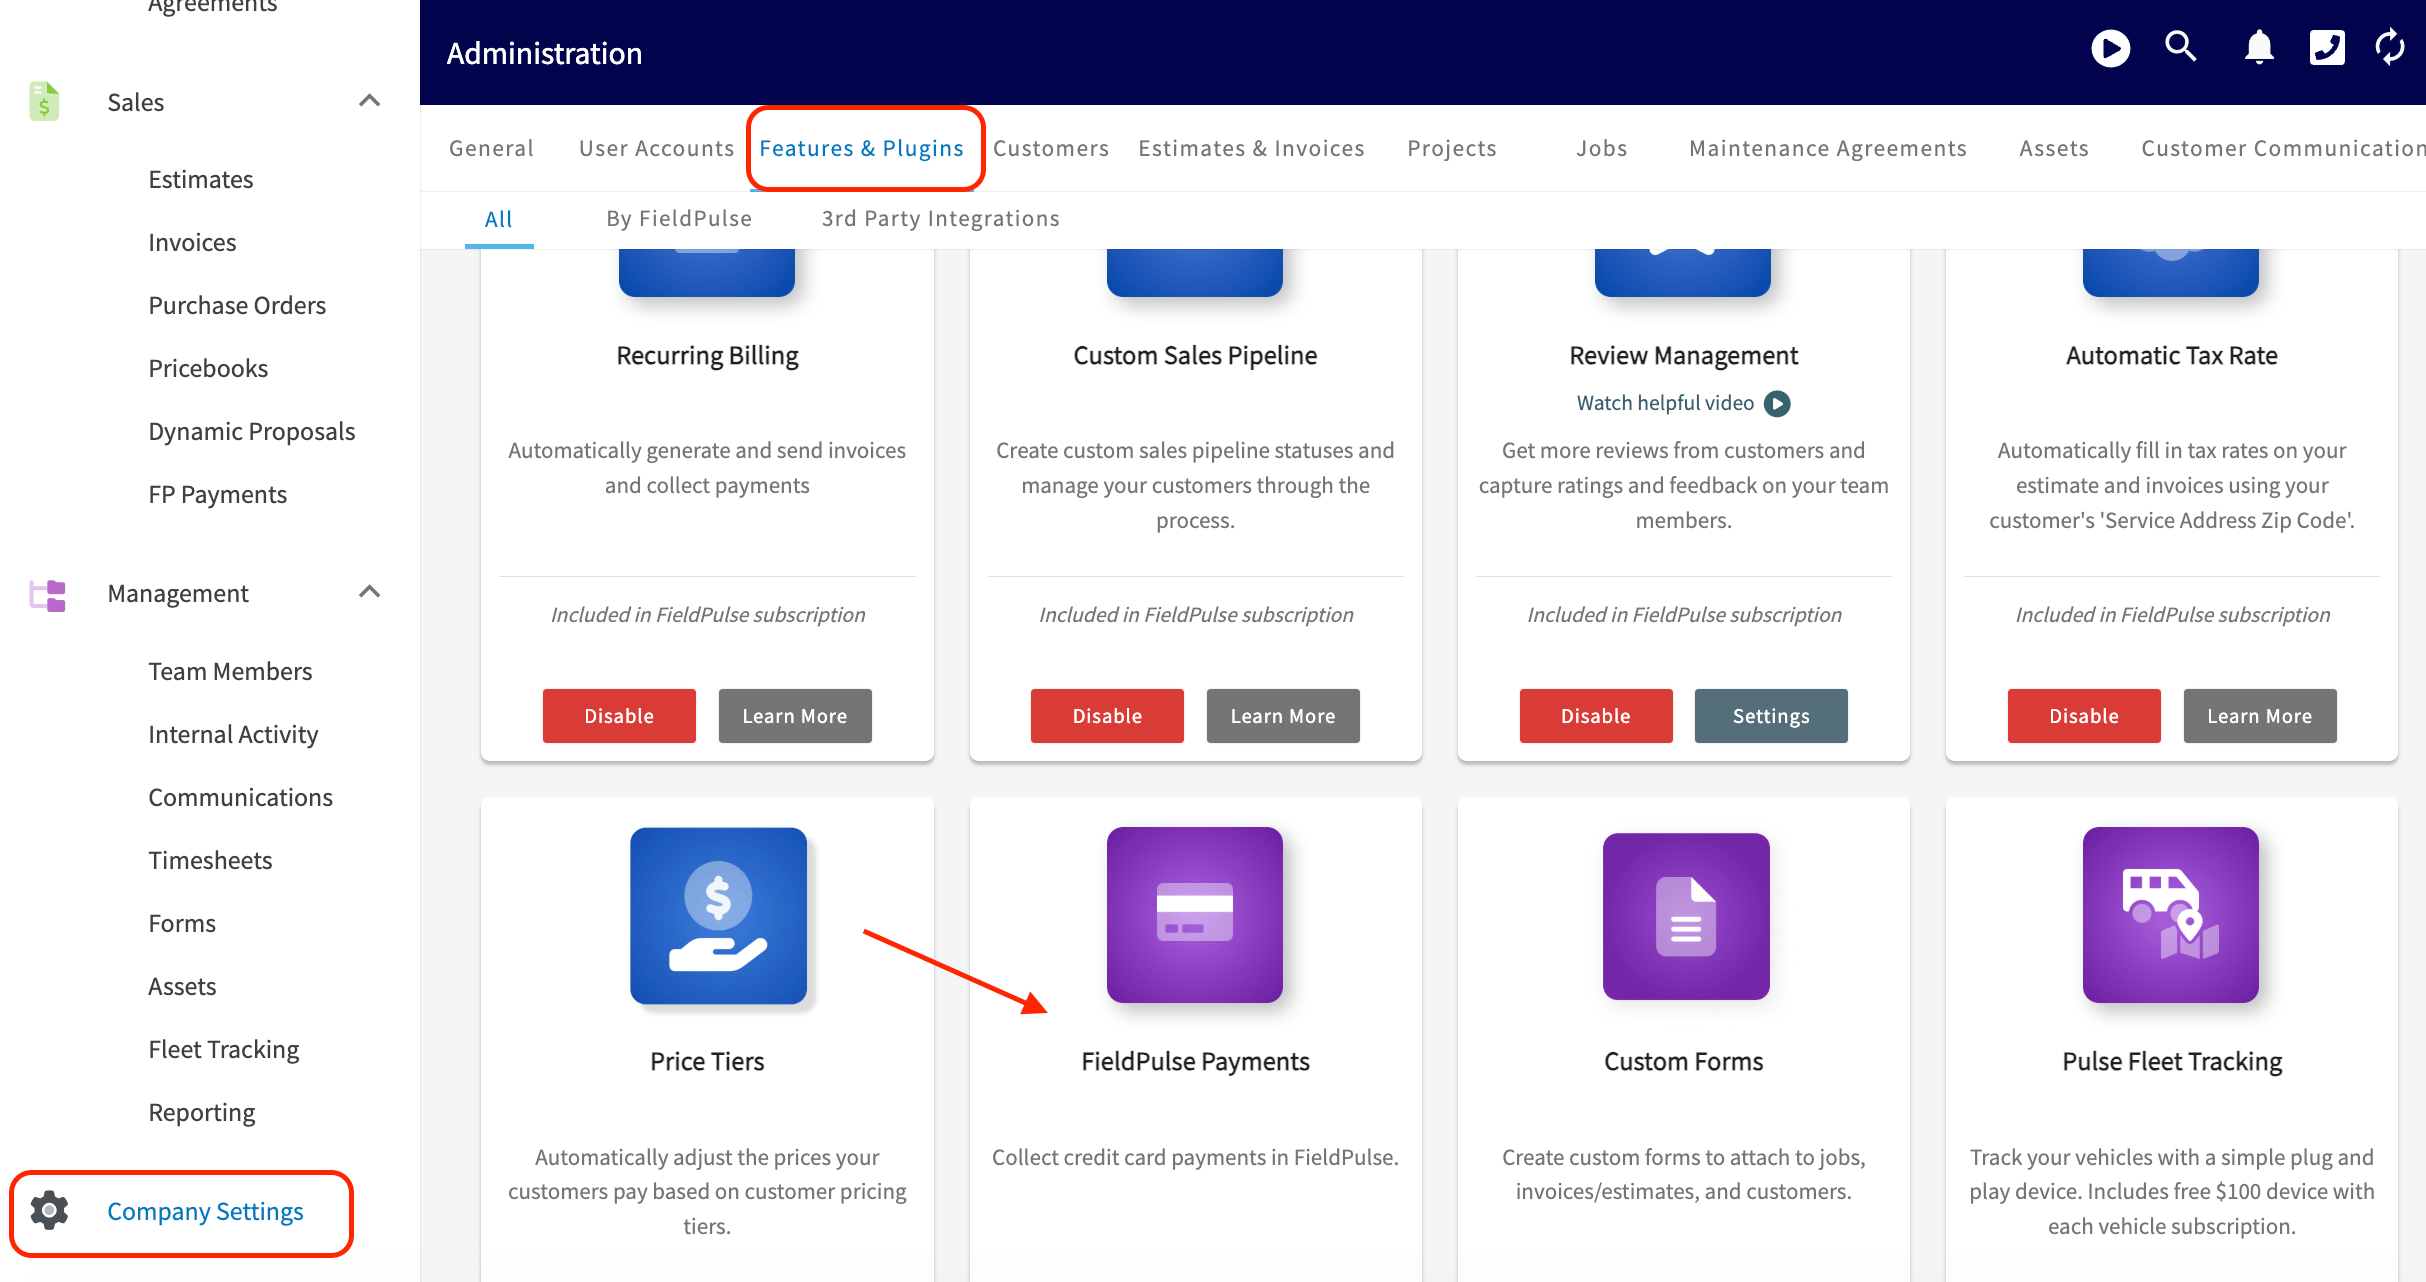
- In the left-hand menu, select Company Settings.
- At the top of the screen, select Features & Plugins.
-
Scroll down to the purple FieldPulse Payments tile.
-
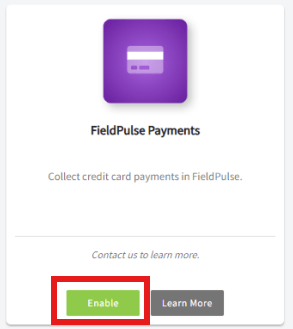
Select the green Enable button to begin the application. FieldPulse generates your profile and opens the application form in a new browser tab, which can take a moment.
-
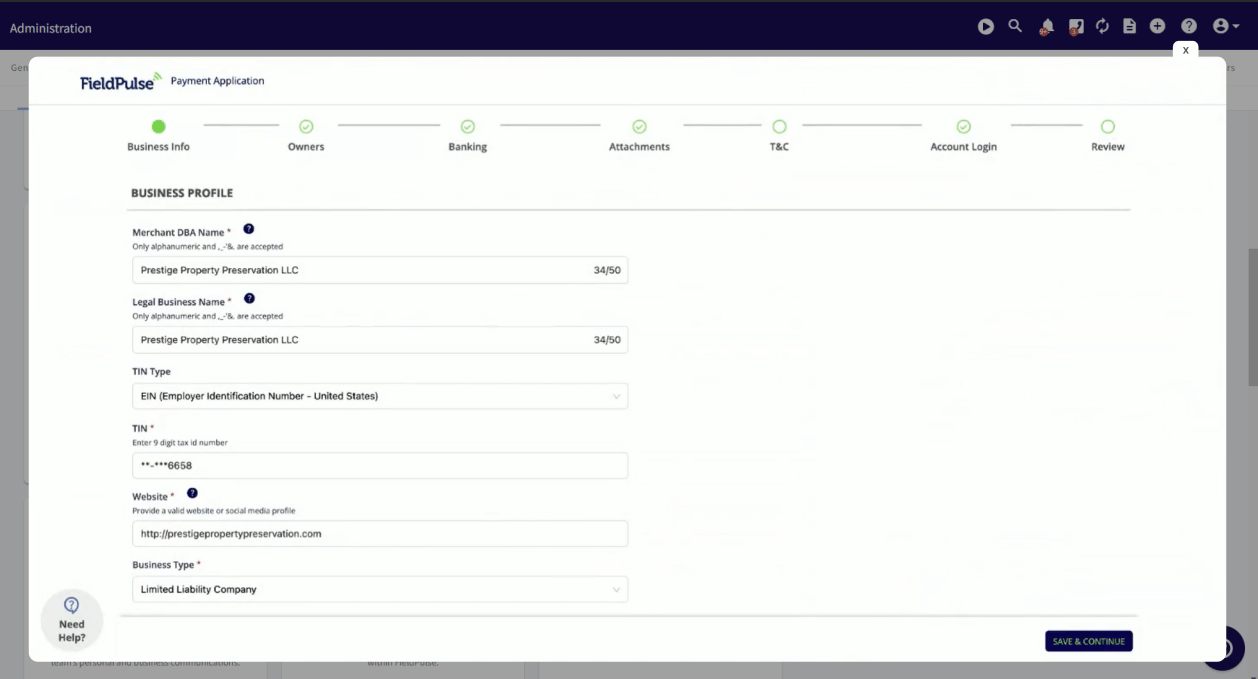
Fill in the application form with your business details. The merchant detail fields below explain what to enter in each field.
- Select Submit. Your FieldPulse Payments tile updates to Application Pending, and you receive a decision within 3 business days.
Application statuses
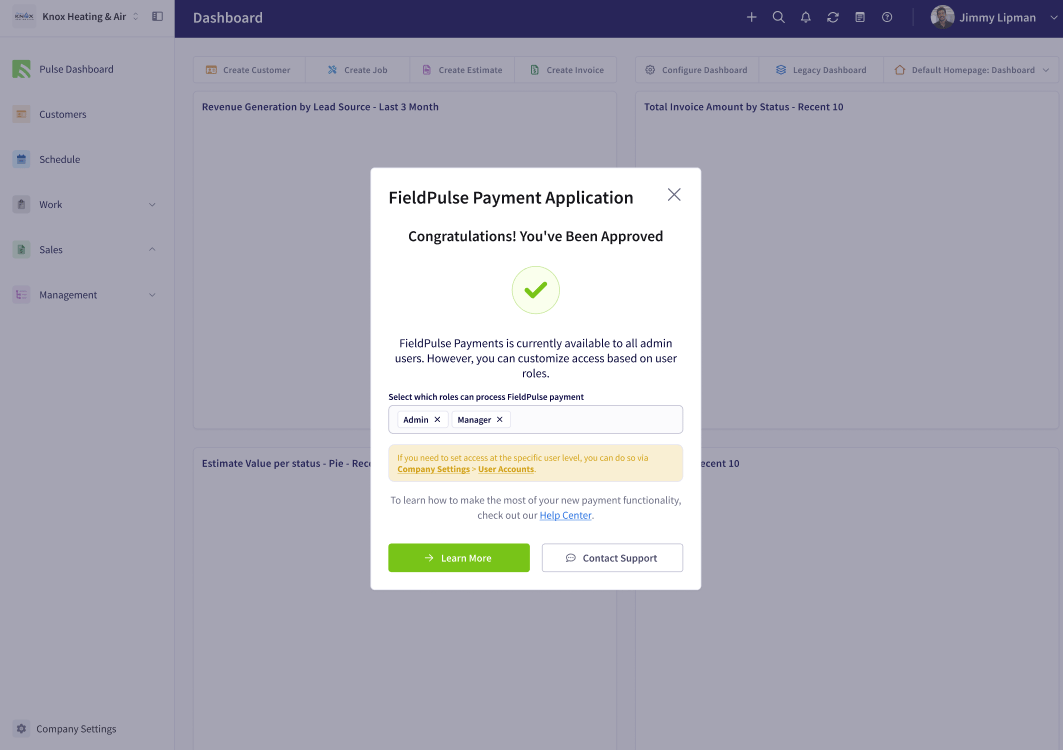
After the review, a pop-up notification in the web app tells you the outcome of your FieldPulse Payments application.
Each status arrives as a pop-up on your FieldPulse dashboard.
Upgrading FieldPulse Payments
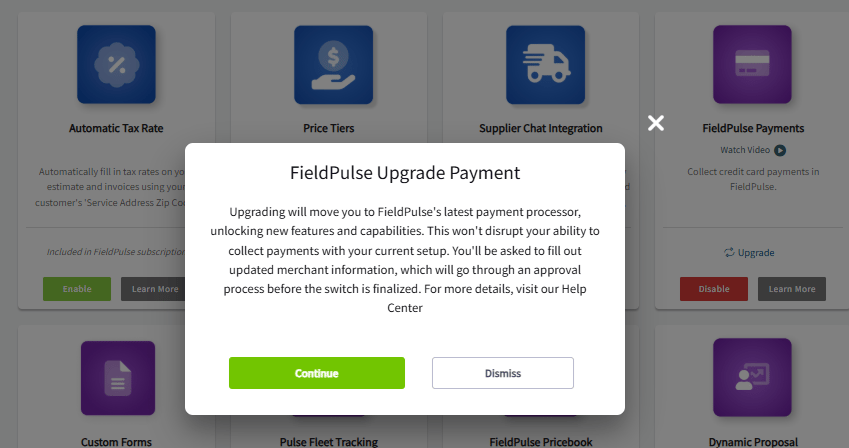
If your FieldPulse Payments tile shows an Upgrade option, you can move to the latest FieldPulse payment processor at any time. Select Upgrade, then select Continue in the pop-up. You fill out updated merchant information, which goes through an approval process before the switch is finalized. Upgrading does not disrupt your ability to collect payments with your current setup.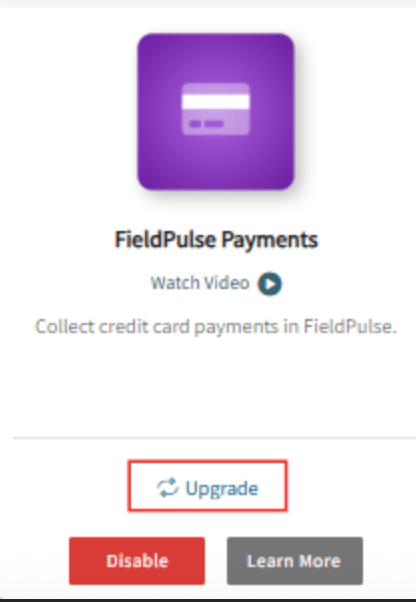
Merchant detail fields
The application collects your merchant details in four groups. Use these tables for what to enter in each field.Business Information
Owners
Banking Information
Attachments
Still need help?
Reach the FieldPulse support team at support@fieldpulse.com or through the chat feature in the bottom-right corner of your screen.Related articles
- FieldPulse Payments Overview
- Payment Provider Options Overview
- Setting Up Card Fee Recovery
- FieldPulse Deposit and Payment Status Details
- How to Collect Payments: 3 Methods
- User Roles and Permissions Details