You can create custom fields for your customer records to store and display any data you wish. With the ability to set the order of your custom fields and add different visibility permissions by role, you can control how your custom fields are displayed to your team members.Documentation Index
Fetch the complete documentation index at: https://fieldpulse.mintlify.app/llms.txt
Use this file to discover all available pages before exploring further.
Adding a New Custom Field
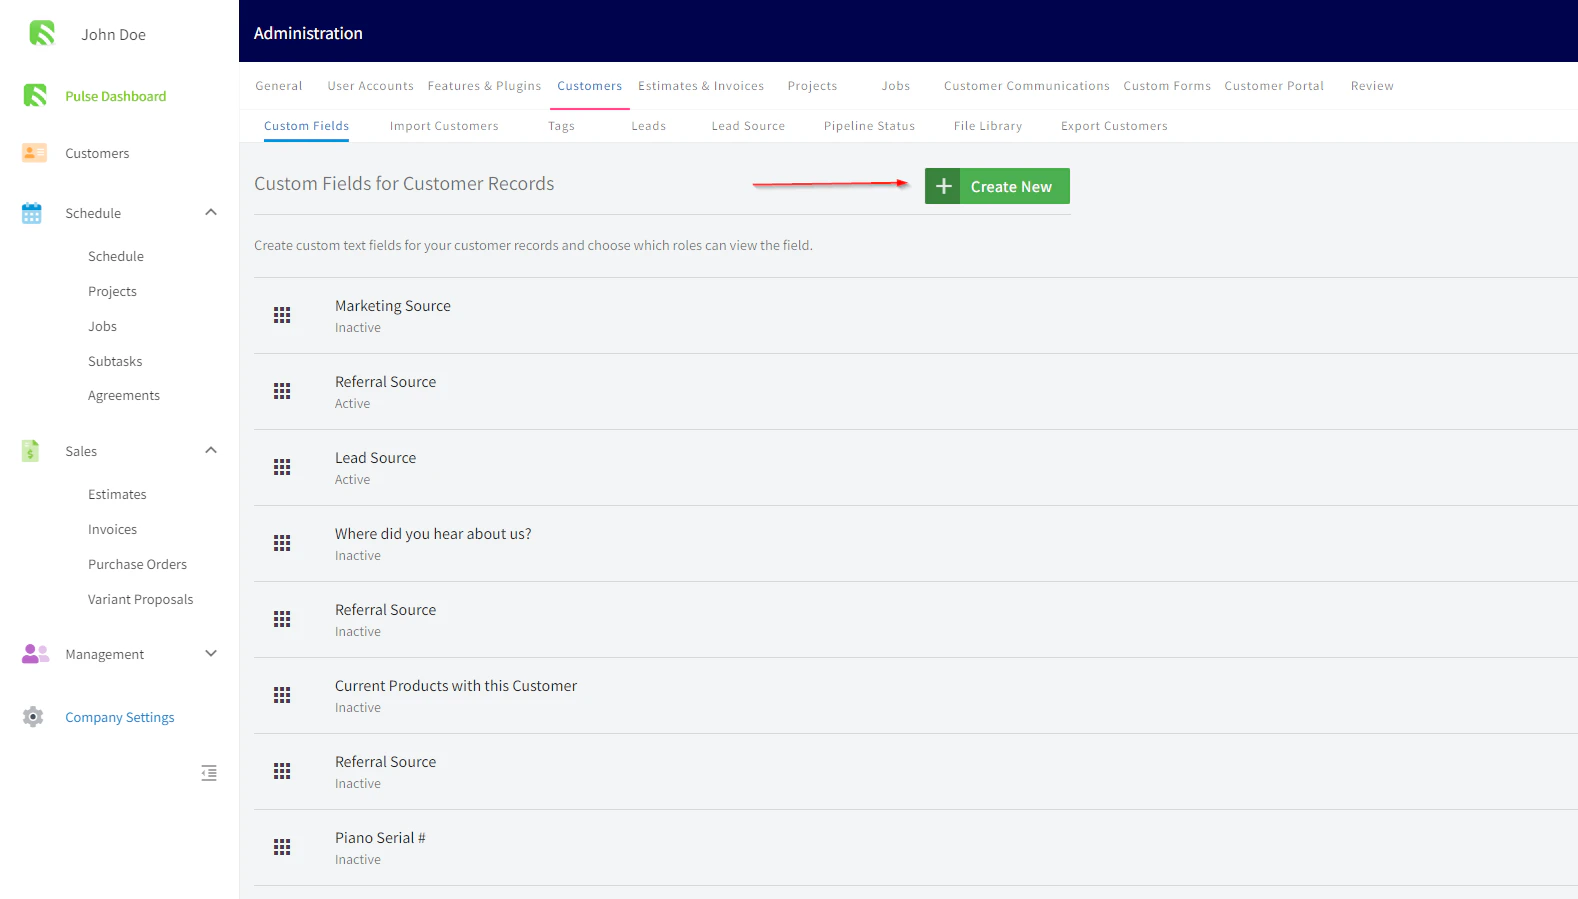
Navigate to Custom Fields settings
Navigate to Company Settings, click on Customers and then the Custom Fields tab.

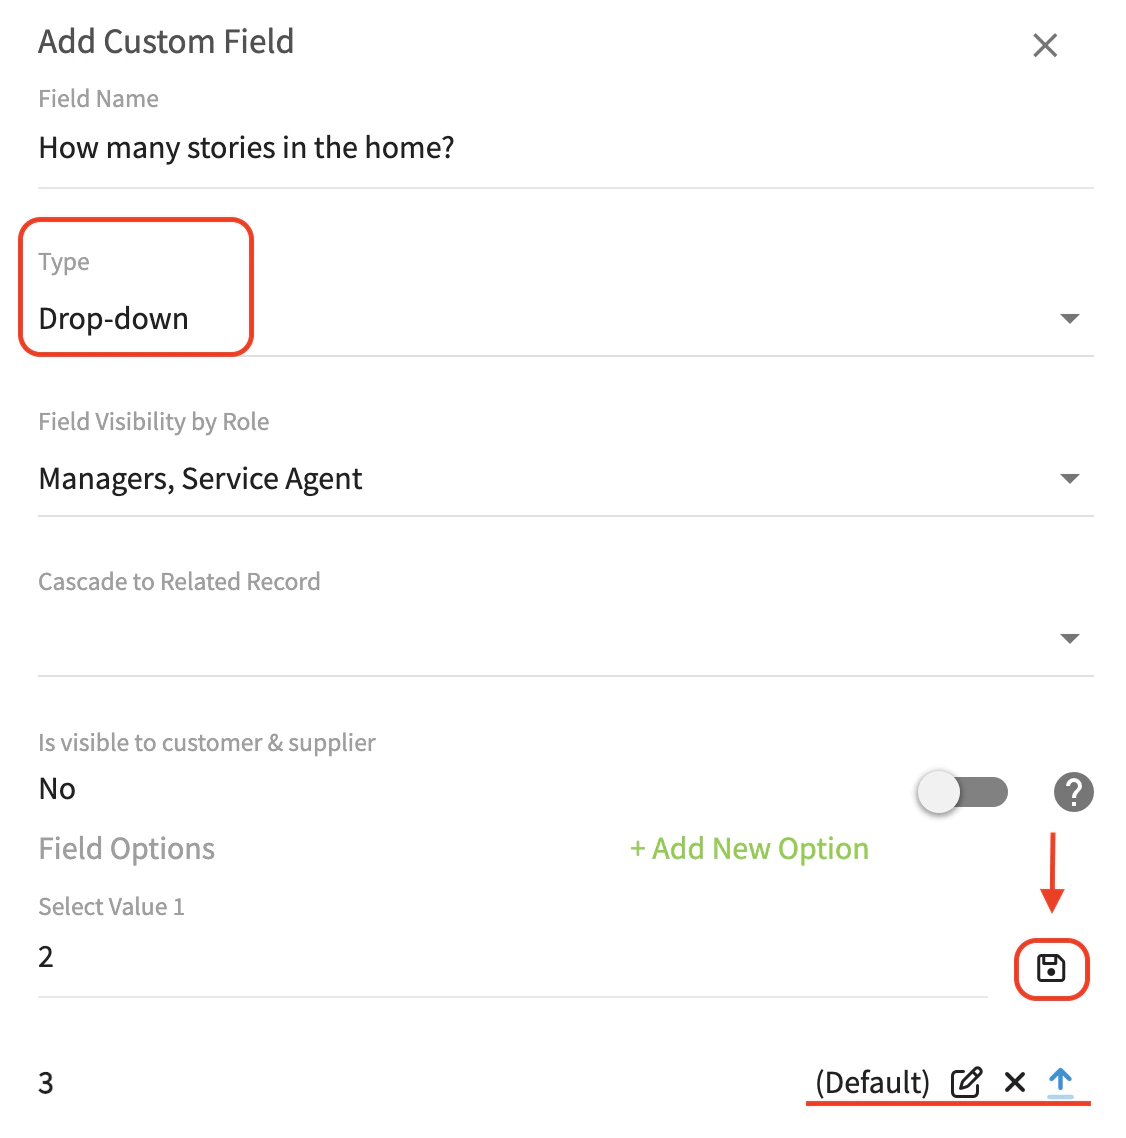
Select the field type
Select from the drop down menu what type of field this will be.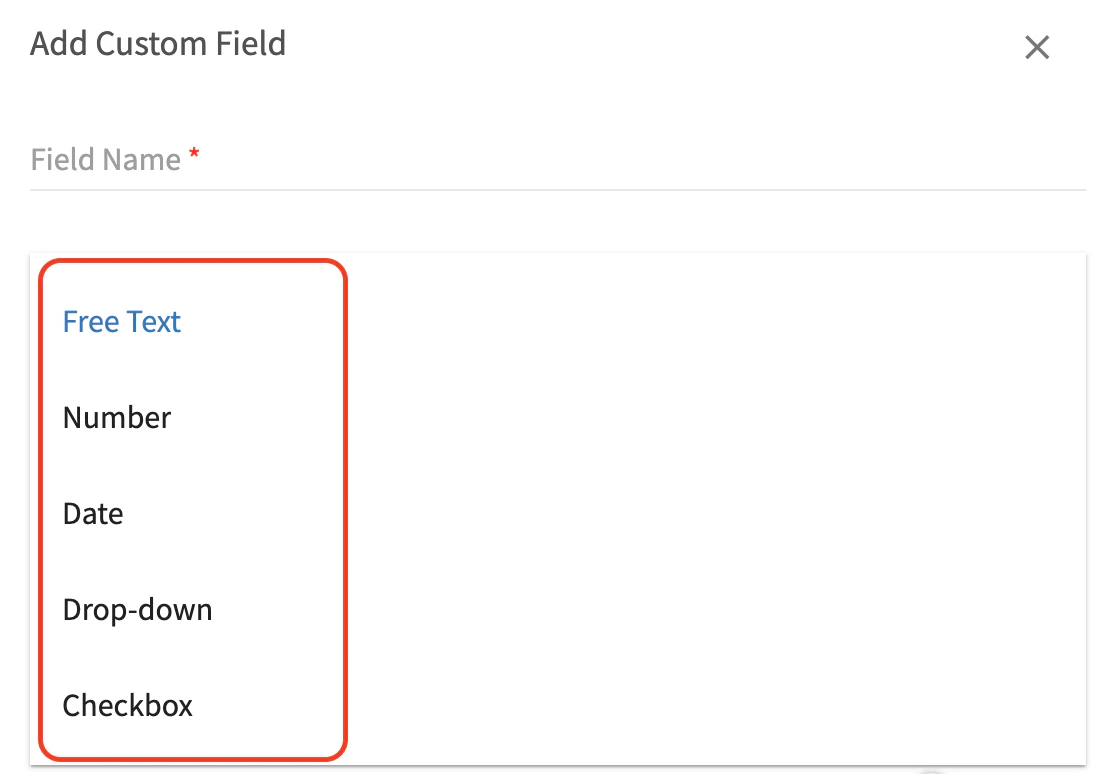
- Free text: Type freely in your own words.
- Number: Indicate a number or quantity.
- Date: Autofill dates using a calendar picker.
- Checkbox: Toggle on/off for boolean values.
-
Drop Down: Define a list of options with a default selection.
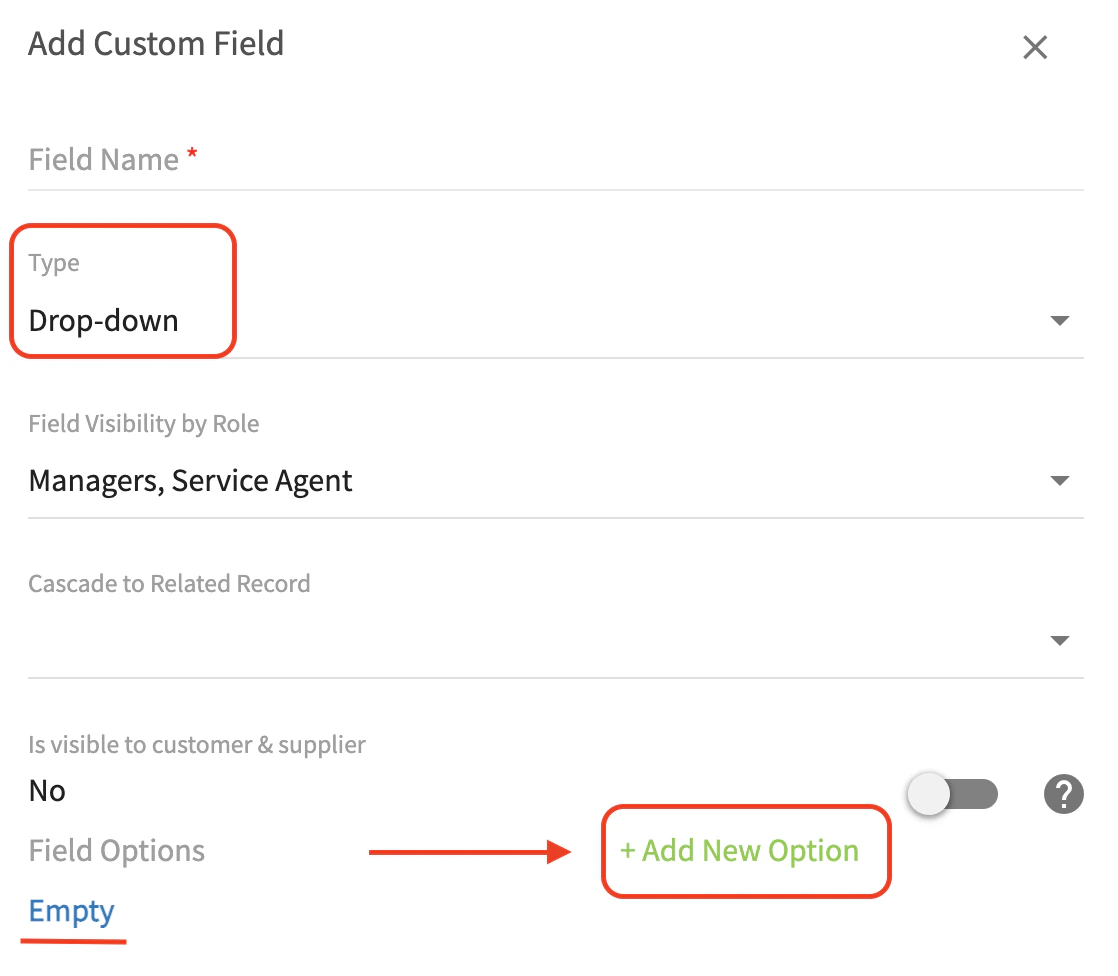
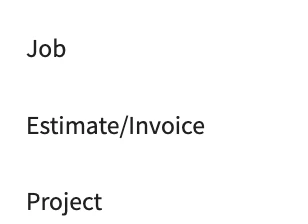
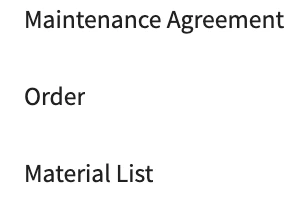
Configure visibility and cascading
Field Visibility by Role: Select whether this field is visible to service agents, team managers, or both.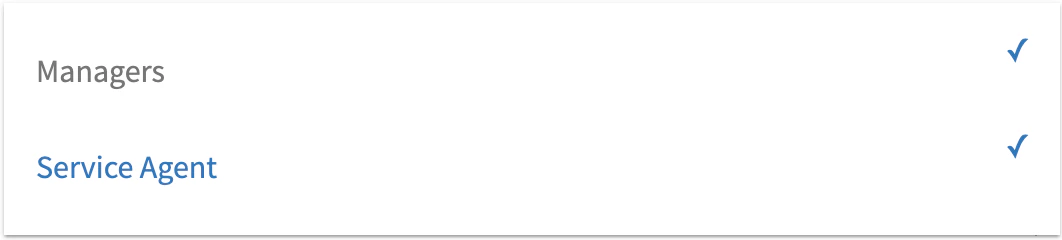
Locating Custom Fields on the Customer Record
Next time you create a new customer, you’ll see your newly created custom field under the Additional Fields section. (Note: A full re-sync, sometimes requiring log out and log in, is needed on mobile apps to see newly created custom fields.)