
Who uses this: Admins configure form settings in Company Settings; each form’s own permission settings decide which roles, teams, and users can see, create, and edit that form. Availability: Custom Forms has to be enabled for your account — contact FieldPulse support.Every custom form template has its own Form Settings panel, and that panel decides how the form behaves once your team starts using it — what the form is called, how large the text is, which records it attaches to, who can open it, and what the email and SMS messages say when you send it to a customer. Setting these before you build the form’s fields means the finished template works the way your team needs it to.
Overview
Form Settings is the configuration panel inside each custom form template. The settings fall into four groups, and each group is a labeled section of the same panel:- General Settings — the form’s name, font sizes, active and offline toggles, template creation, dynamic link locking, status workflow, and the record types the form attaches to.
- Permission Settings — which roles, teams, and users can see, create, and edit the form.
- Email Configuration — the default subject line and body used when the form is emailed to a customer.
- SMS Configuration — the default message body used when the form is texted to a customer.
Video walkthrough
Video walkthrough: custom form settings
Where to find form settings
Form Settings opens from inside the custom form editor.-
Select Company Settings, then open the Custom Forms tab.
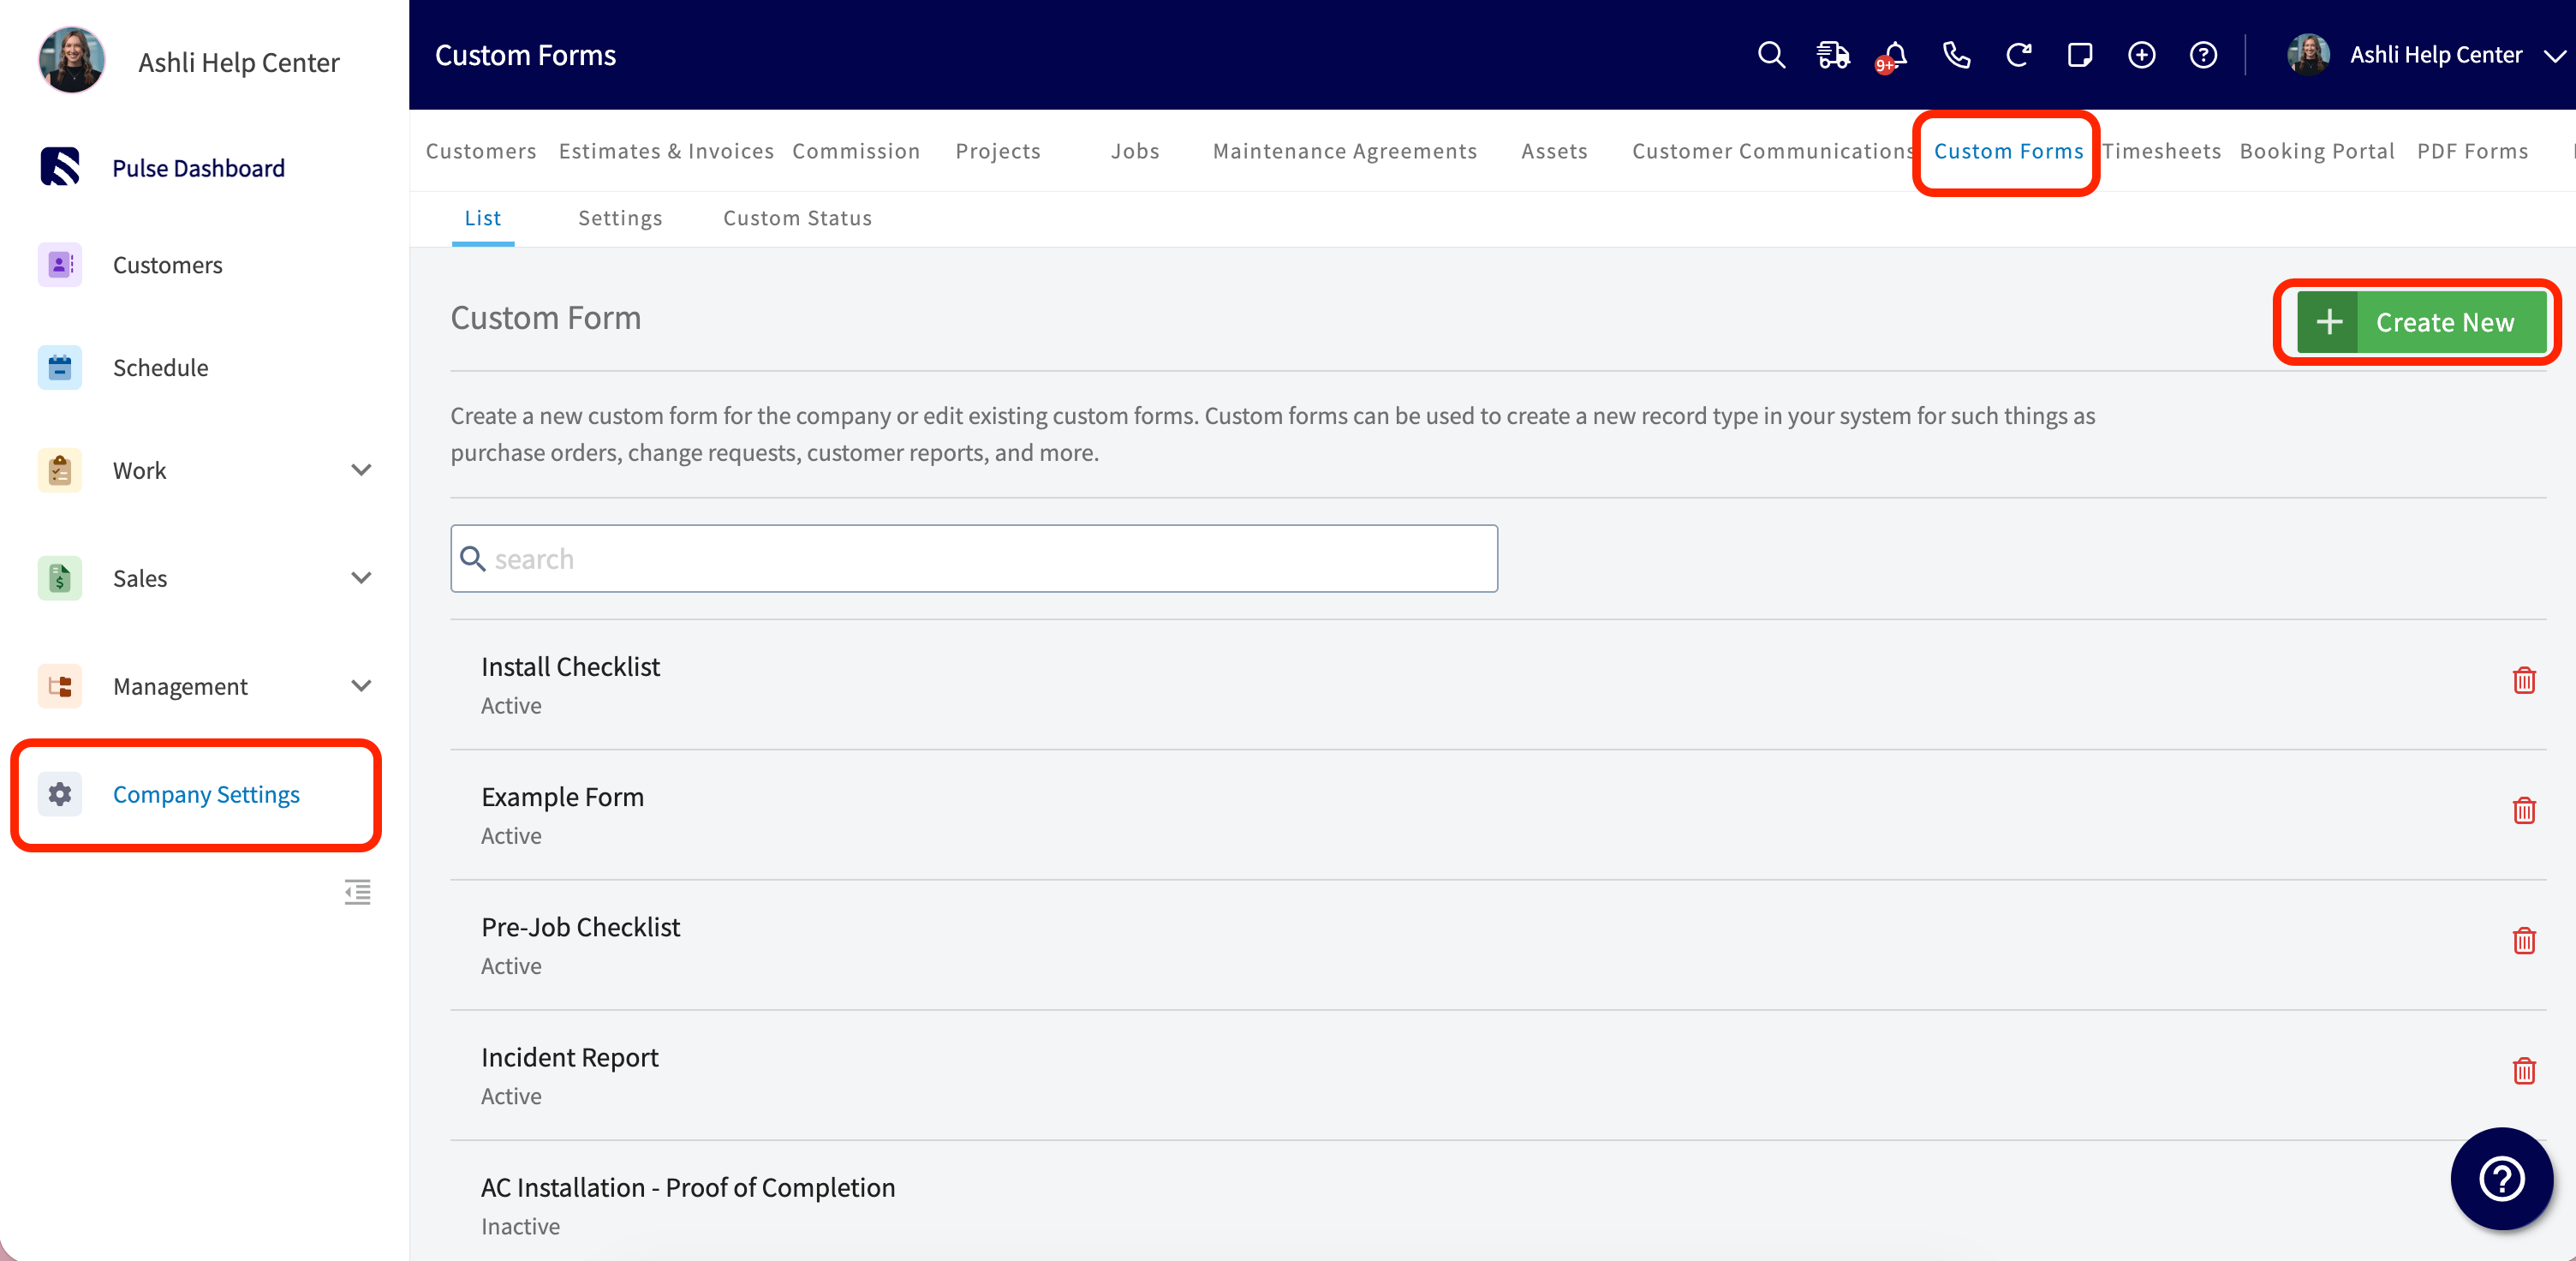
- Select an existing form from the list, or select Create New.
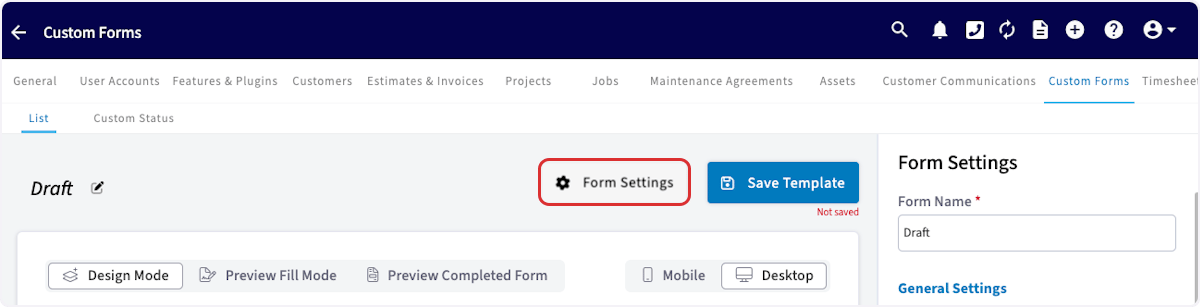
- In the form editor, select Form Settings in the top bar. The settings panel opens along the right side of the editor.
General settings
General Settings covers the form’s name, its text sizes, and the toggles that control where the form is available.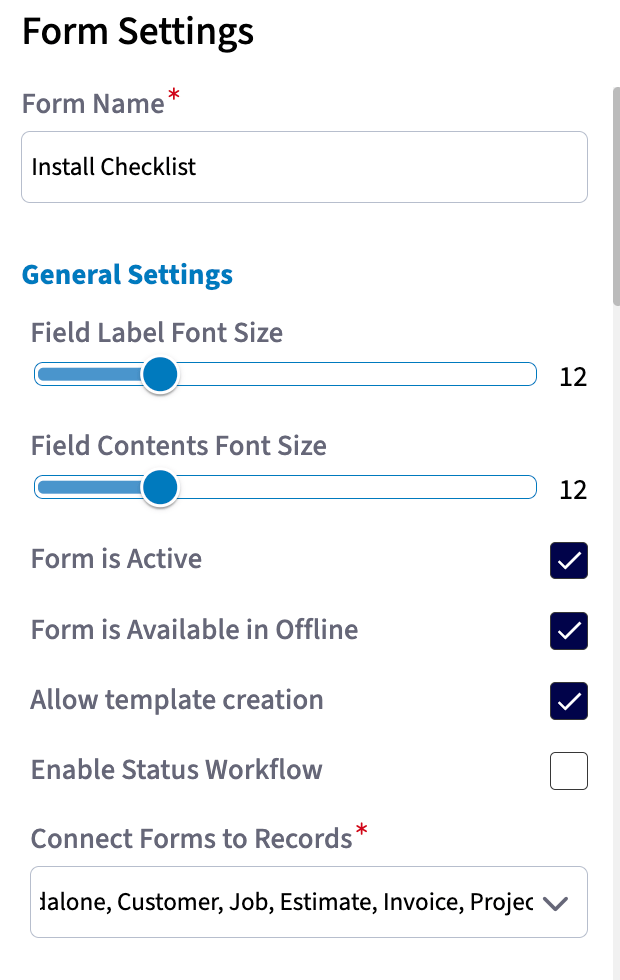
Custom Status Workflow
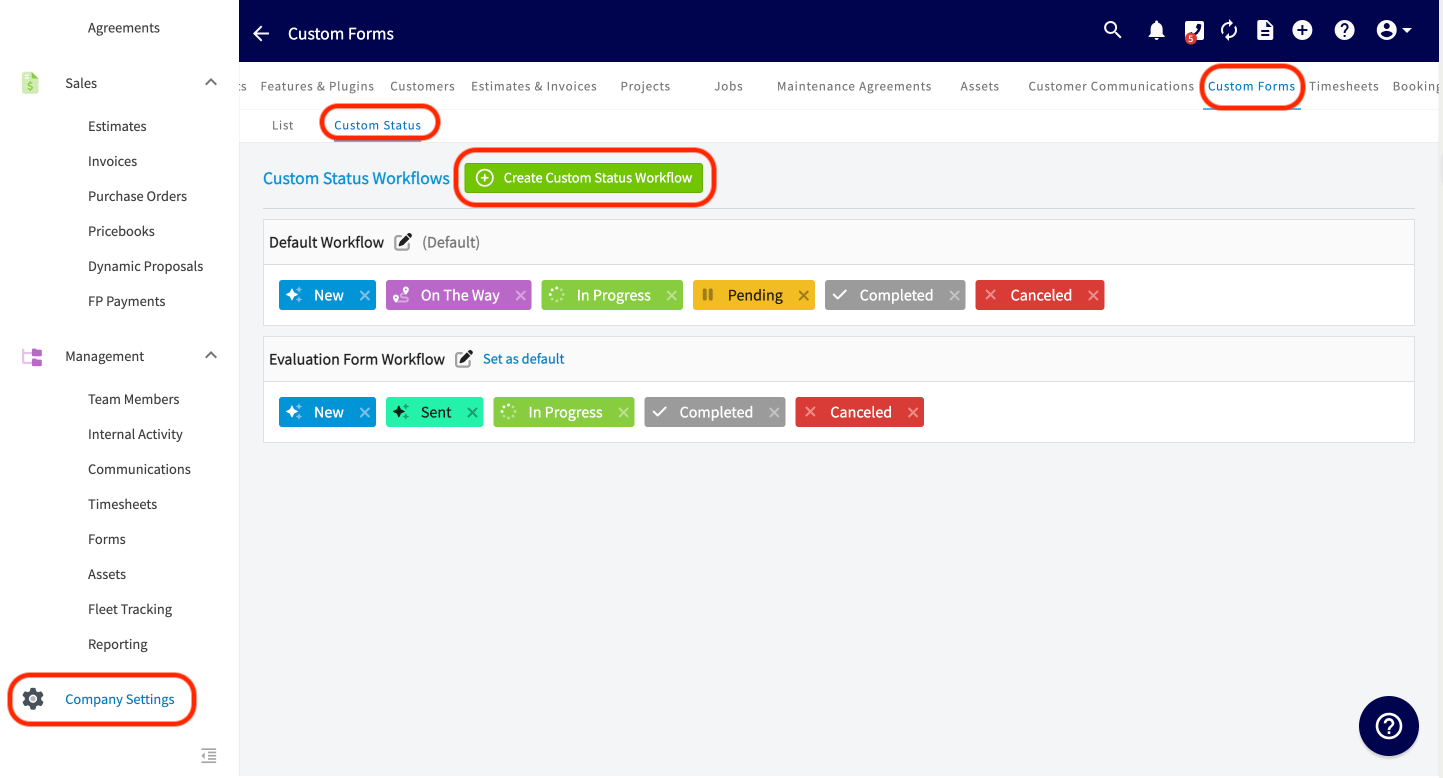
A Custom Status Workflow is an internal set of statuses you assign to a form so your team can see where each form stands — whether a form is new, for example, or has already been sent to the customer. Build the workflow once in Company Settings, then attach it to individual forms.- Go to Company Settings, open the Custom Forms tab, then select Custom Status.
-
Select Create Custom Status Workflow and build a workflow for your custom form.
- Return to the form’s Form Settings and check Enable Status Workflow.
-
Choose the workflow this form should use from Select Status Workflow.
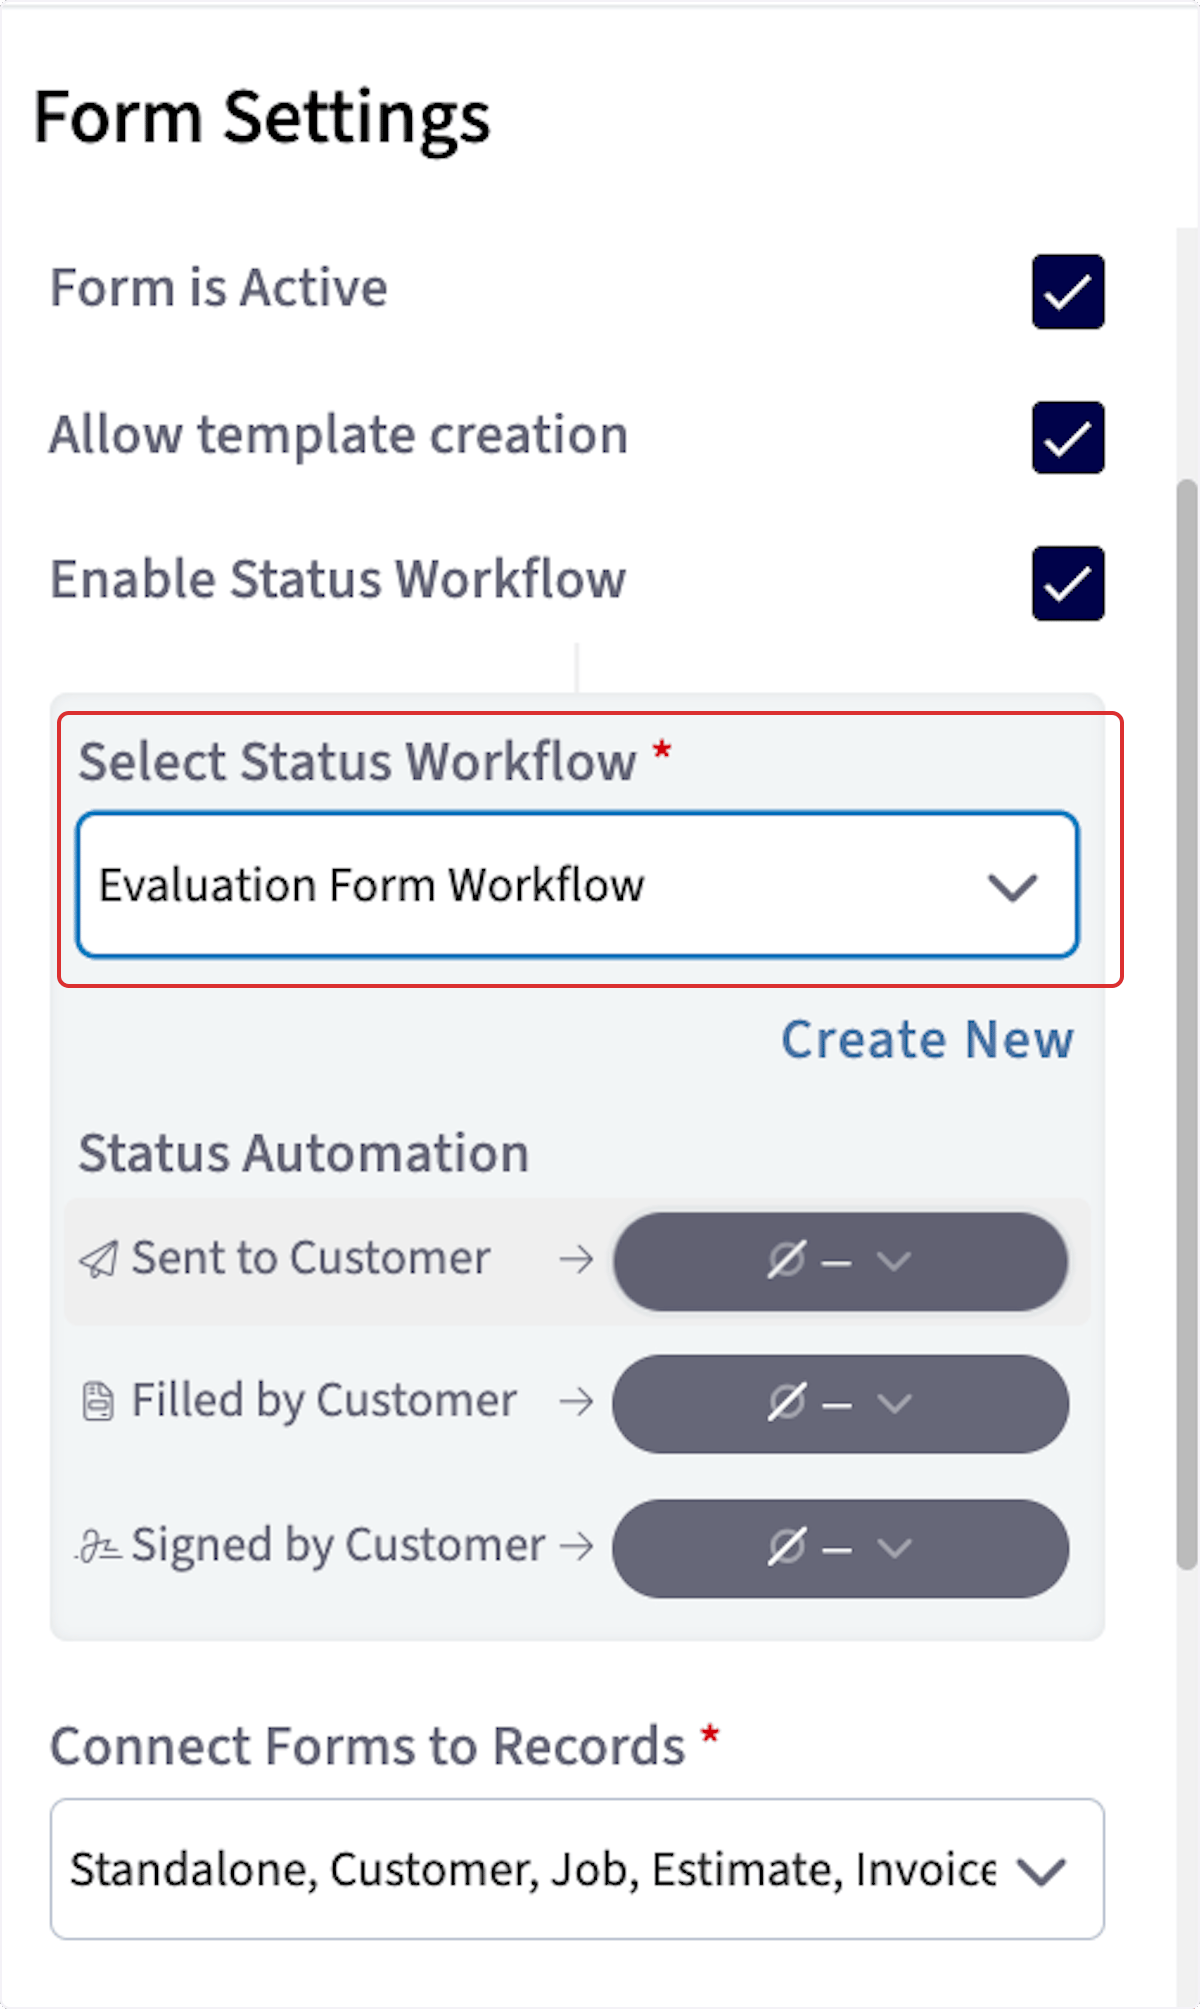
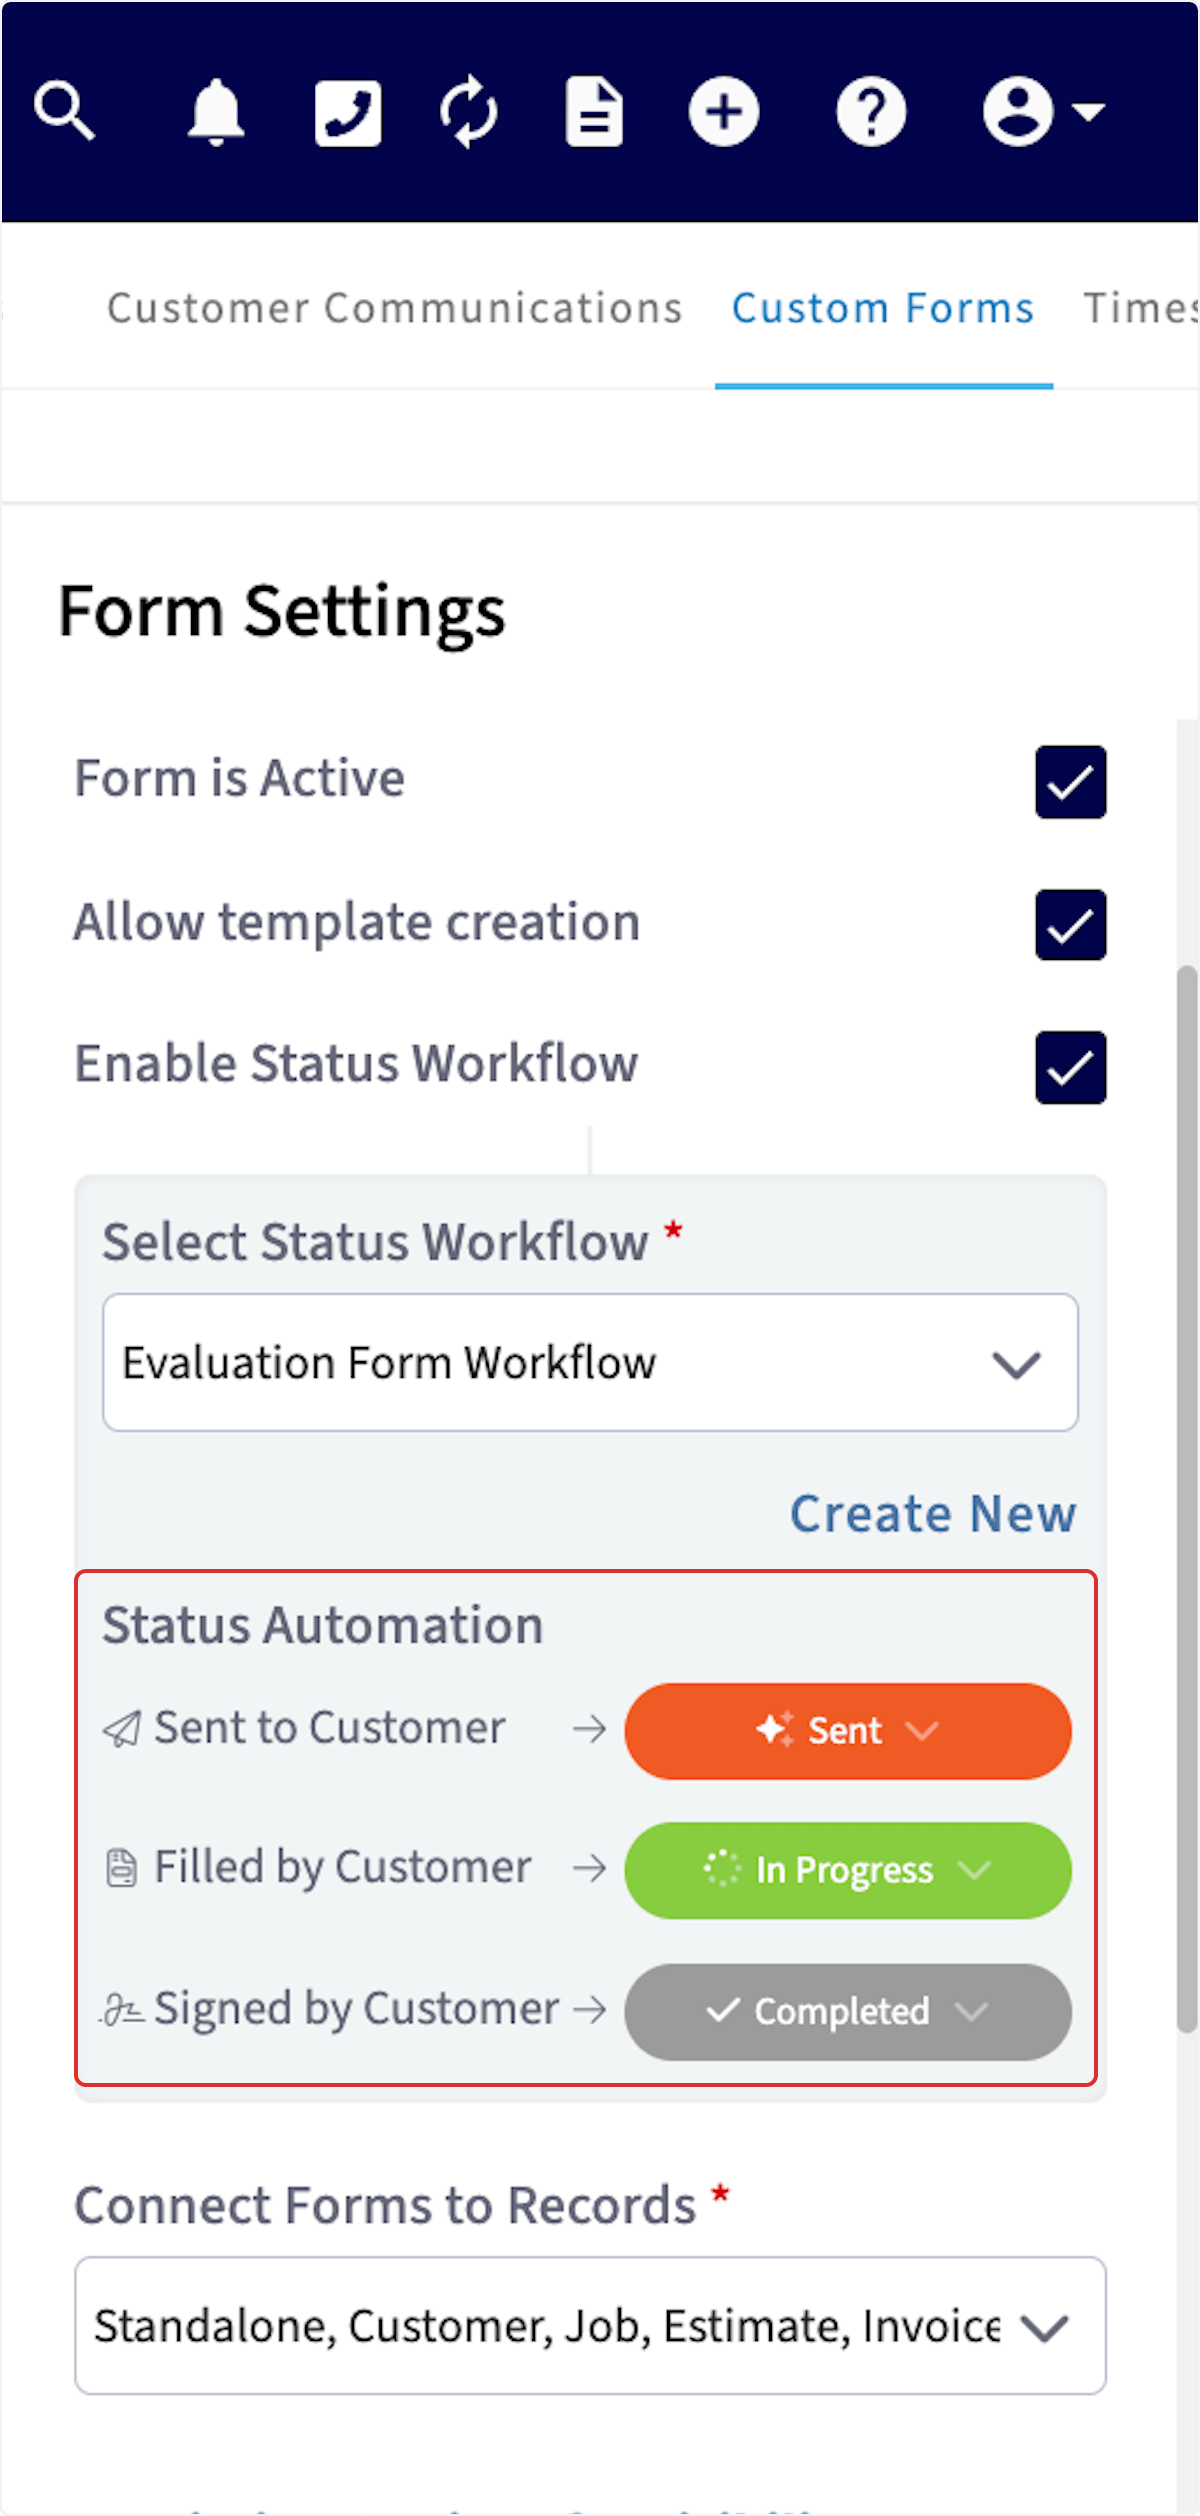
- Set the Status Automation rules for the form.
Connect Forms to Records
Connect Forms to Records specifies which record types this form can be attached to. The available record types are Standalone, Customer, Job, Estimate, Invoice, Project, Maintenance Agreement, and Asset. Select every record type where you want this form available. For example, with Job selected, you can open a job record, go to Forms, select Create New, and the form template appears in the list of form types. If Job is not selected, that template is not available on job records.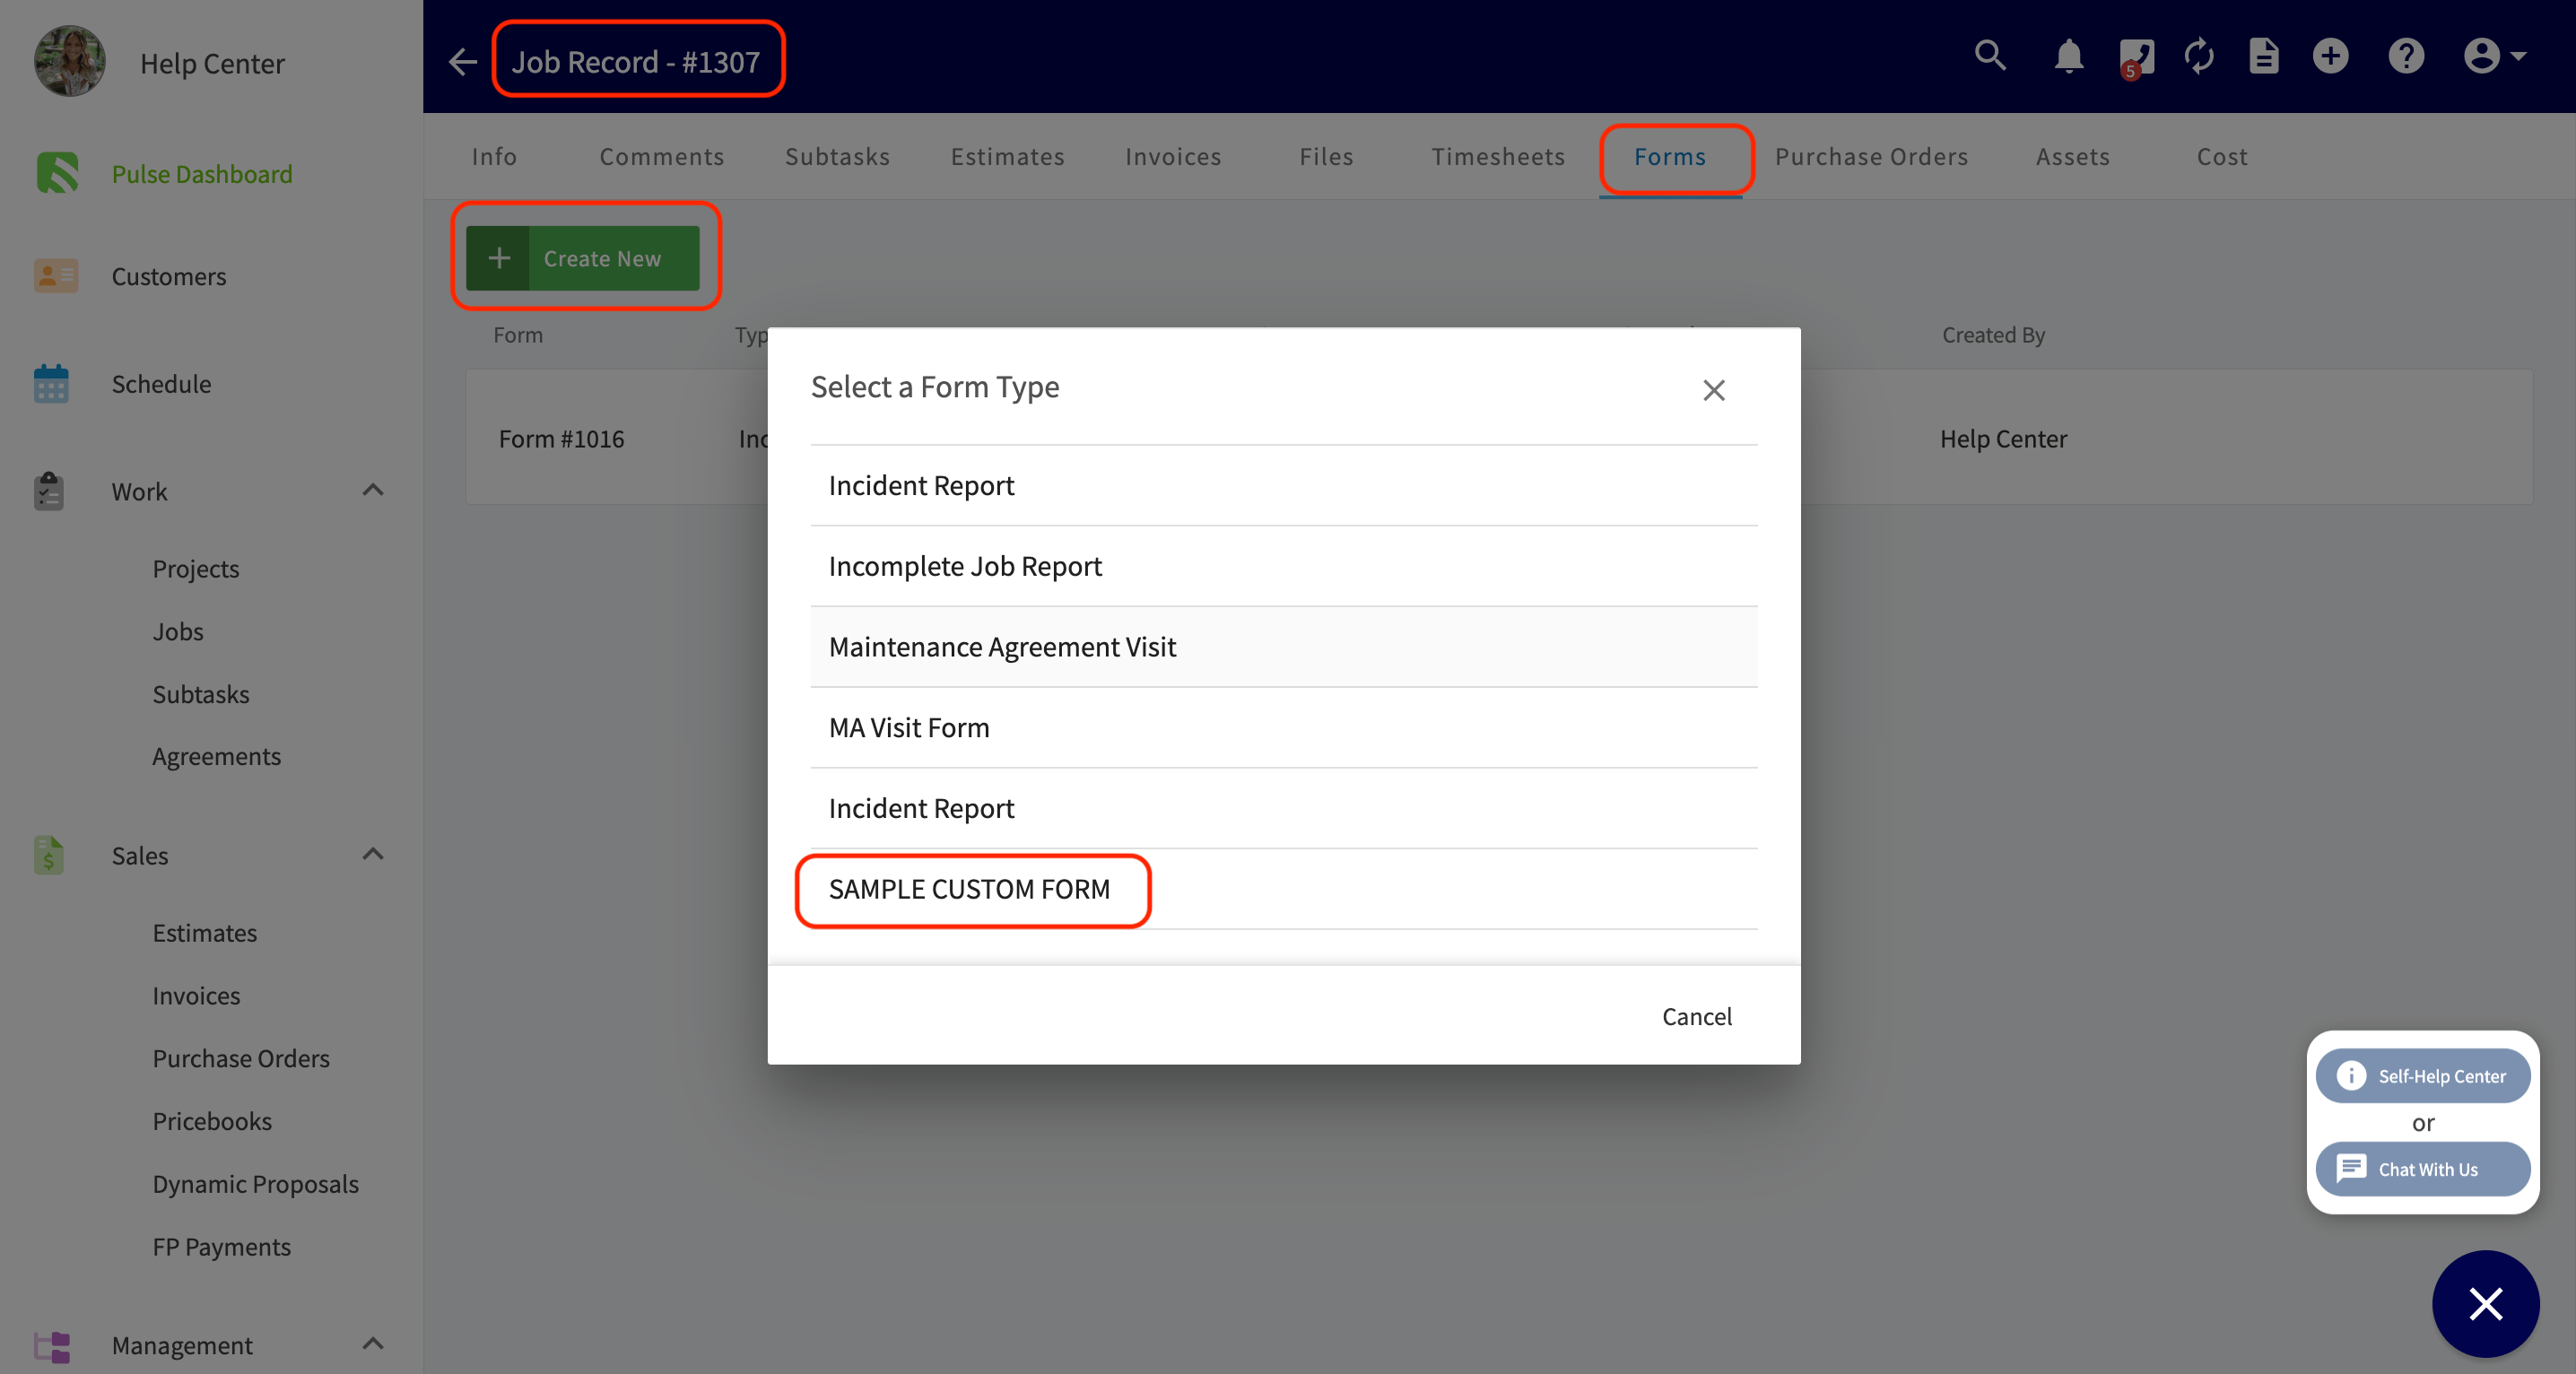
Lock Dynamic Link once Signed
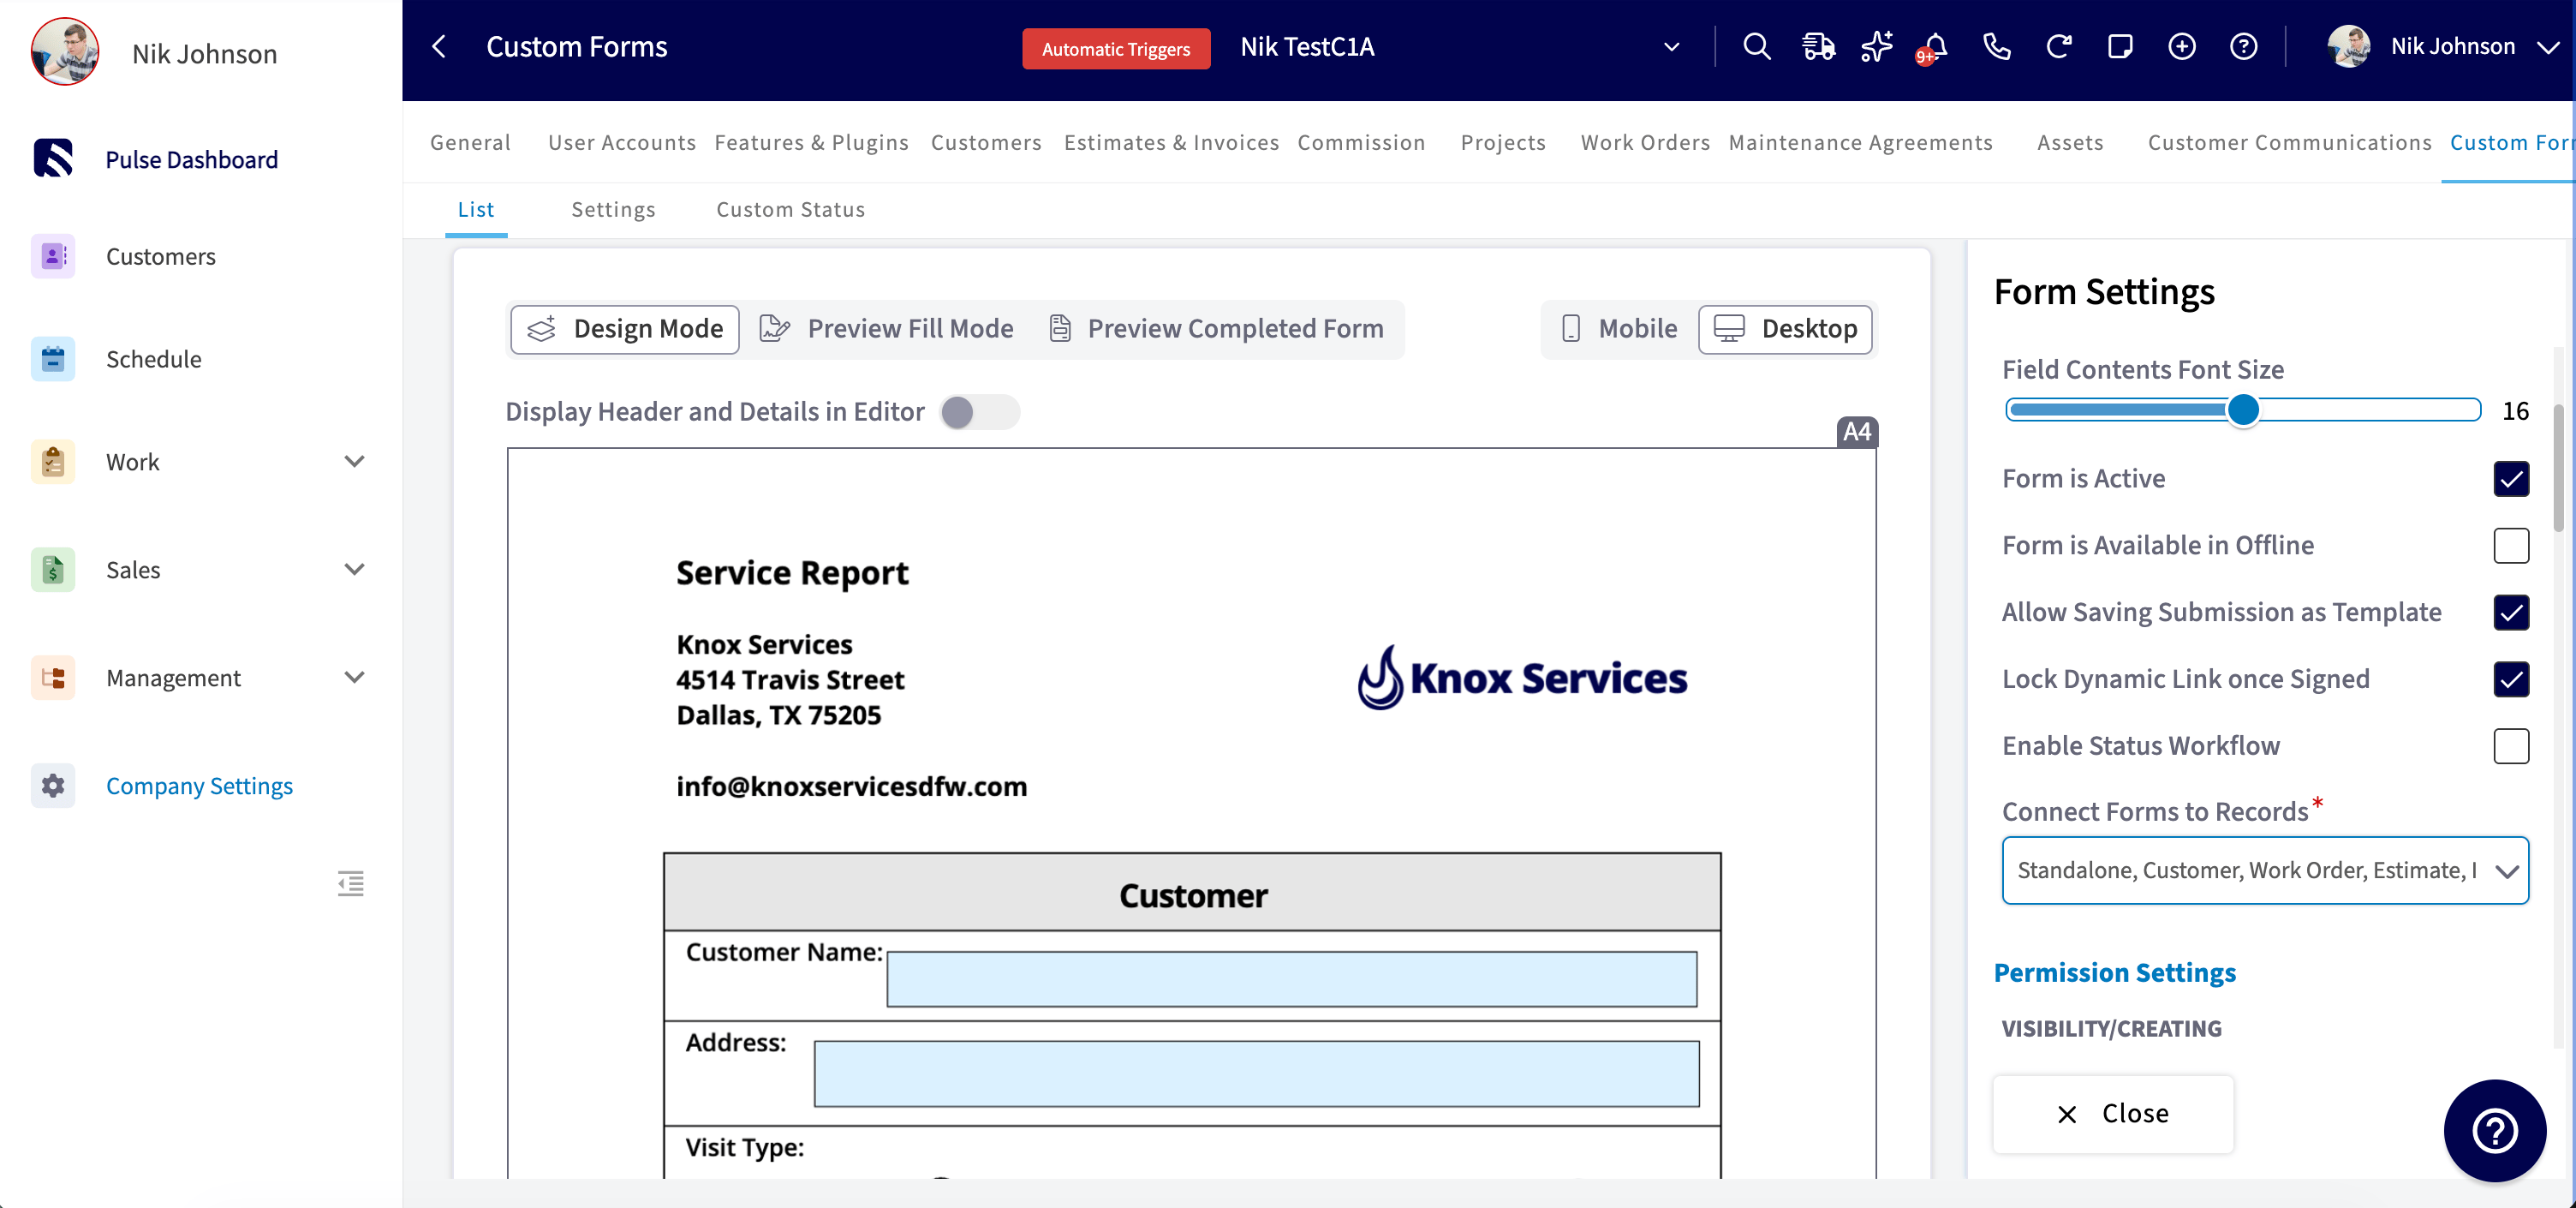
Lock Dynamic Link once Signed controls what happens to the form’s public link once every signature field on the form has been completed.- On — as soon as all signatures on the form are collected, the form locks. Anyone visiting the public link sees a confirmation screen reading “Your submission has been sent! Download the PDF” and can no longer submit additional changes.
- Off — the public link stays open for additional submissions even after all required signatures are collected. Use this when more than one person needs to sign through the same link, or when edits may need to be made after signing.
Permission settings
Permission Settings controls who can work with this form. Access is assigned to roles, teams, or specific users.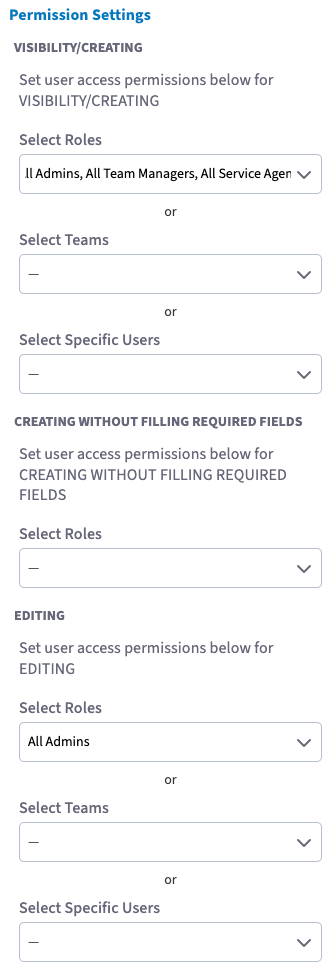
Email configuration
Email Configuration sets the message that pre-populates when this form is sent to a customer by email.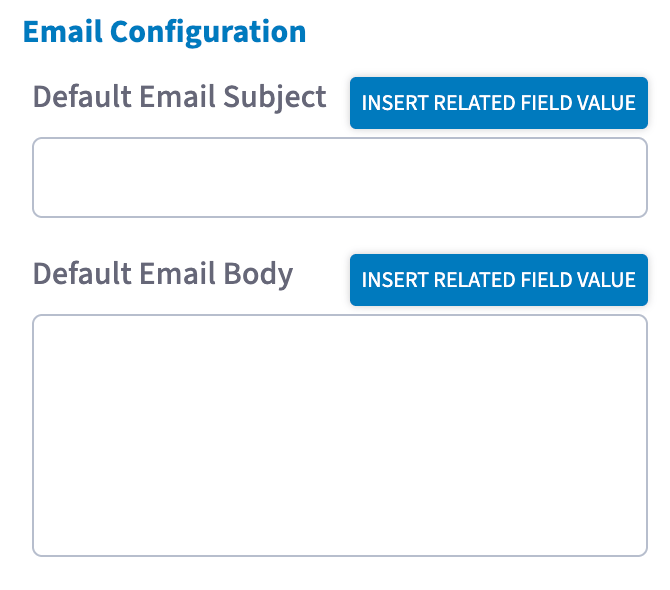
Default Email Subject
The Default Email Subject is the subject line that pre-populates when this form is sent to a customer by email. Select Insert Related Field Value to the right of the field to add a dynamic value from the searchable dropdown.Default Email Body
The Default Email Body is the content that pre-populates in the message when this form is sent by email. Select Insert Related Field Value to add dynamic values. The email body accepts every value the subject line accepts, plus the record detail values listed under Related field values below.Admins configure these defaults in Company Settings. Team Managers and Service Agents can still adjust the subject or body at the time of sending if a one-off change is needed.
SMS configuration
SMS Configuration sets the text message that pre-populates when this form is sent to a customer by SMS. Default SMS Body is the only setting in this group. Select Insert Related Field Value to add dynamic values; the SMS body accepts the same values as the Default Email Body.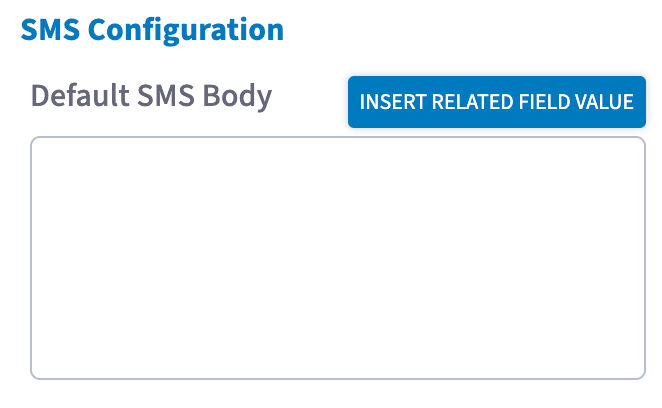
Related field values
Insert Related Field Value pulls information from the record the form is attached to, so the message fills itself in when the form goes out. Which values are available depends on the field you are editing.Notes & limitations
- Font sizes run from 8 to 24 for both field labels and field contents.
- Offline Mode holds up to 20 form templates at a time. Turning Form is Available in Offline off excludes the form from that offline pool. See Custom Forms Offline Mode Details.
- With no visibility or editing restrictions set, the form is accessible to all users.
- Turning off Form is Active keeps the form from appearing when someone creates a new form on a record.
- Form Settings are configured per template. Every custom form you create carries its own settings.
- Status workflow and permission settings do not travel with an exported template. They are excluded from Import / Export JSON by design and are set up again in the destination account. See How to Import and Export Custom Form Templates.