
Who uses this: Admins — Import / Export JSON is admin-only and lives in Company Settings under Custom Forms. · Availability: All regions. Web only — the Import / Export JSON option is not in the mobile app.Building a custom form takes time. Once you have the fields, sections, and conditional logic the way you want them, you can export the template as a JSON file and import it somewhere else instead of rebuilding 50-plus fields by hand.
Overview
Every custom form template can be exported to a.json file and imported into another FieldPulse account. The file carries the form’s structure — fields and field-level settings, sections and layout, conditional logic, and PDF mappings. Account-specific settings, such as the status workflow and permissions, are excluded from the file and are configured again in the destination account.
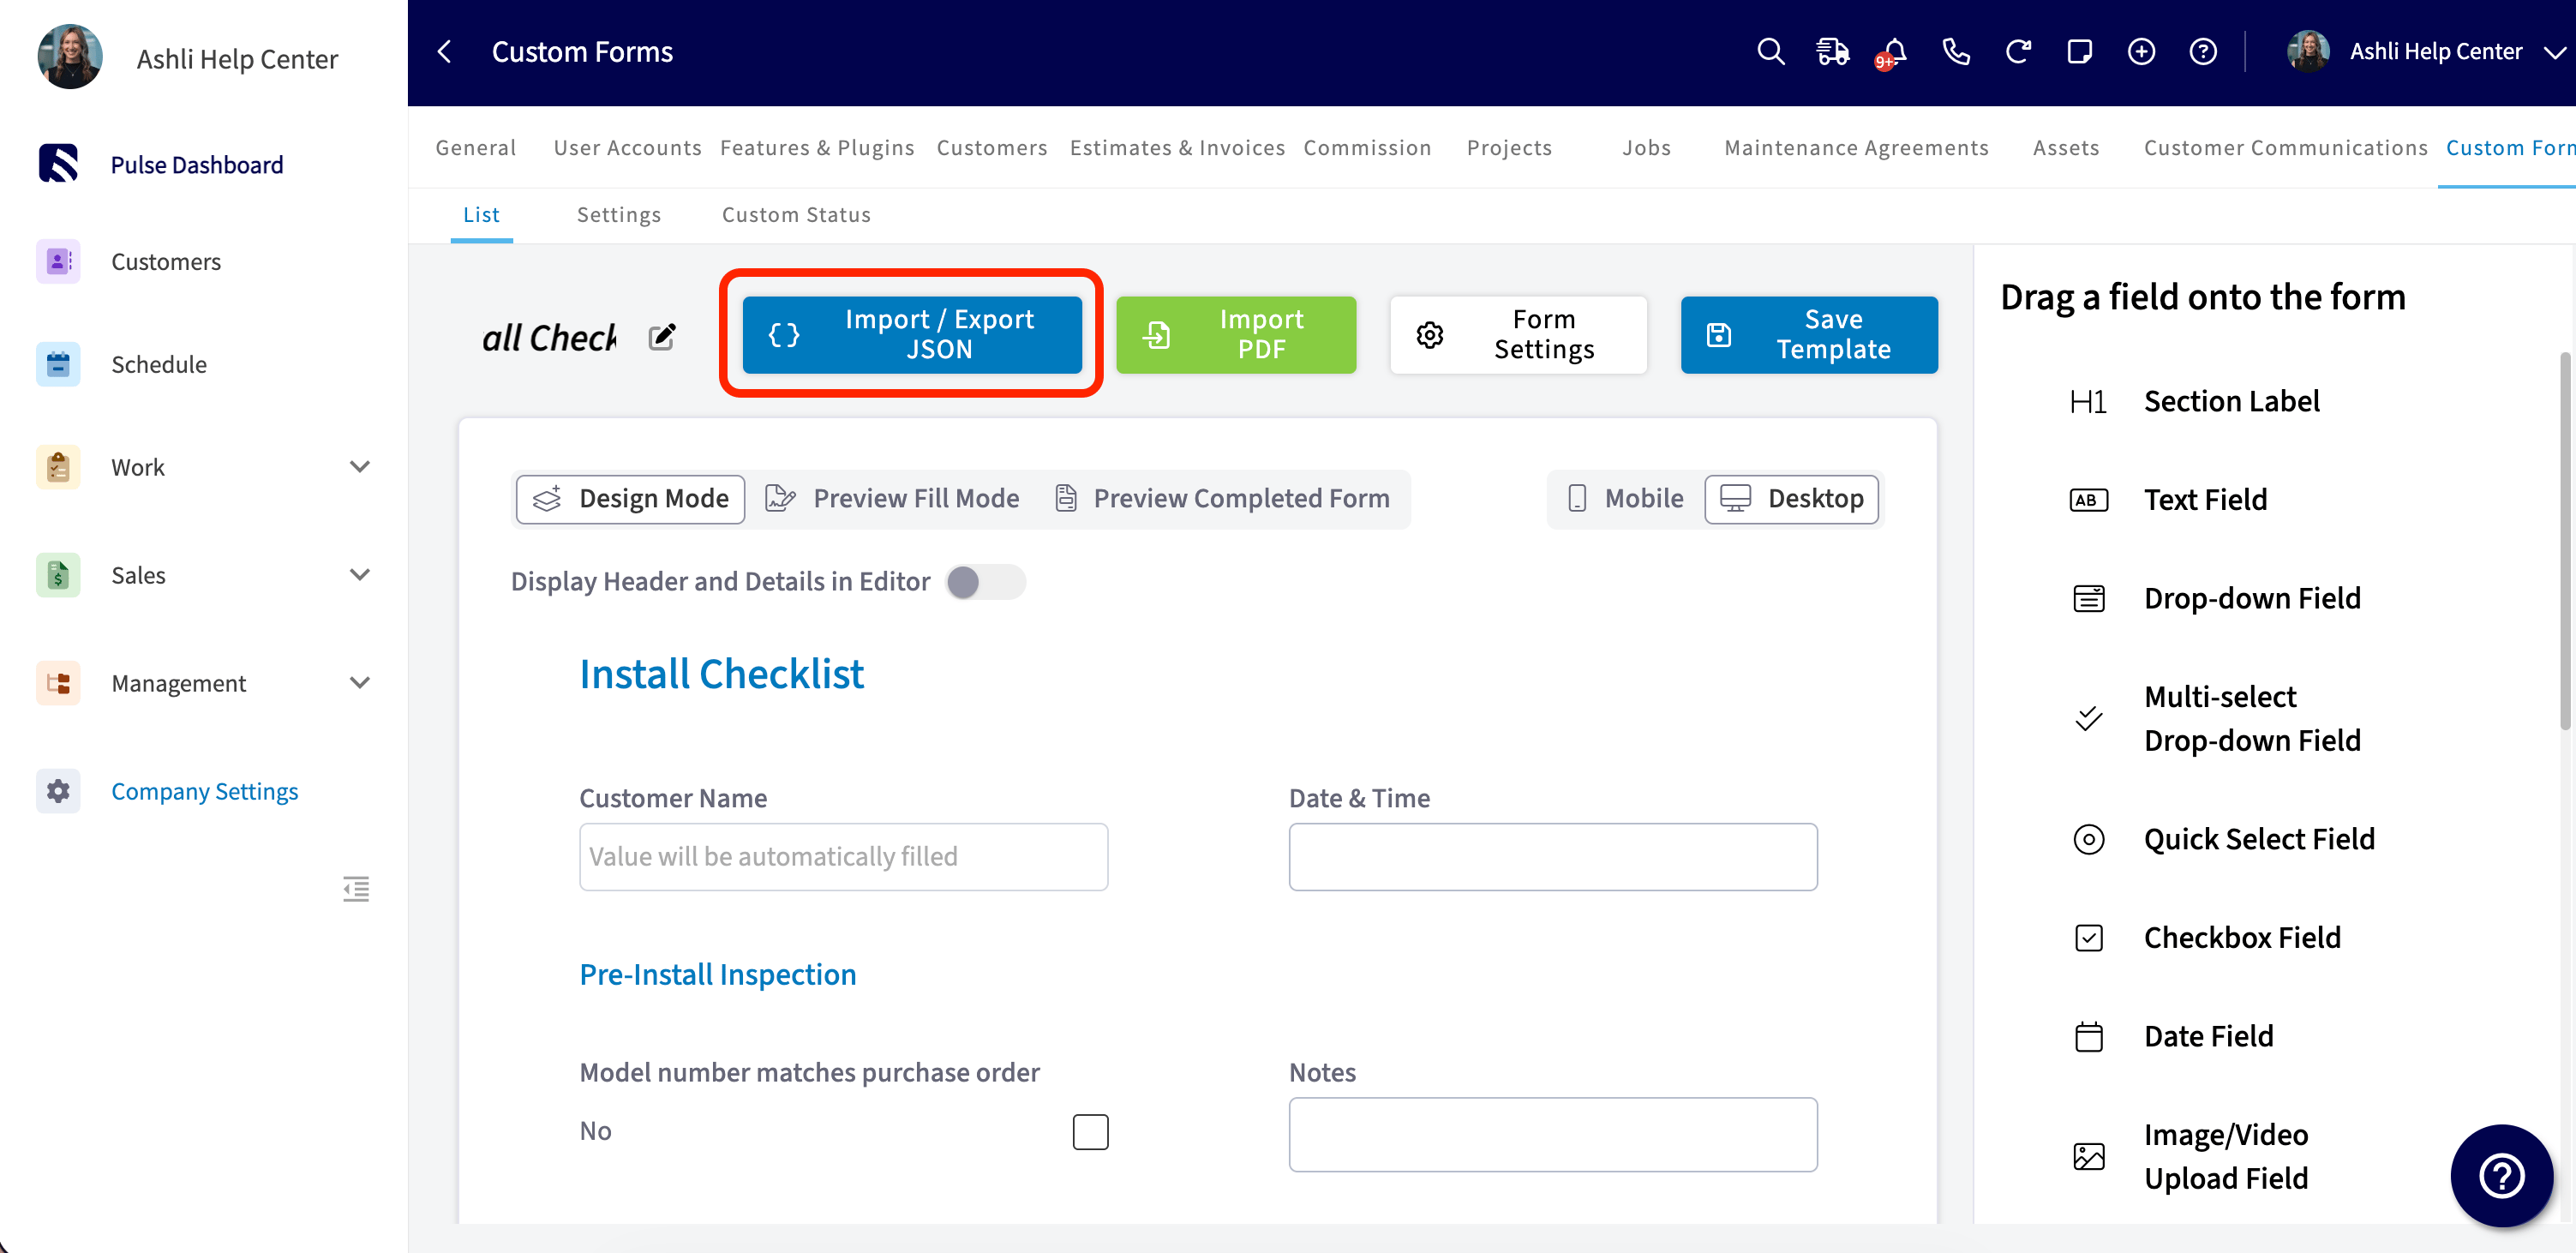
Both actions run from the Import / Export JSON dropdown in the Custom Form Template editor, next to Import PDF, Form Settings, and Save Template.
Use import and export to:
- Replicate a single source-of-truth template across child accounts
- Import a pre-built Custom Form template
- Share a working template with someone outside FieldPulse
- Back up your most important forms before making big changes
Before you begin
- Sign in as an admin on the web app. Import / Export JSON is admin-only and is not available in the mobile app.
- Have Custom Forms enabled for your account. See Setting Up Custom Forms.
-
Leave the
.jsonfile as FieldPulse wrote it. A file edited by hand can stop matching the expected schema and fail to import.
On web
Export a template
-
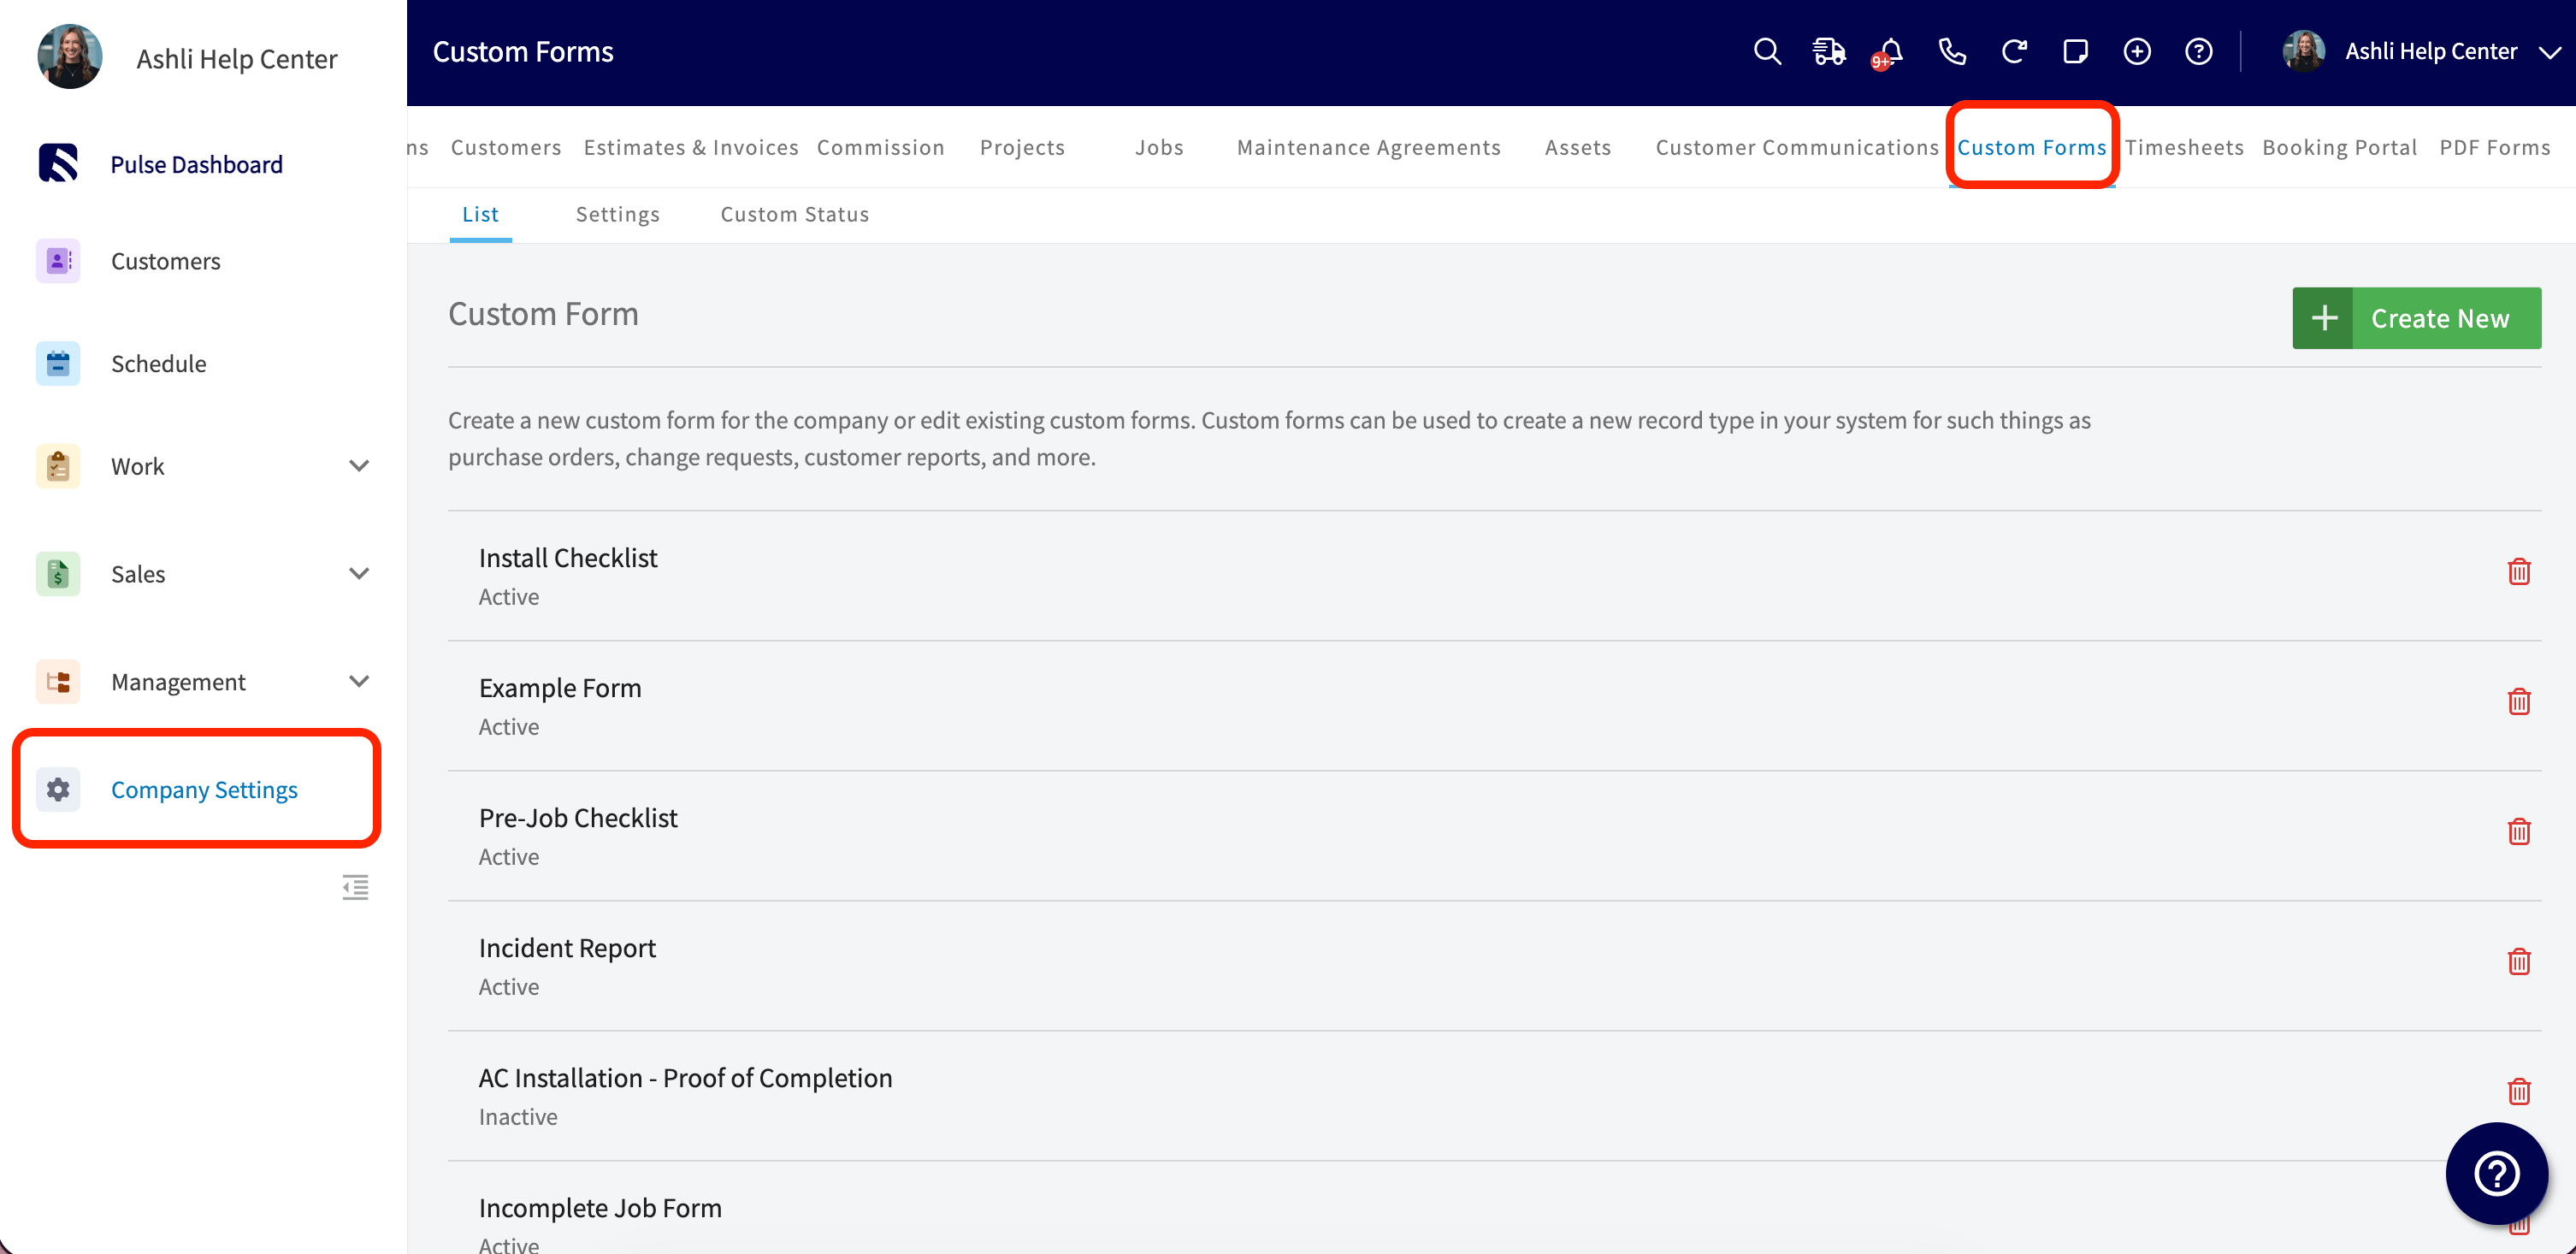
Select Company Settings in the left-side menu, then select the Custom Forms tab.
-
Open the template you want to export, then select Import / Export JSON.
- Select Export JSON.
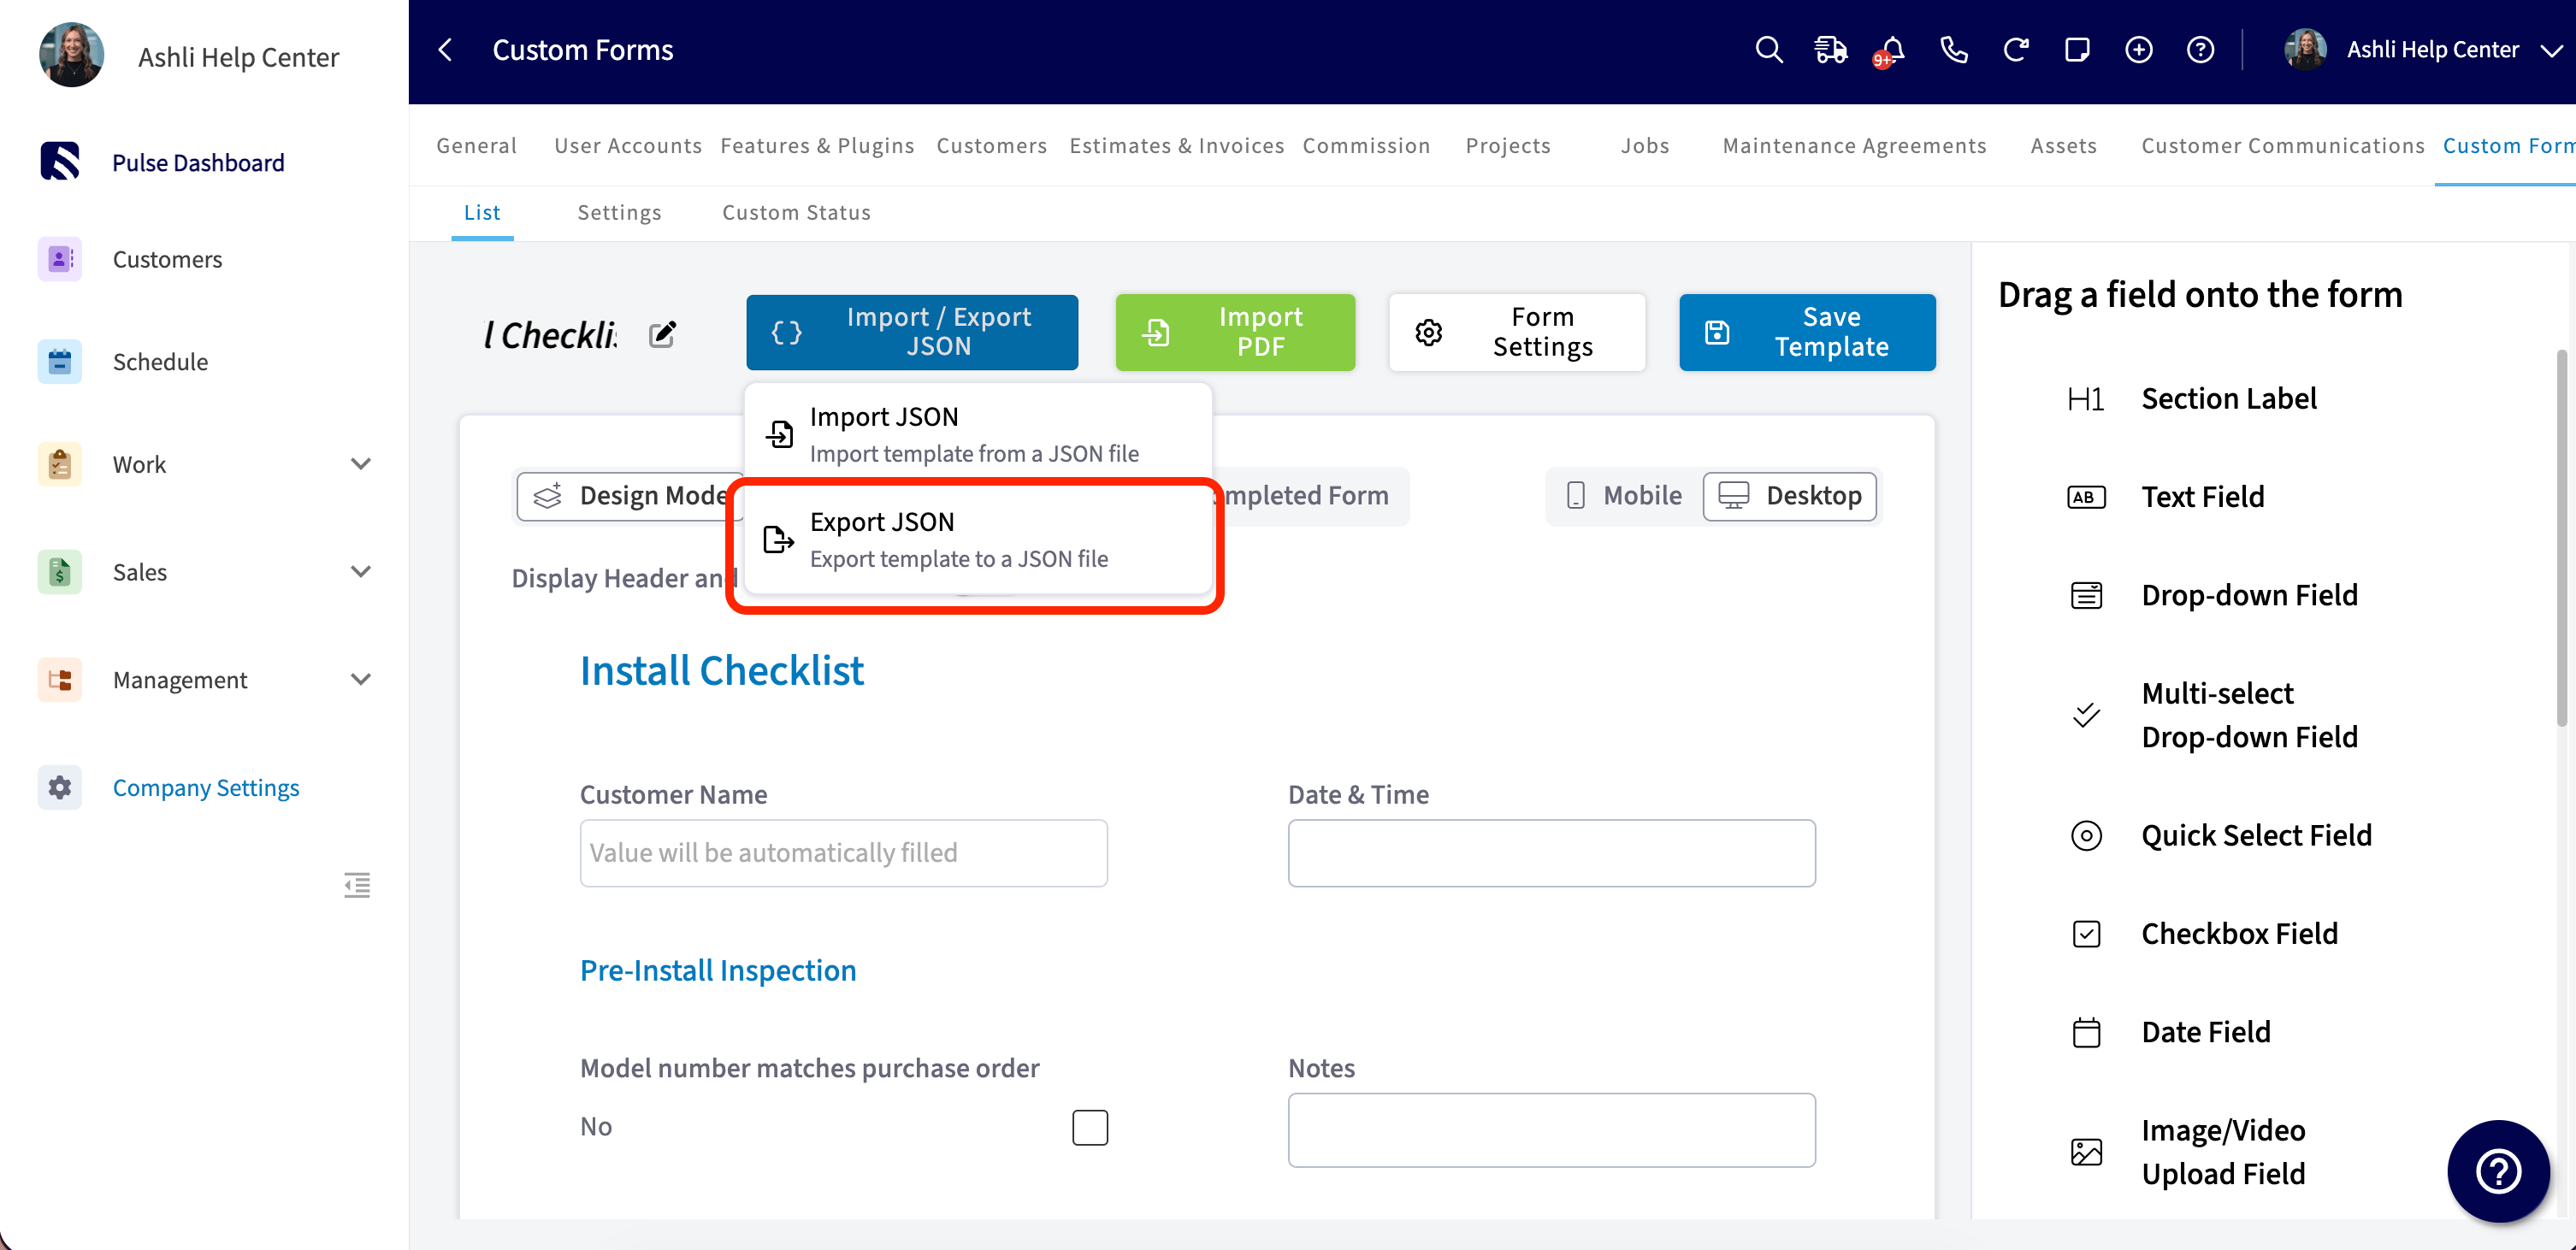
.json file named after the template. Save the file somewhere safe, or send it to whoever needs it.
Import a template
- Select Company Settings in the left-side menu of the destination account, then select the Custom Forms tab.
- Select Create New to start a new form, or open the existing template you want to replace.
-
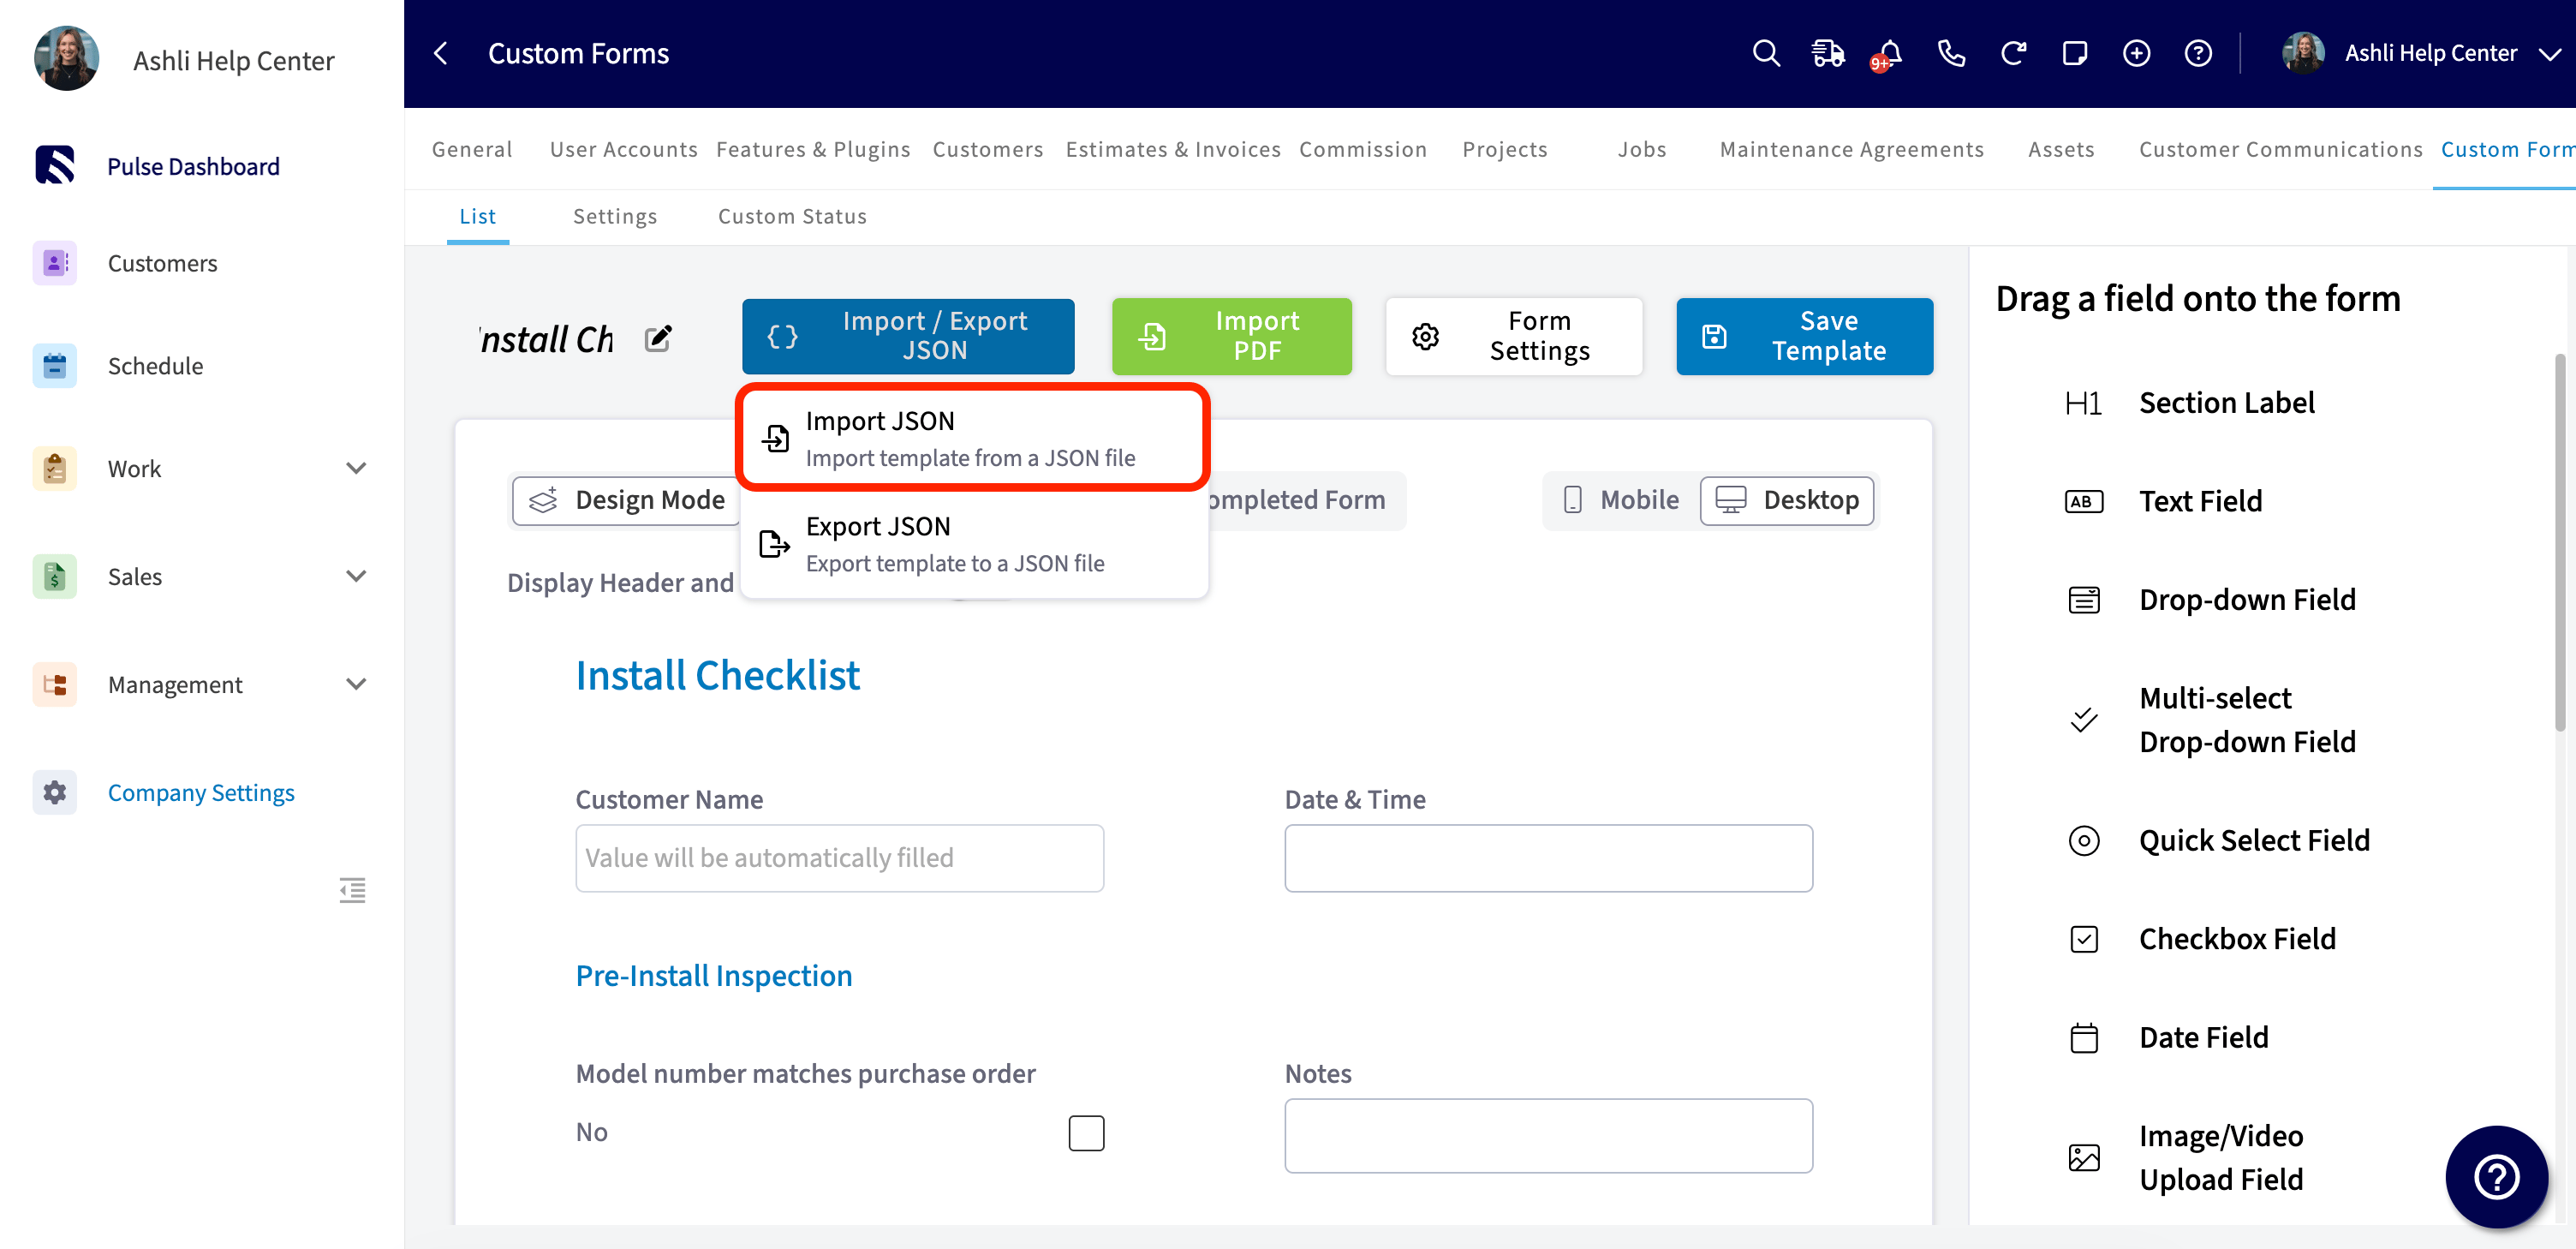
Select Import / Export JSON, then select Import JSON.
-
Choose the
.jsonfile on your computer. - Review the fields, sections, and conditional logic that came in.
- Select Save Template. The imported template is not added to your Custom Forms list until you save it.
What transfers with the file
Account-specific settings stay out of the file to keep imports clean. Reconfigure the excluded settings in Form Settings on the destination account.Common issues
FAQs
Will my form submissions, including customer responses, signatures, and photos, come along?
No. Import / Export JSON moves the template structure only, not the data your customers or technicians have submitted. Past form responses stay in the original account.Is there a limit on how many templates I can import?
No hard limit. If you’re adding a long list of templates to your account, import them one at a time and save each one before starting the next.How do I create a form template I can reuse?
Build the form once in Company Settings > Custom Forms and turn on Allow Template Creation in Form Settings so you can use that form as a template for future forms. To reuse it in another account, open the template editor, choose Import / Export JSON to export a.json file, then import that file in the destination account — an admin-only action available on web. Fields, sections, conditional logic, and PDF mappings travel with the file; you set up the status workflow, view and edit permissions, and page settings again in the destination account, as covered in How to Import and Export Custom Form Templates.
Related articles
- Custom Forms Overview
- How to Create a Custom Form
- Custom Form Settings Details
- How to Use the PDF Form Filler
- How to Link Custom Forms to Jobs