
Who uses this: Every team member sets their own alerts in My Settings; Administrators configure Notification Settings and Customer Communications, which are Company Settings tabs — only Administrators can view Company Settings. Availability: My Settings and Notification Settings in all regions · Customer Communications must be enabled under Company Settings > Features & Plugins.FieldPulse has three separate notification settings, and which one you need depends on who you want to alert — yourself, your team, or your customers. Two of them are internal — My Settings and Notification Settings — and the third, Customer Communications, messages your customers. This page explains what each setting does, where it lives, and who hears about it, so you can go straight to the one that matches the alert you are turning on.
Overview
The workflow breakdown these settings solve is the wrong person hearing — or not hearing — about job and customer activity. A technician gets assigned a job and nobody tells them. An estimate gets signed and the office finds out days later. A notification setting exists for each of those moments, and the work is knowing which one does what. Use this table to find your starting point, then read the matching section below.How it works
Each of the three settings is configured in its own place and alerts a different audience. Read the section for the audience you want to reach.My Settings — your own alerts
My Settings controls the notifications that go to you individually: newly assigned jobs, status changes on your jobs, comments and @mentions, and your daily and weekly schedule. Every team member sets their own preferences, and one person’s choices do not change anyone else’s. To open your notification preferences, select the profile icon in the top-right corner of the FieldPulse web app, then select My Settings.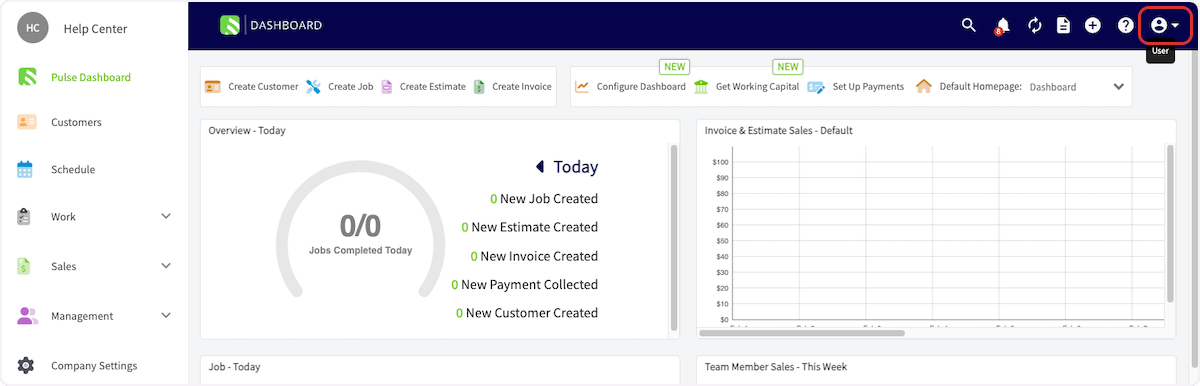
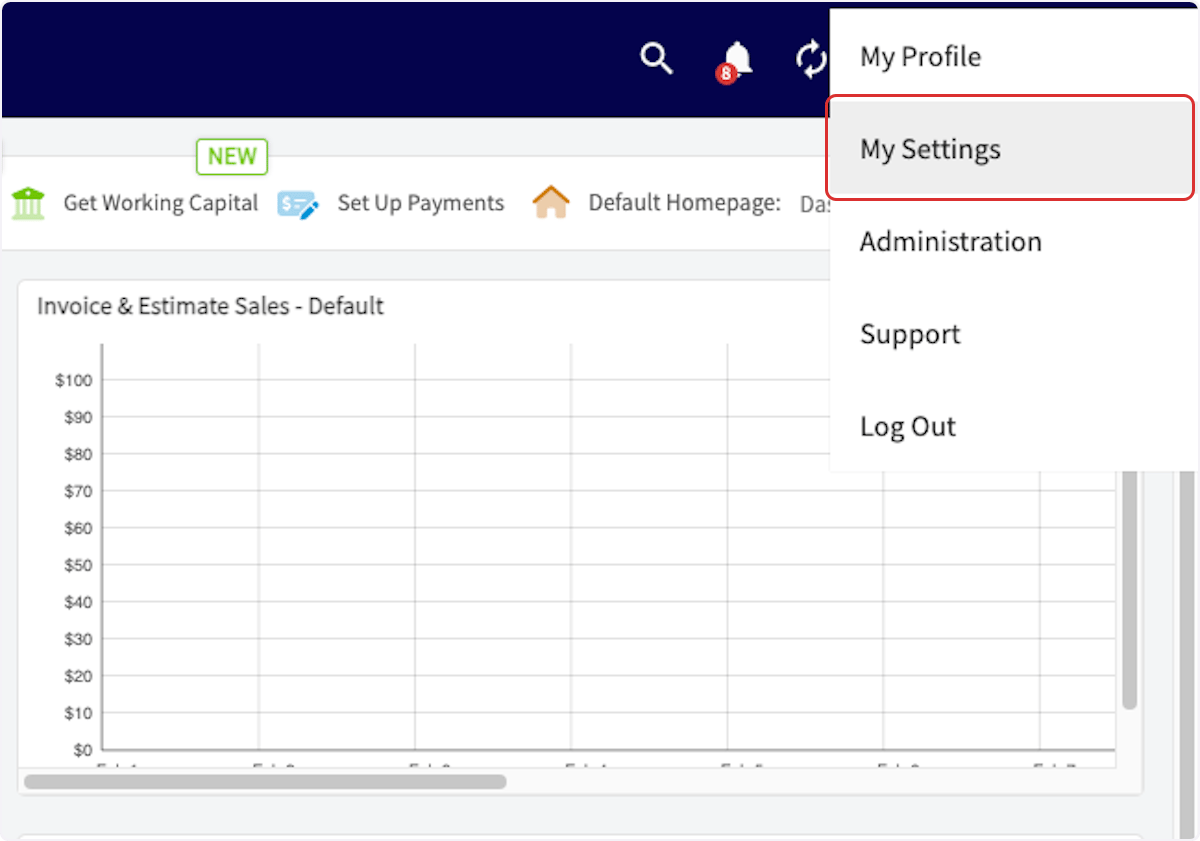
Most notifications support all three channels, and you can turn on more than one channel for the same alert. When a channel is grayed out, FieldPulse does not support that channel for that particular notification.
The notification toggles are listed in two groups — the notifications you receive as a manager of a team, and the ones you receive as a team member:
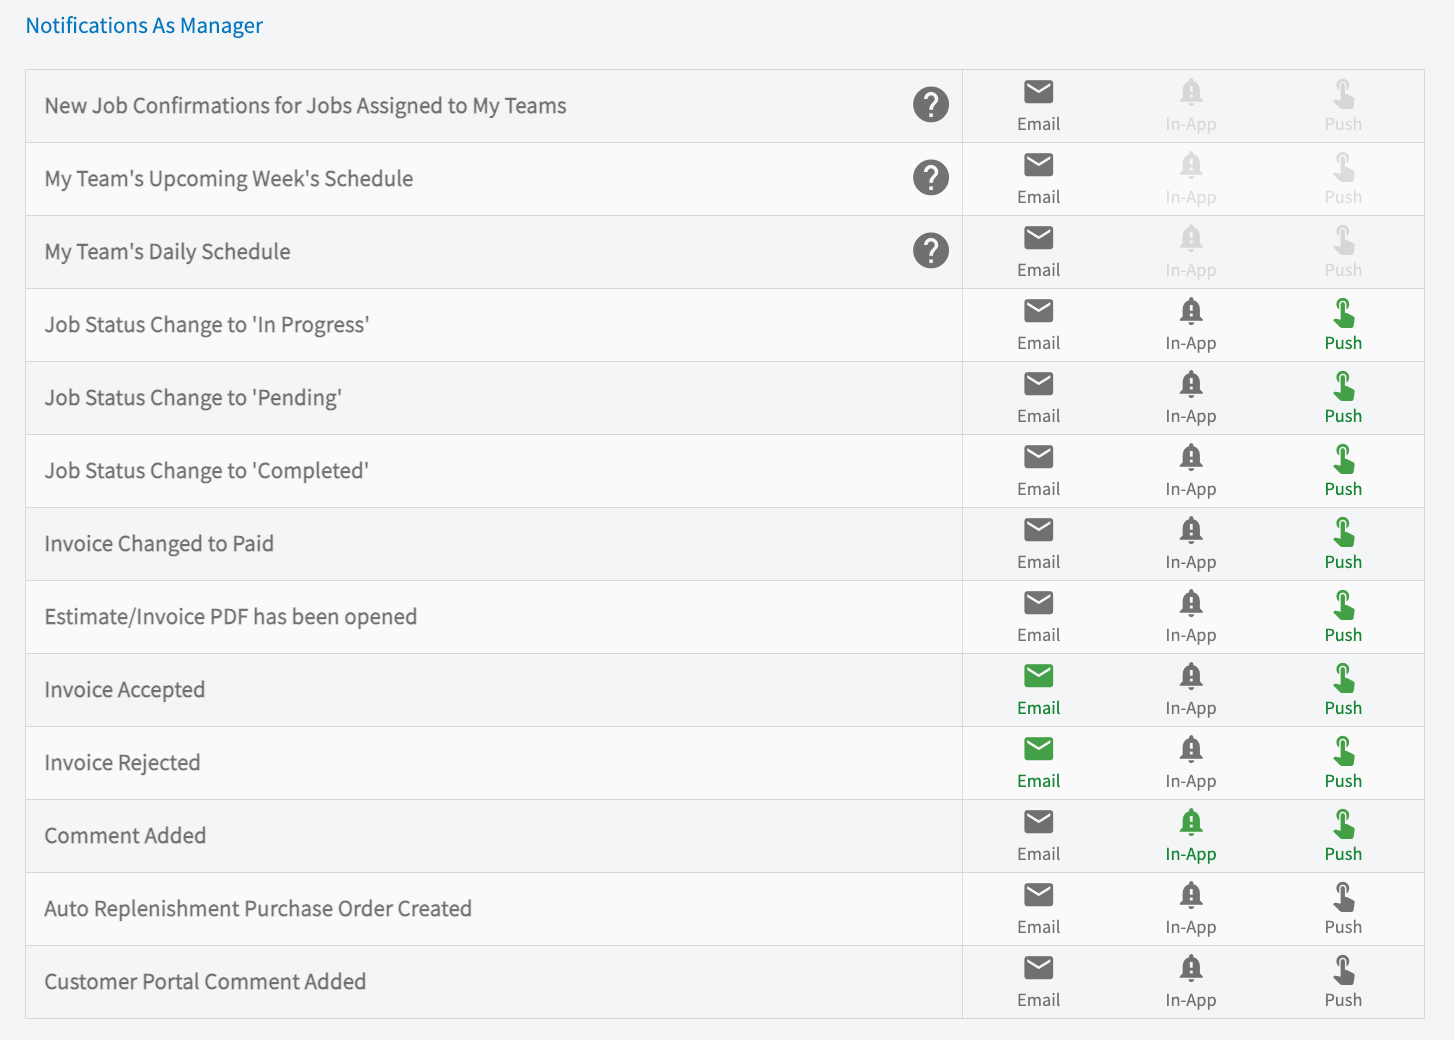
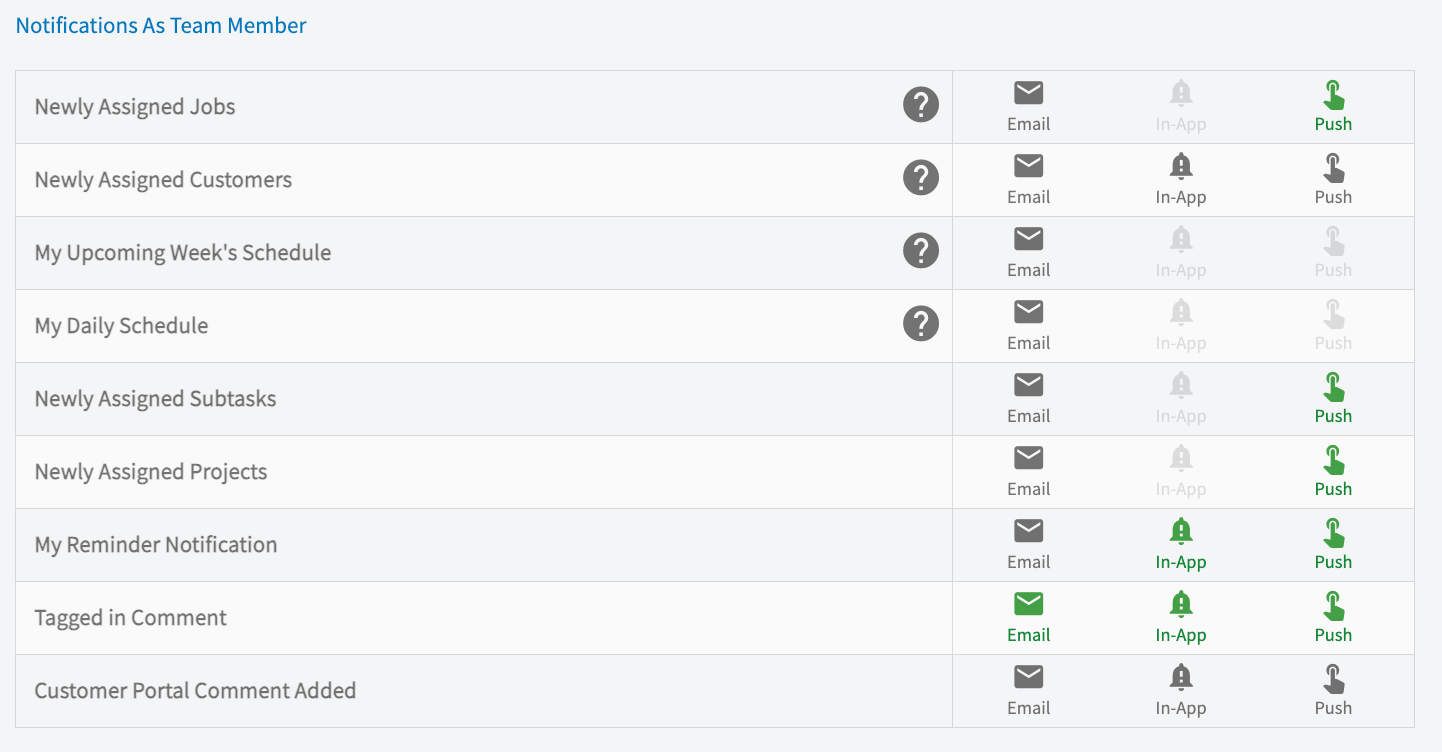
For more on setting up your internal notifications, along with the rest of the My Settings page — timezone, calendar start date, and the Google Calendar integration — see Setting Up Your Account.
Notification Settings — alerts when a customer takes an action
Notification Settings alert your team, outside email addresses, or the customer the moment a customer does something — signs an estimate, pays an invoice, requests a booking. This is the setting to reach for when you want to know as soon as something happens on the customer’s side. Find it under Company Settings > Customer Communications > Notification Settings tab.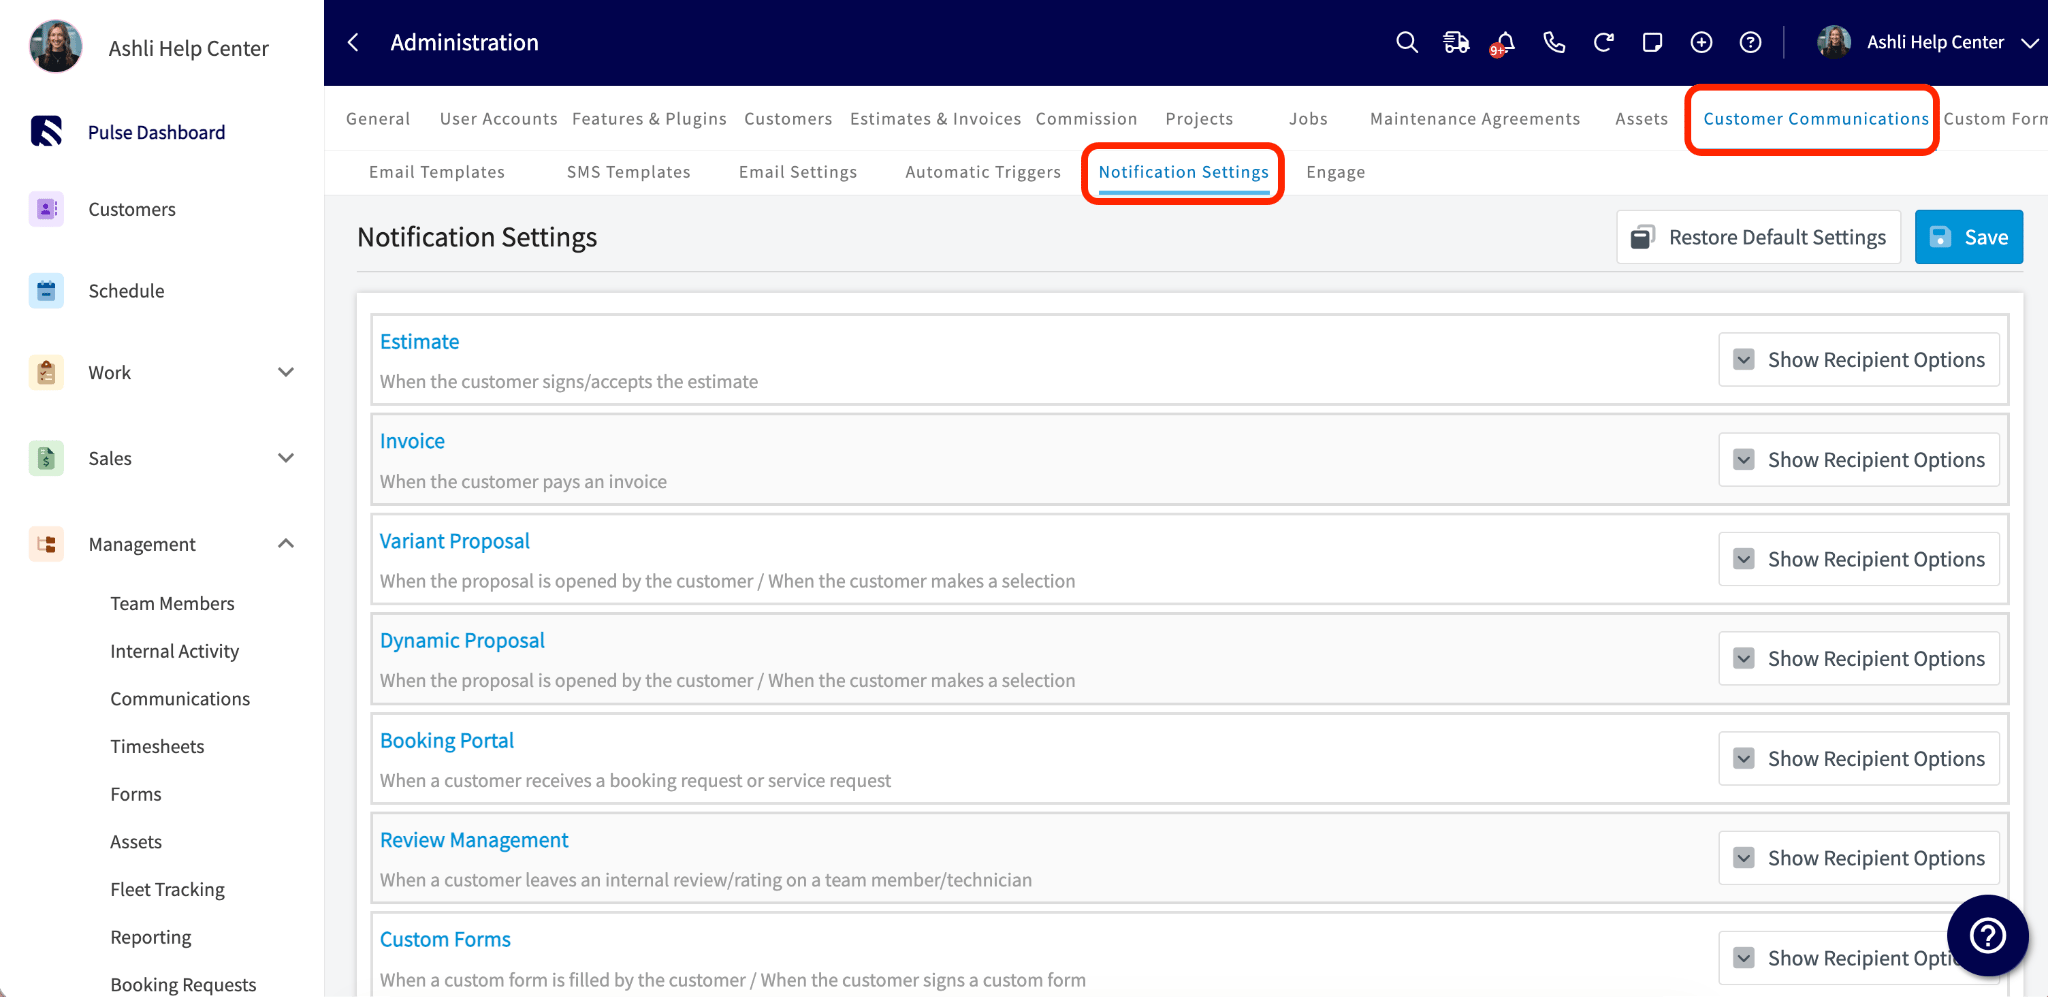
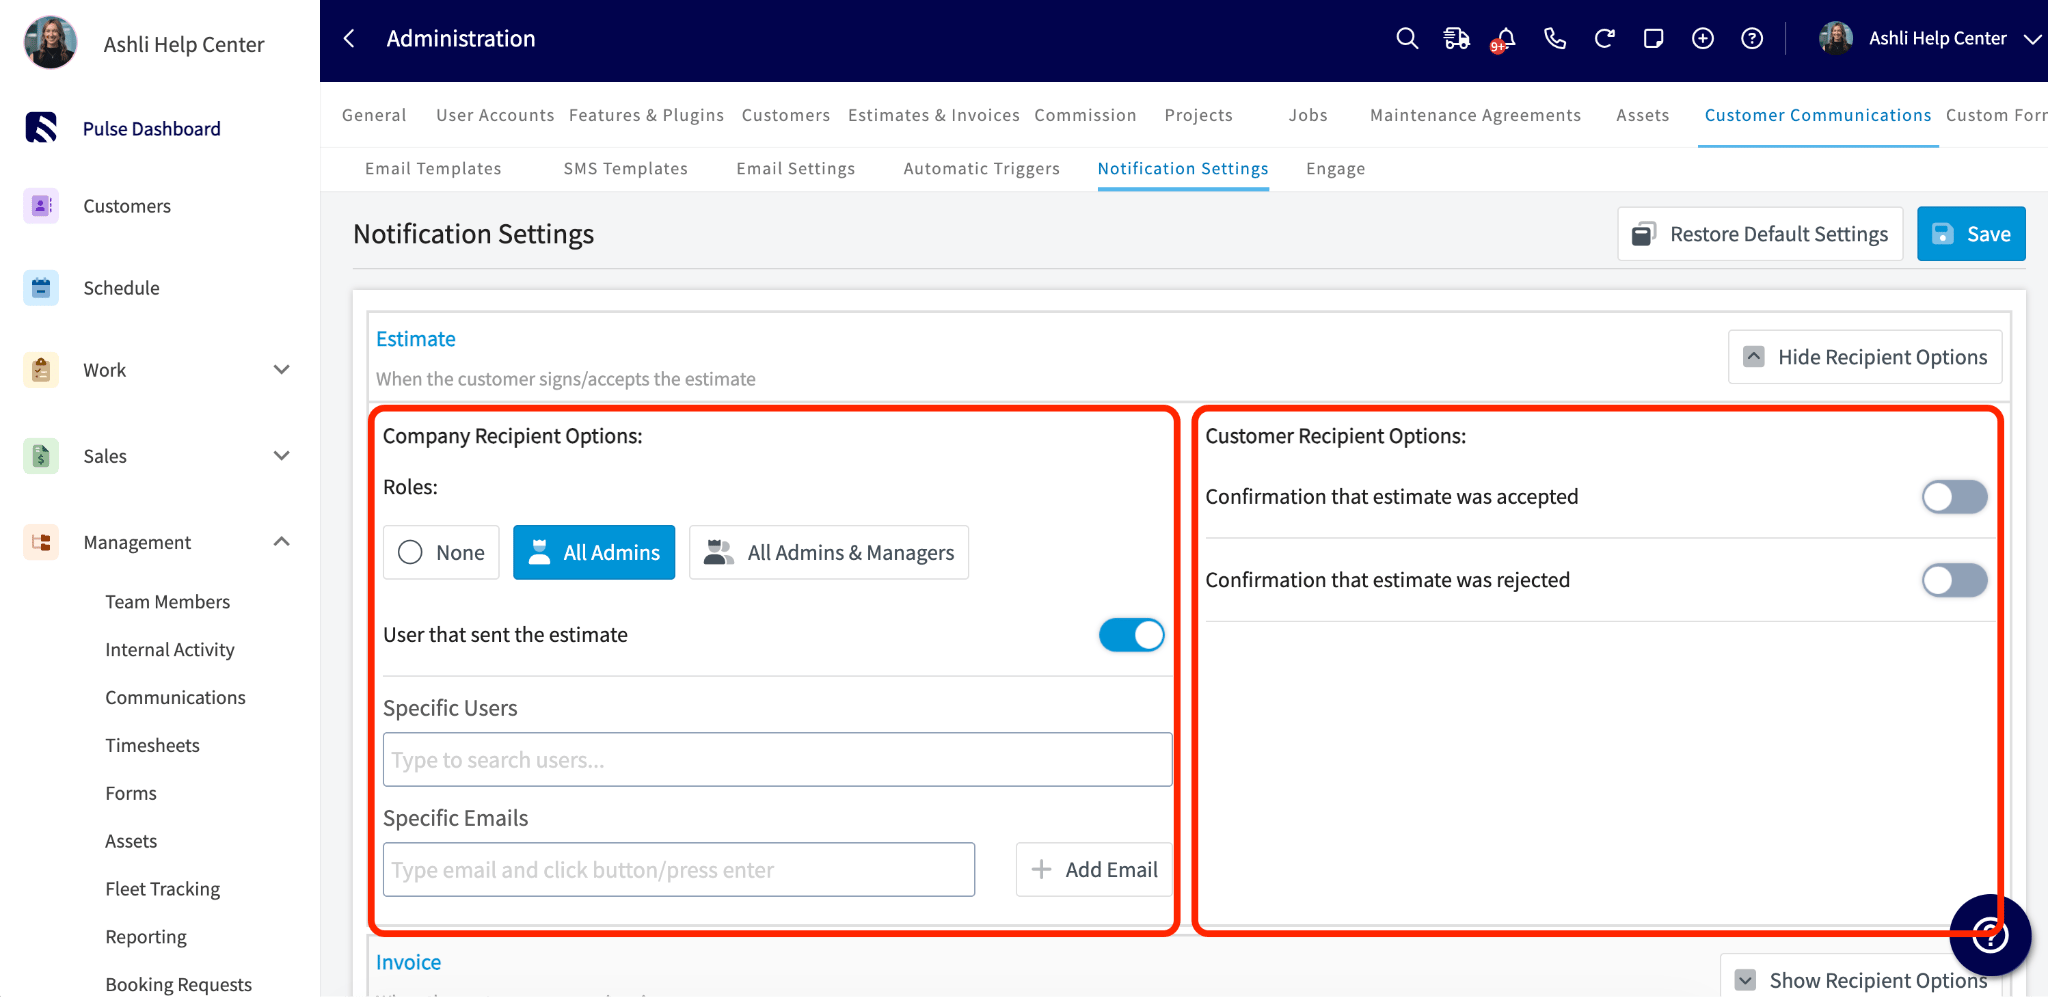
For each event, you choose who gets notified:
- Quick-pick groups — built-in buttons select all admins, or all admins plus all team managers, in one click.
- Manual user picker — add specific users one at a time. Selected users appear beside the picker, and the X button removes them.
- External email addresses — type any email address to add it as a recipient. This is how most accounts route notifications to an outside accountant, bookkeeper, or payroll person who needs visibility into estimates and invoices but does not have a FieldPulse user account.
- Customer recipient option — choose whether the customer is notified at the same time.
Customer Communications — messages to your customers
Customer Communications is where you set up the automated emails and text messages that go to your customers — appointment confirmations, “tech is on the way” texts, estimate links, overdue invoice reminders, and more. Find it under Company Settings > Customer Communications.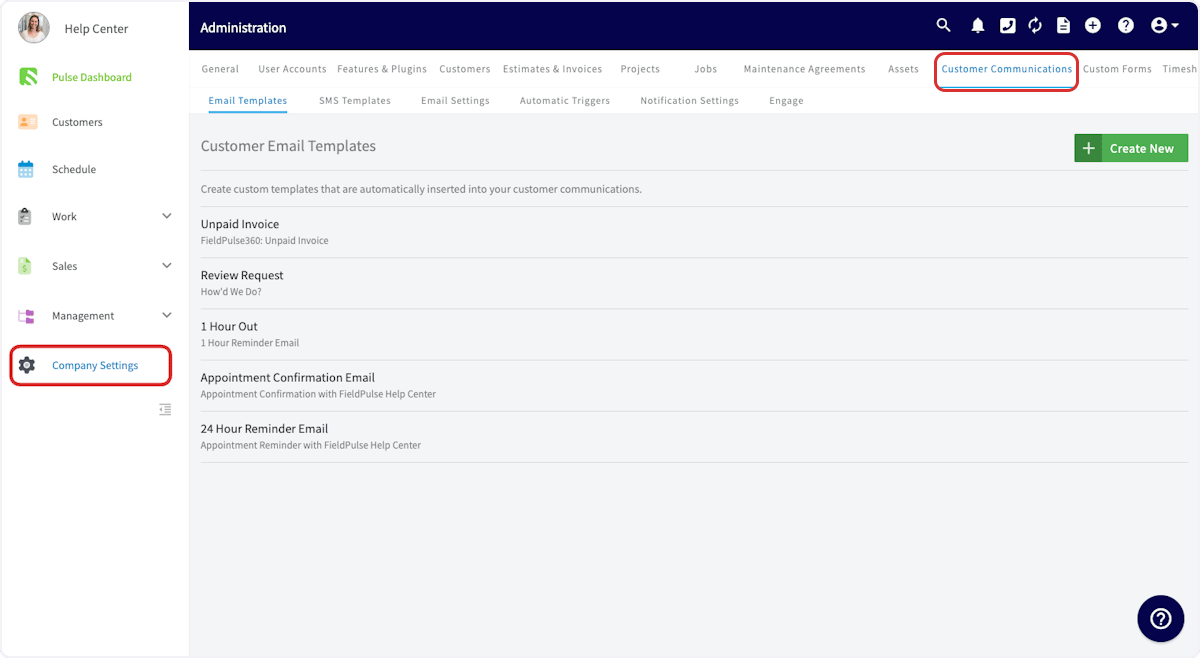
- Templates hold reusable message bodies. Each template has an internal name for your own reference, which your customer never sees, and a customer-facing body.
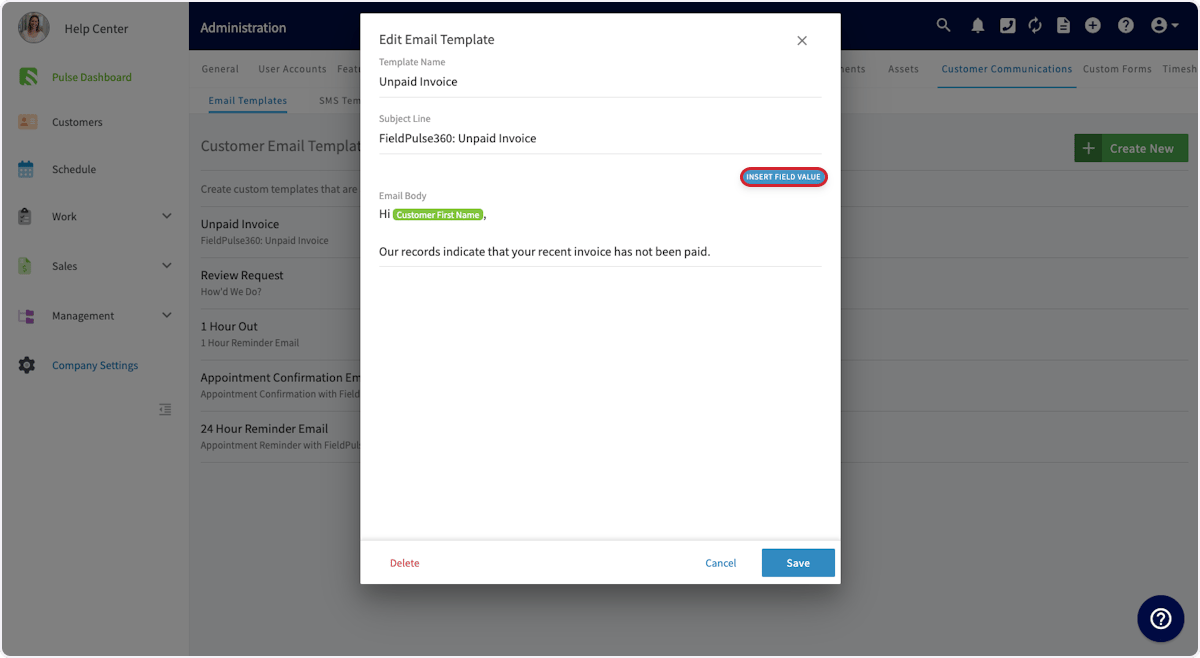
- Insert Field Value drops filled-in values into any template, such as Customer First Name, Job Start Date, Customer Arrival Window Start Time, or a link to the customer portal.
- Email Settings chooses between a single Designated Email Address for everything outbound and the User’s Email Address of whoever sent the message. The same options apply to the Default ‘CC’ and Default ‘From’ Name, and you can toggle your logo on for branded email headers.
- Most-used triggers — When a job is newly created, Set Time Prior to job Start Date/Time (useful for arrival reminders), When job status is changed to a status you choose, When estimate is sent and not yet accepted, When invoice is overdue and not yet fully paid, and When a payment record is created.
- Action modes — Automatically Sent fires immediately, Prompts Confirmation Prior to Sending opens a preview pop-up first, and Scheduled Based On Timing sends on a delay you specify.
- One-off sends — send a message from a customer or job record at any time with Actions > Send Customer Communication, then pick a template and send. See How to Send Communications to Customers.
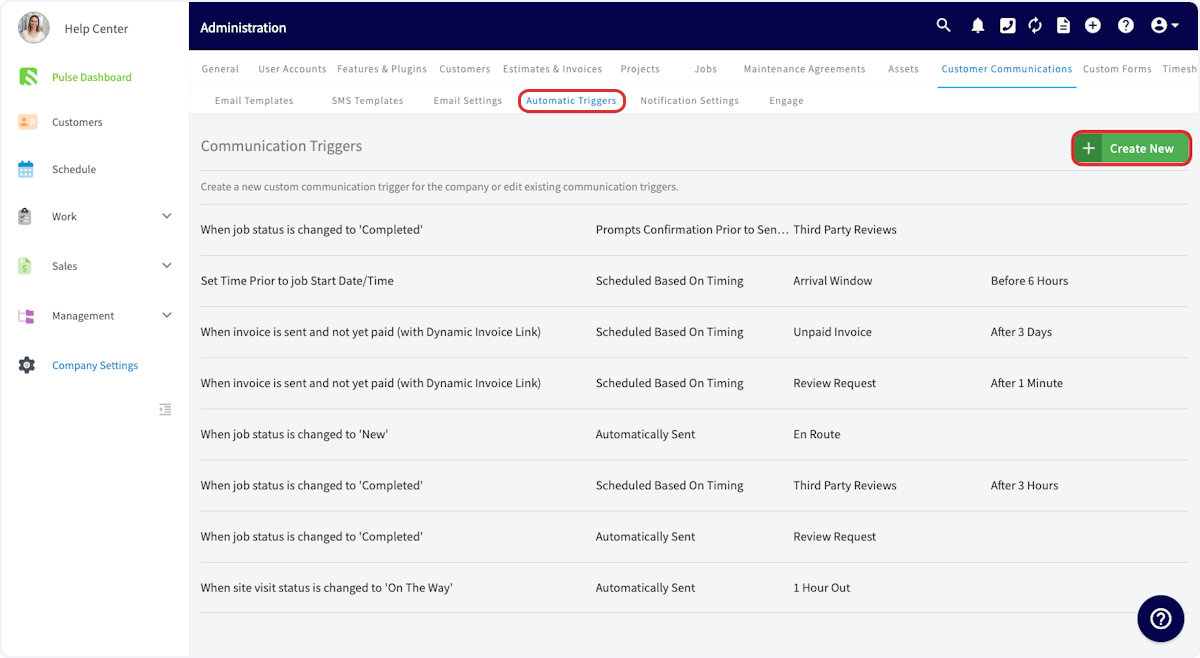
Customer Communications is a feature in its own right, with message tracking, delivery statuses, and attachments. For all of it, see Customer Communications Overview.
Availability
The two internal notification settings — My Settings and Notification Settings — are available in all regions.- Customer Communications has to be enabled on your account. If you do not see Customer Communications in Company Settings, enable it first under Company Settings > Features & Plugins. The Notification Settings tab sits inside that same Customer Communications menu.
- Texting U.S. numbers through the Engage add-on requires 10DLC registration with The Campaign Registry before carriers deliver your messages. See Setting Up 10DLC Compliance Registration.
- Notification Settings and Customer Communications are both Company Settings tabs. My Settings is on every user’s own profile menu. Only Administrators can open Company Settings — see User Roles and Permissions Details.