
Who uses this: An admin enables Custom Forms and builds the form templates in Company Settings; each form’s visibility, creating, and editing access can be assigned to specific users, teams, or roles, and is open to all users when no restrictions are set. Availability: Custom Forms is enabled per account — contact the FieldPulse team to turn it on.Custom Forms lets you create or import the forms and checklists your team uses for routine work, then share them with your team or your customers by email or on site. A custom form can stand on its own as a record, or attach to a job, estimate, invoice, customer, project, maintenance agreement, or asset — and once it is attached, its fields can pull details straight off that record instead of your team typing them again.
Overview
A custom form is a reusable template you build once and then use across your FieldPulse records. You build it field by field in the form editor, or import an existing PDF and overlay fillable fields on top of it, so a form you already use on paper keeps its exact layout. Three things make custom forms different from a paper checklist:- Fields pull in record information. Instead of typing the same details twice, your team selects values that already live on the related customer, job, estimate, invoice, project, maintenance agreement, or asset record — the customer’s name and billing address, the job’s scheduled date and time, the asset’s serial number.
- Required fields keep answers from being skipped. You can mark any field as required so a team member or a customer cannot leave out information that matters.
- Internal fields stay internal. Fields marked as internally visible only are hidden from customer-facing displays, including the PDF your customer receives, so your team can keep notes and operational details on the same form the customer signs.
What you can build with custom forms
Custom forms cover both the paperwork your team fills out internally and the forms you hand to customers. The examples below are forms teams build or import in FieldPulse.Internal forms
-
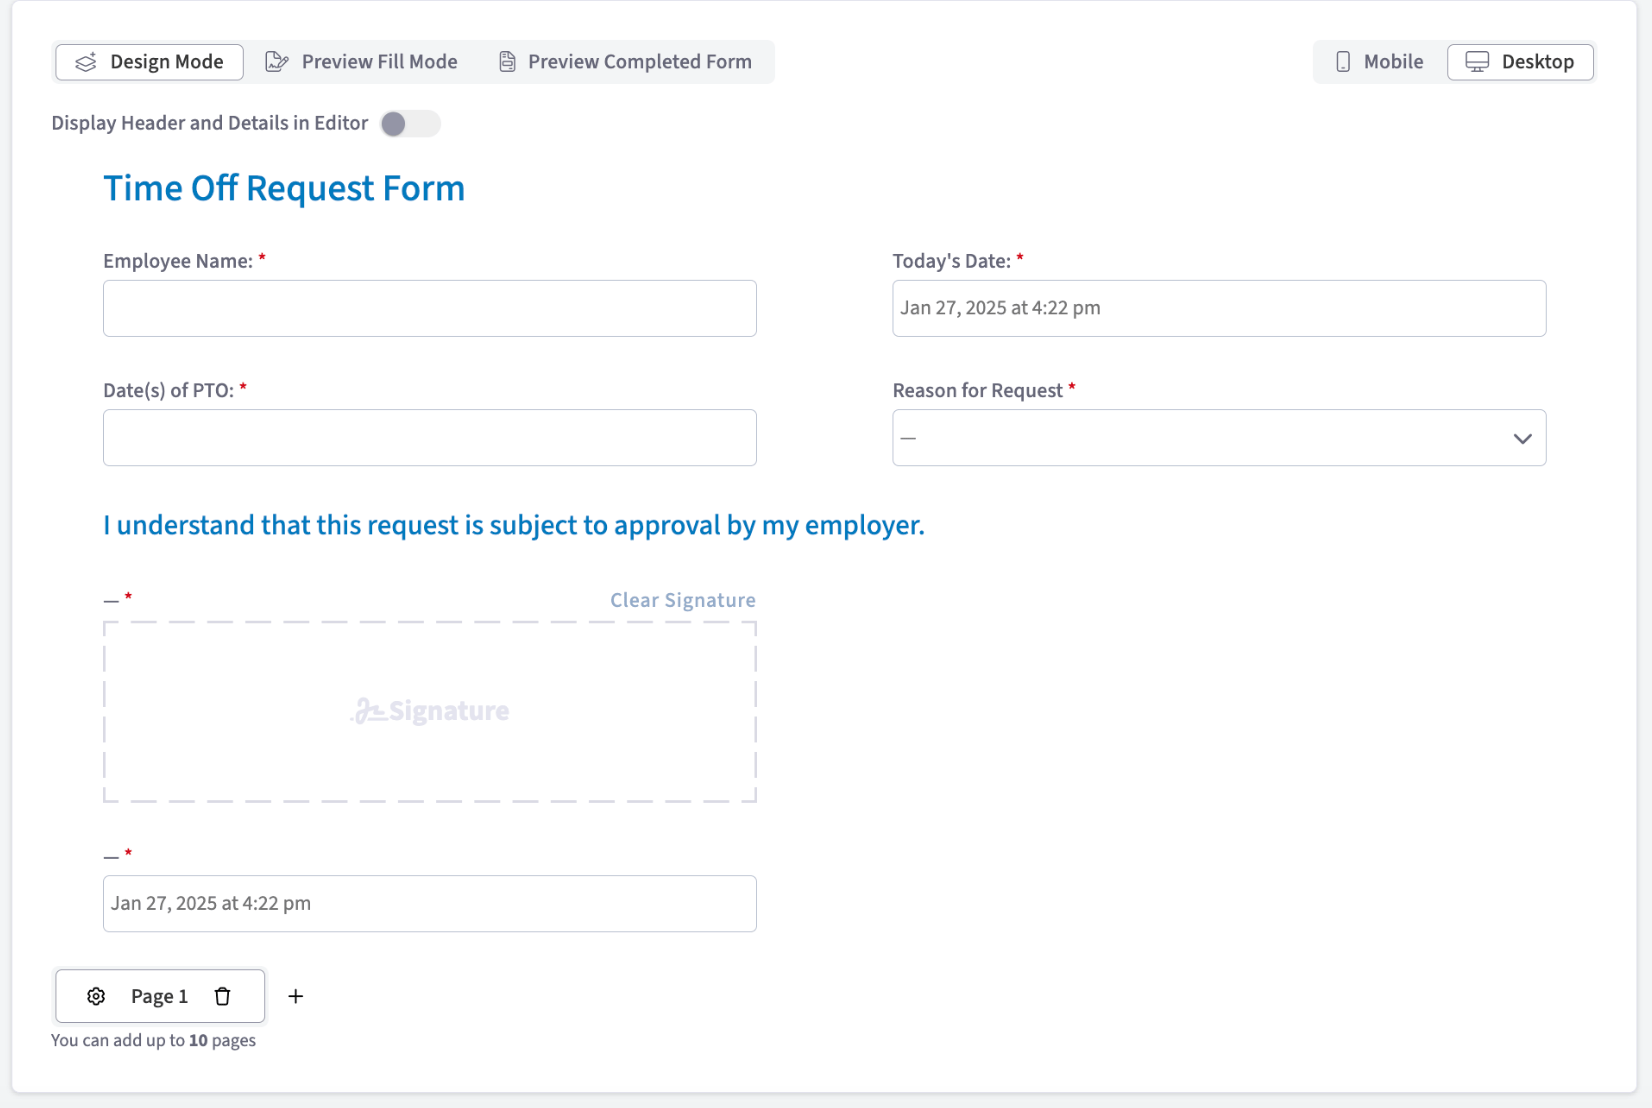
Employee time off request forms. A short form for employees to request time off for vacation or illness, which helps you track who is out and when.
-
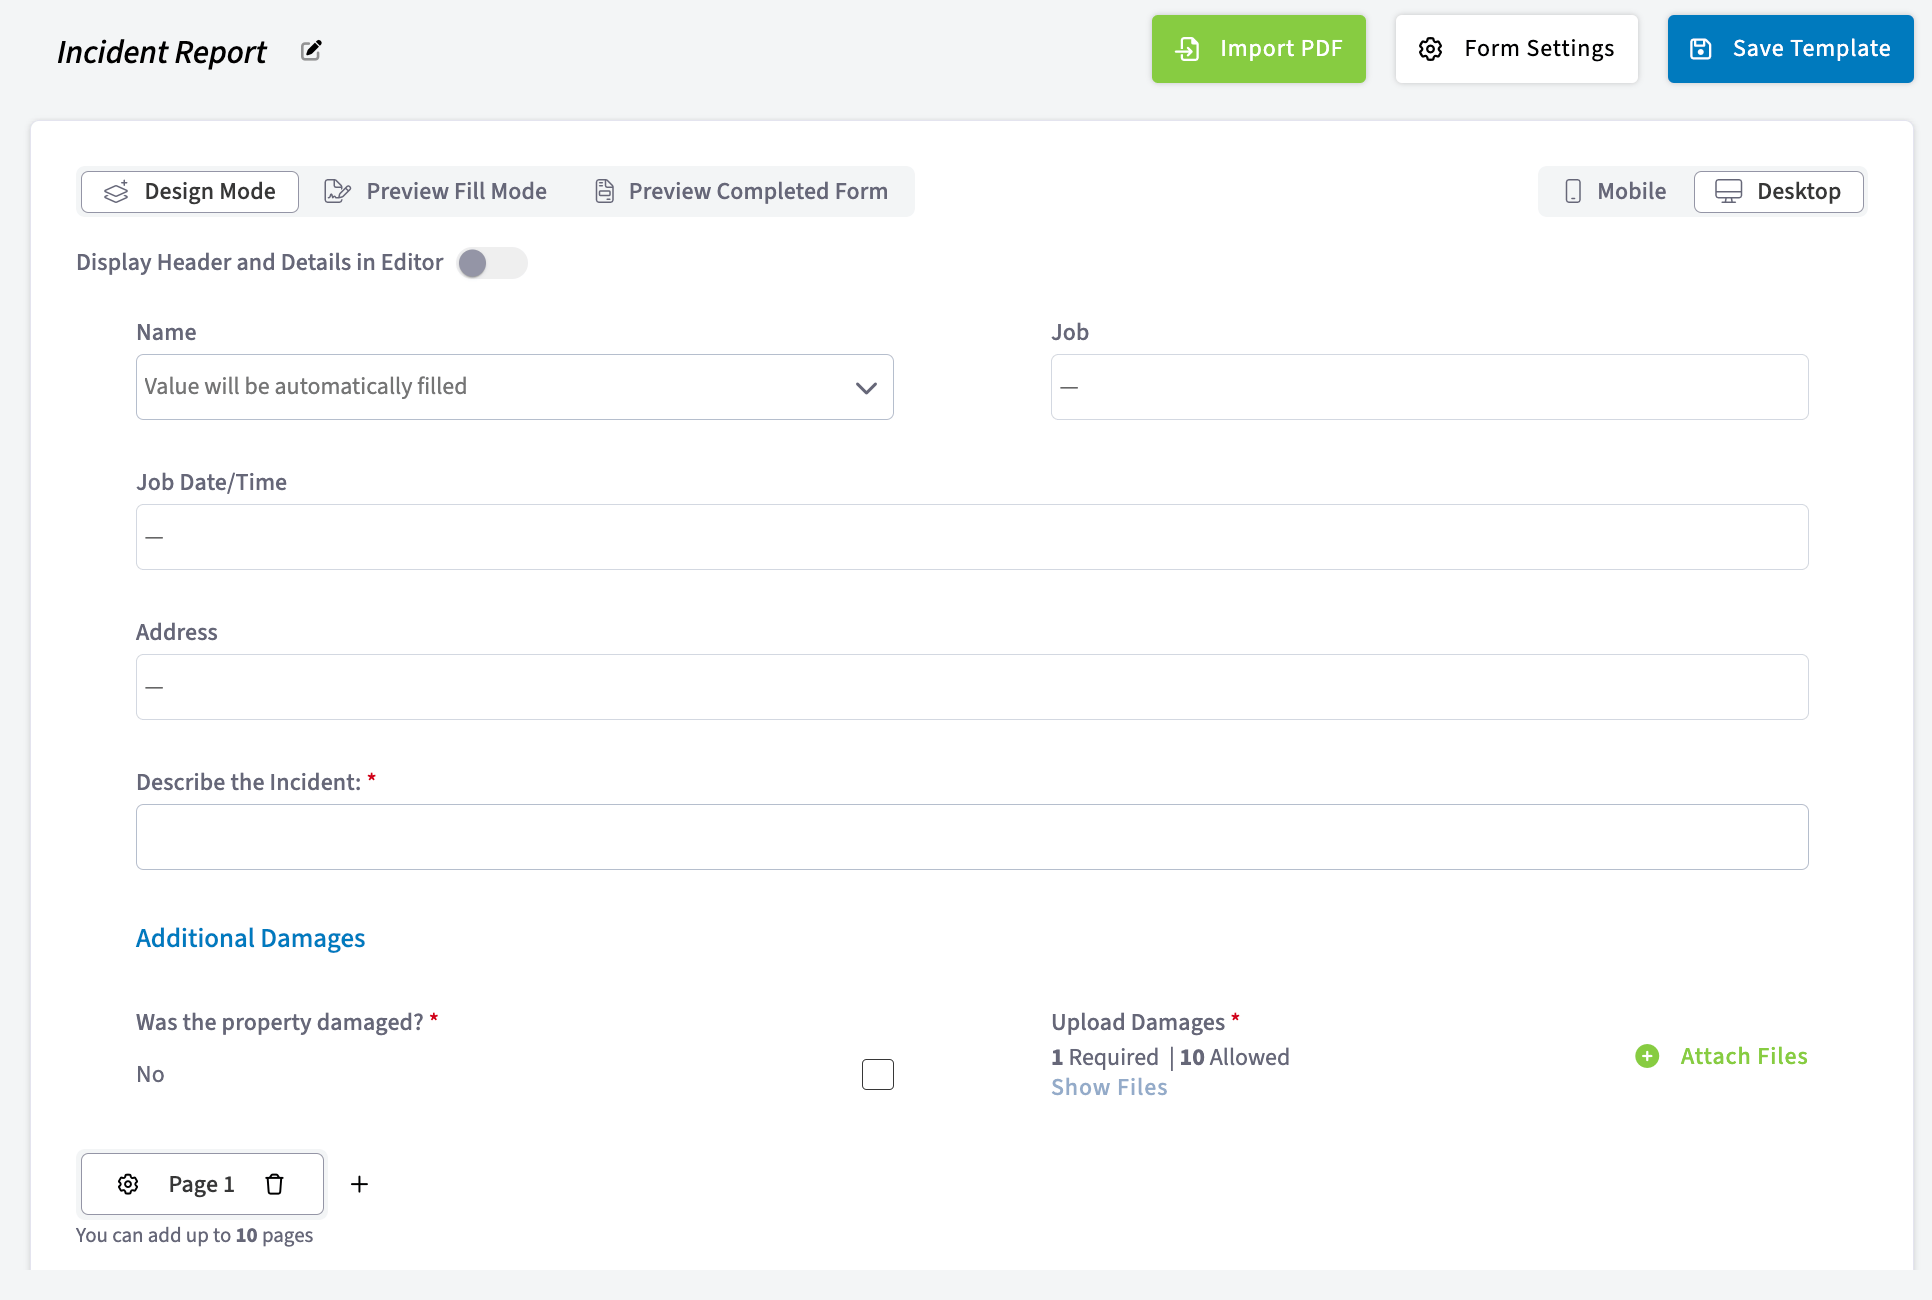
Incident reports. A form for employees to report accidents or problems on the job, so your company keeps a record and can improve safety measures.
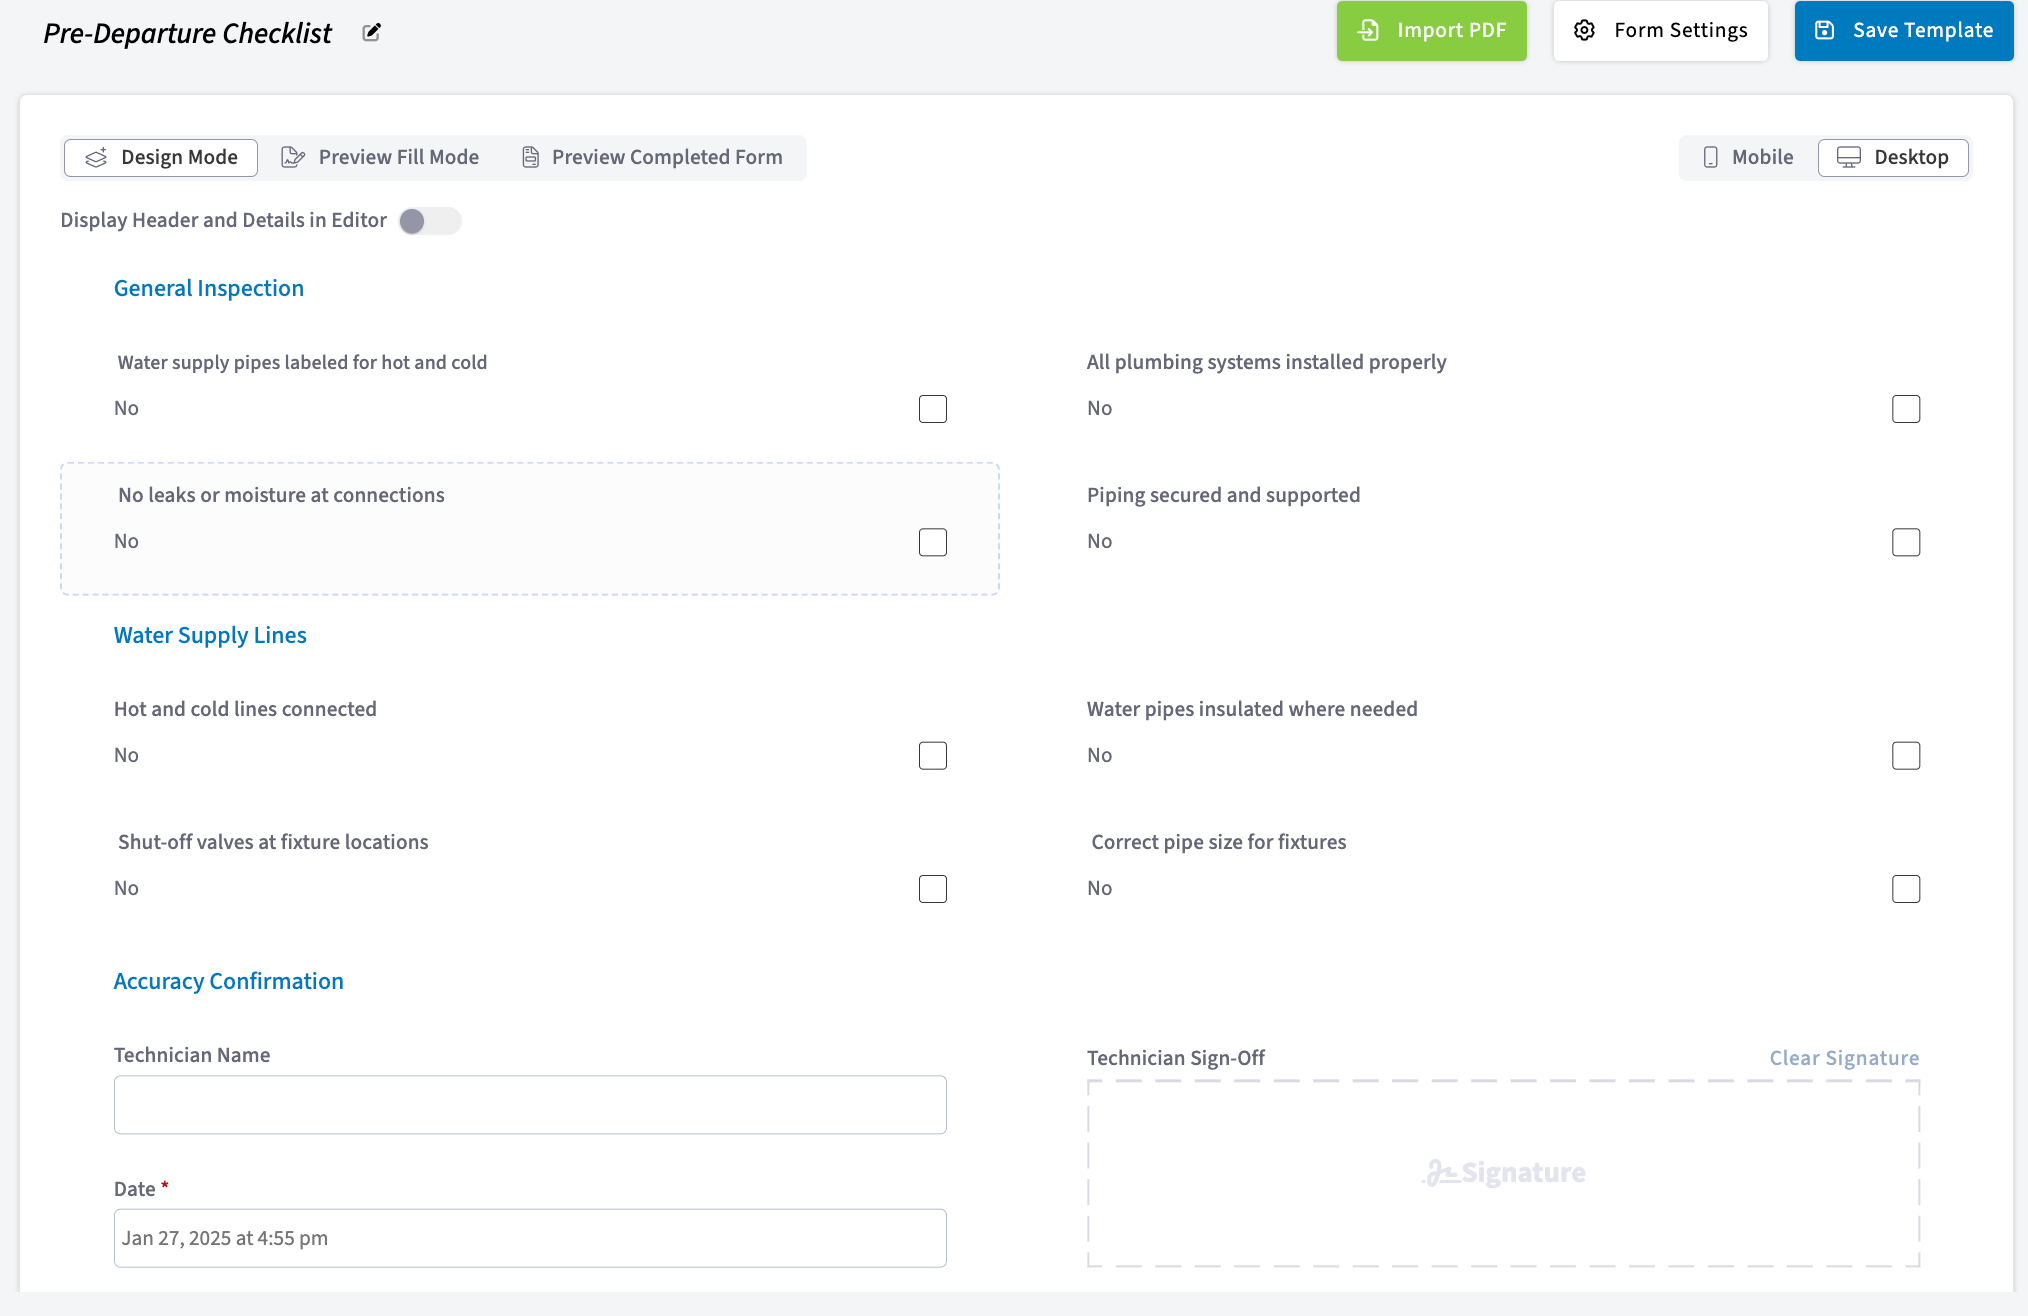
- Pre-work-order forms. Pre-work-order forms hold the information needed before a job starts. They keep employees accountable for noting existing conditions, hazards, and specific requirements, so preparations and safety measures are in place before the work begins.
-
Post-work-order forms. Post-work-order forms capture details after the job is finished — the work completed, any problems the technician ran into, and follow-up actions. They give you proof of completion and a way to evaluate performance.
-
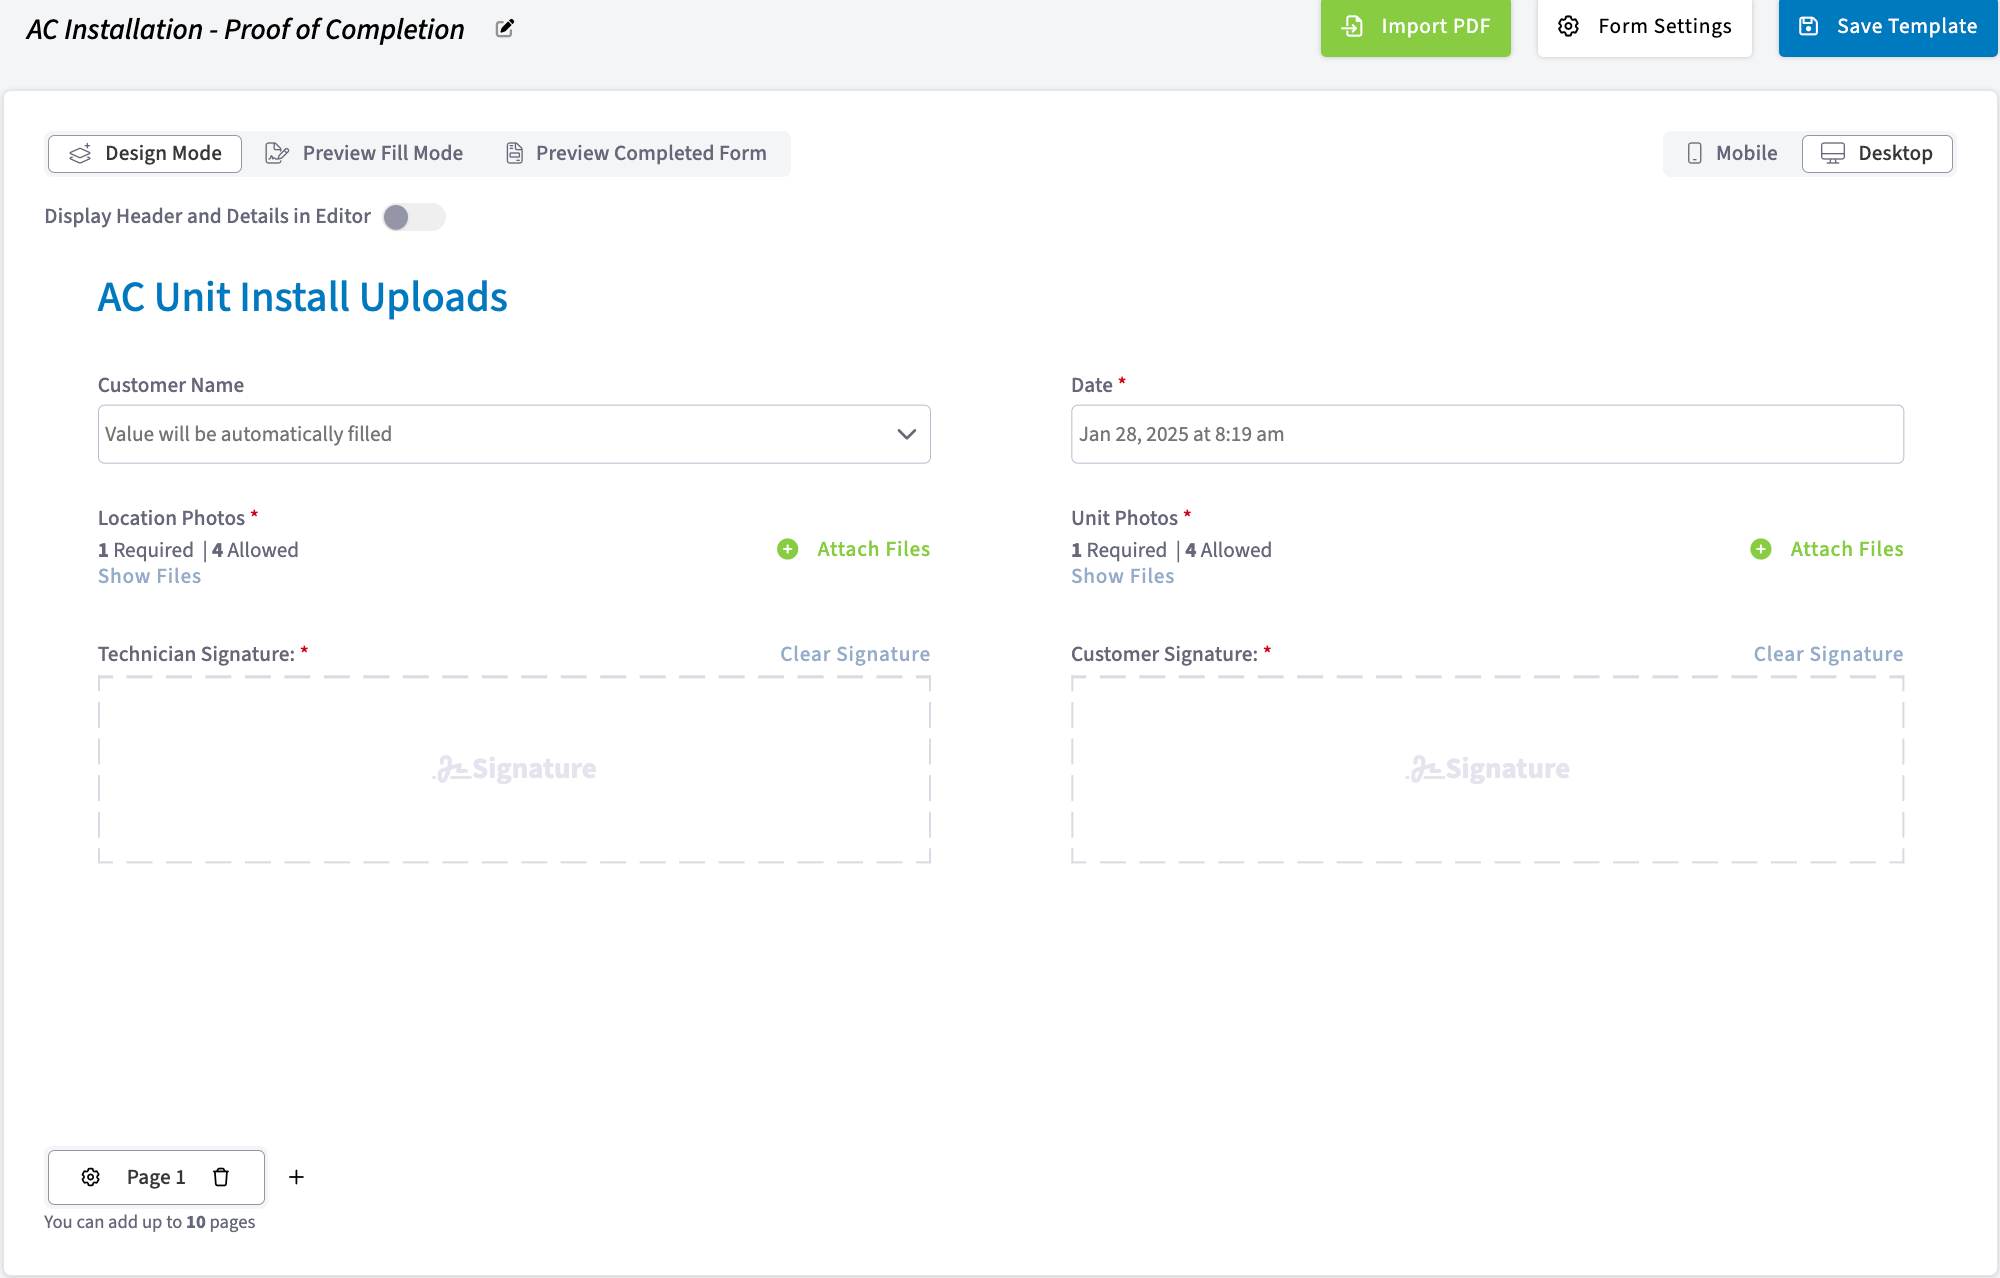
Installation checklists. A completed installation form is a record of what was done during the install, useful for future reference, warranty claims, or customer questions. You can require photos as well as a signature from both the technician and the customer, and the form cannot be submitted until every required field is filled out.
-
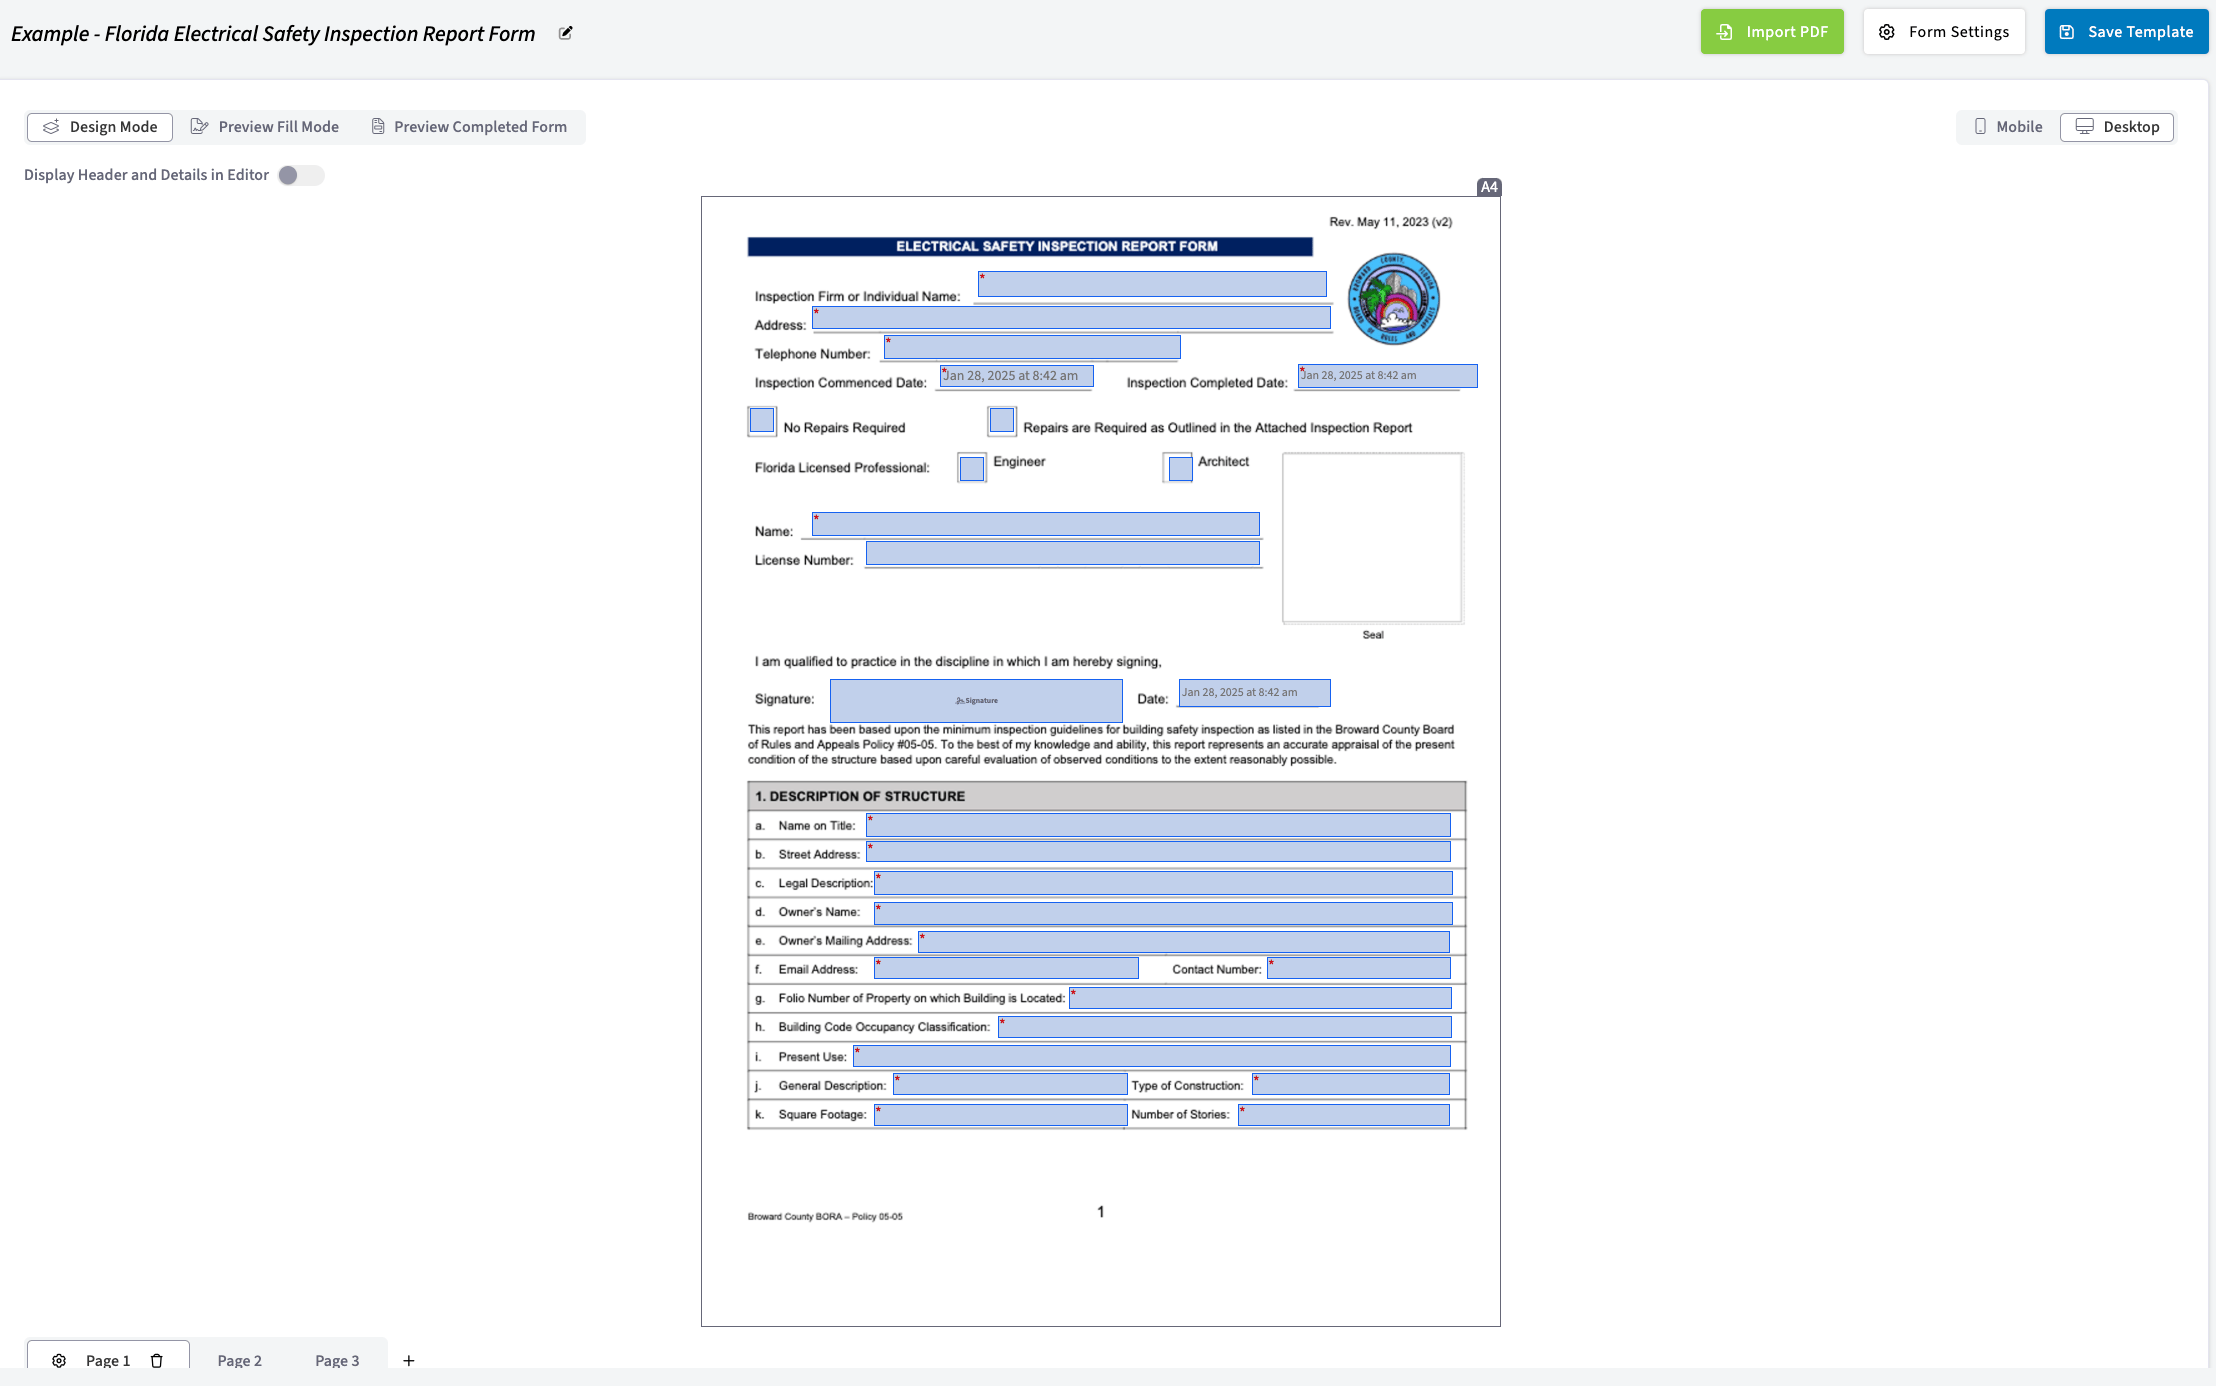
Imported state or county PDF forms. States and counties often require a specific form for installing equipment or documenting existing damage. Import the required PDF and overlay fields on it — free text, dates, signatures — so every piece of information is captured in a clear, organized way for compliance and for your own records. Office administration or a technician on the job can do this.
-
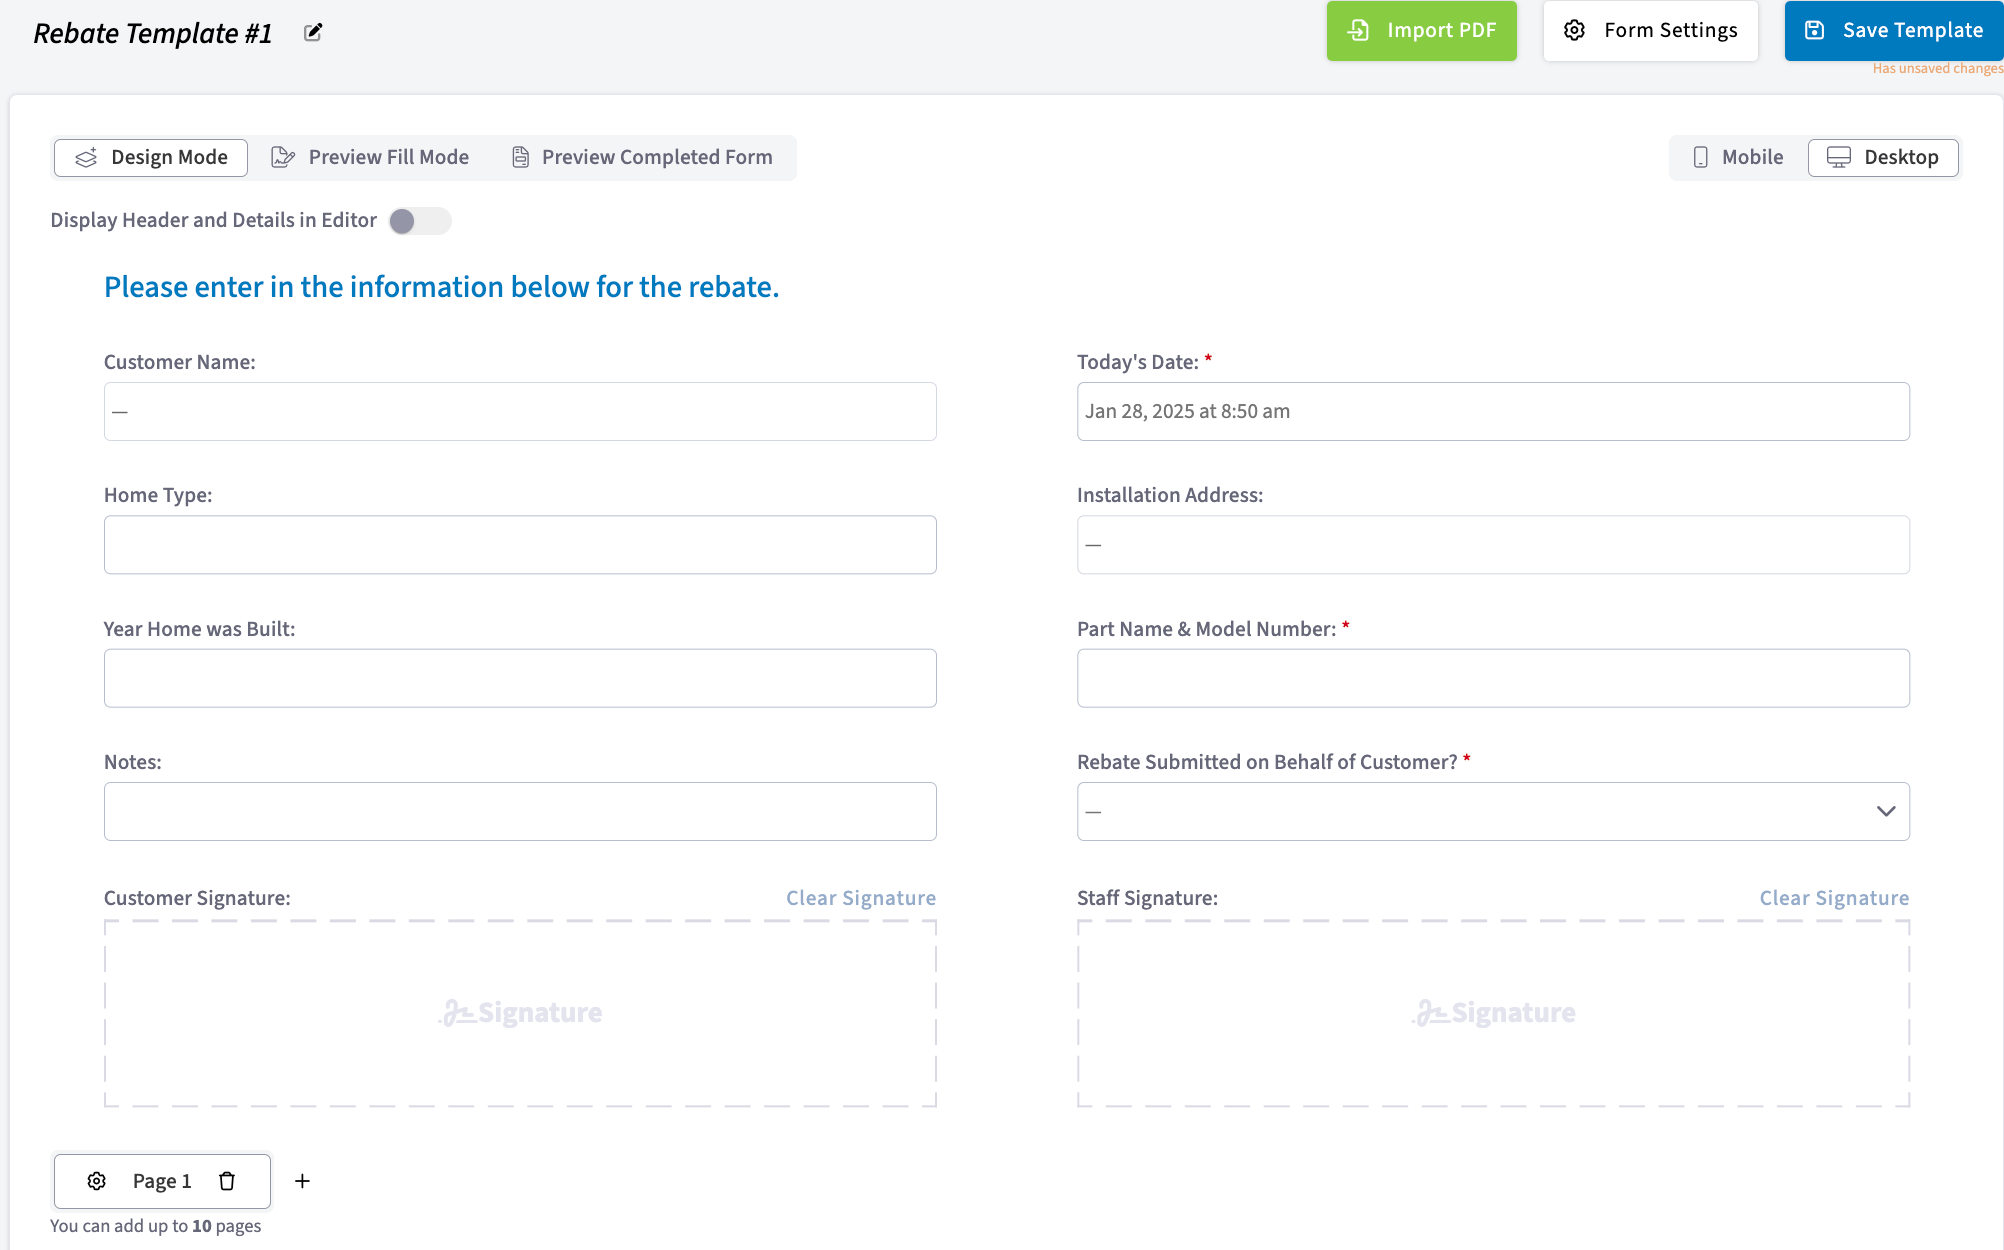
Rebate forms. Rebate forms work as customer-facing documents and as internal records. A customer fills one out to claim a rebate on a product or service, providing proof of purchase and their details, and your office can use the same form to track and manage rebate submissions and approvals.
Customer-facing forms
-
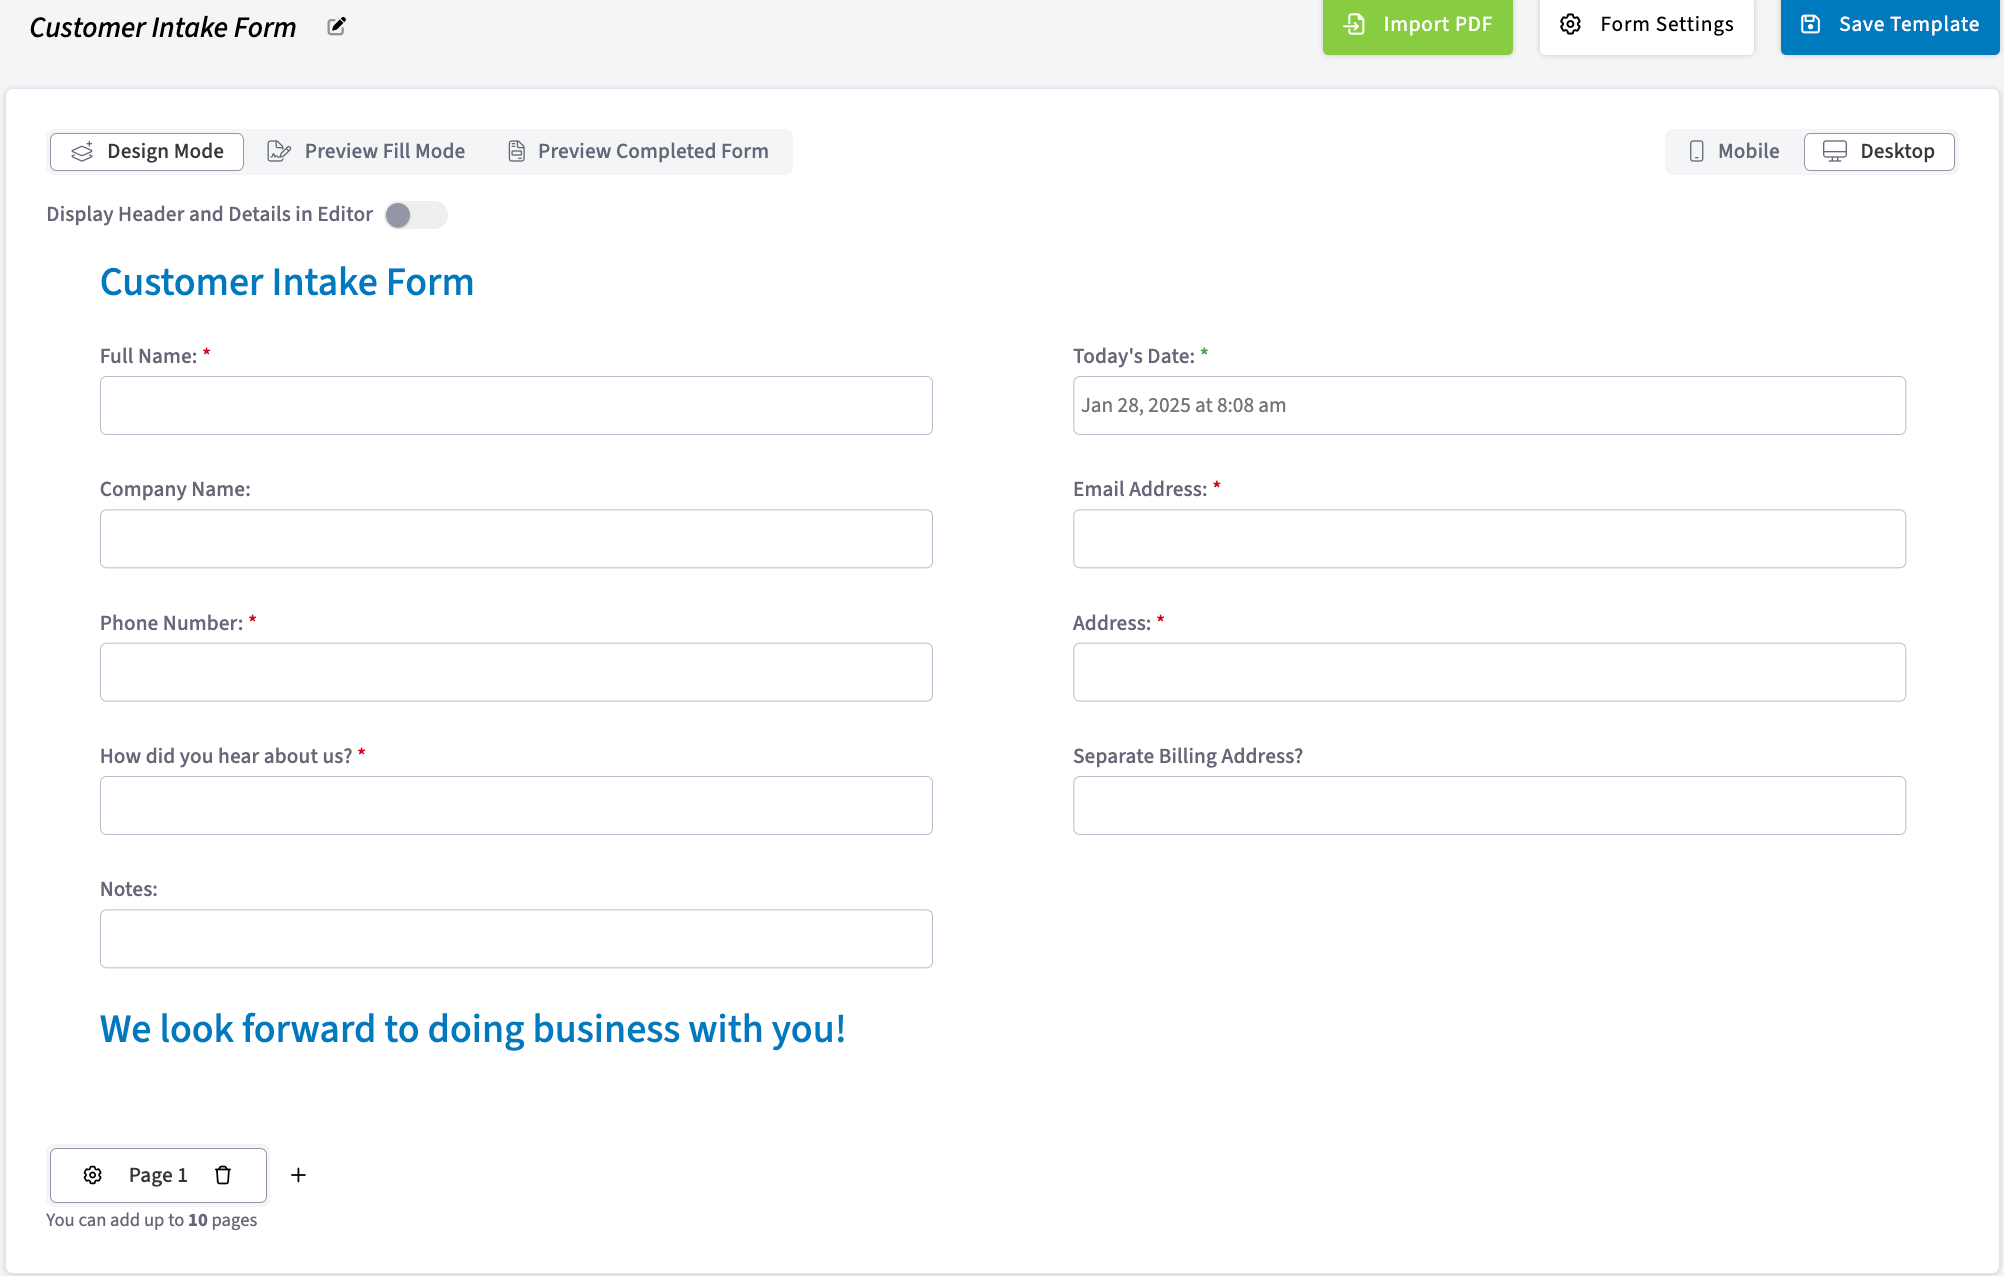
Customer intake forms. A standardized intake form reduces missing or incorrect information. With everything collected up front, your team can process a new customer and get them started on your services.
-
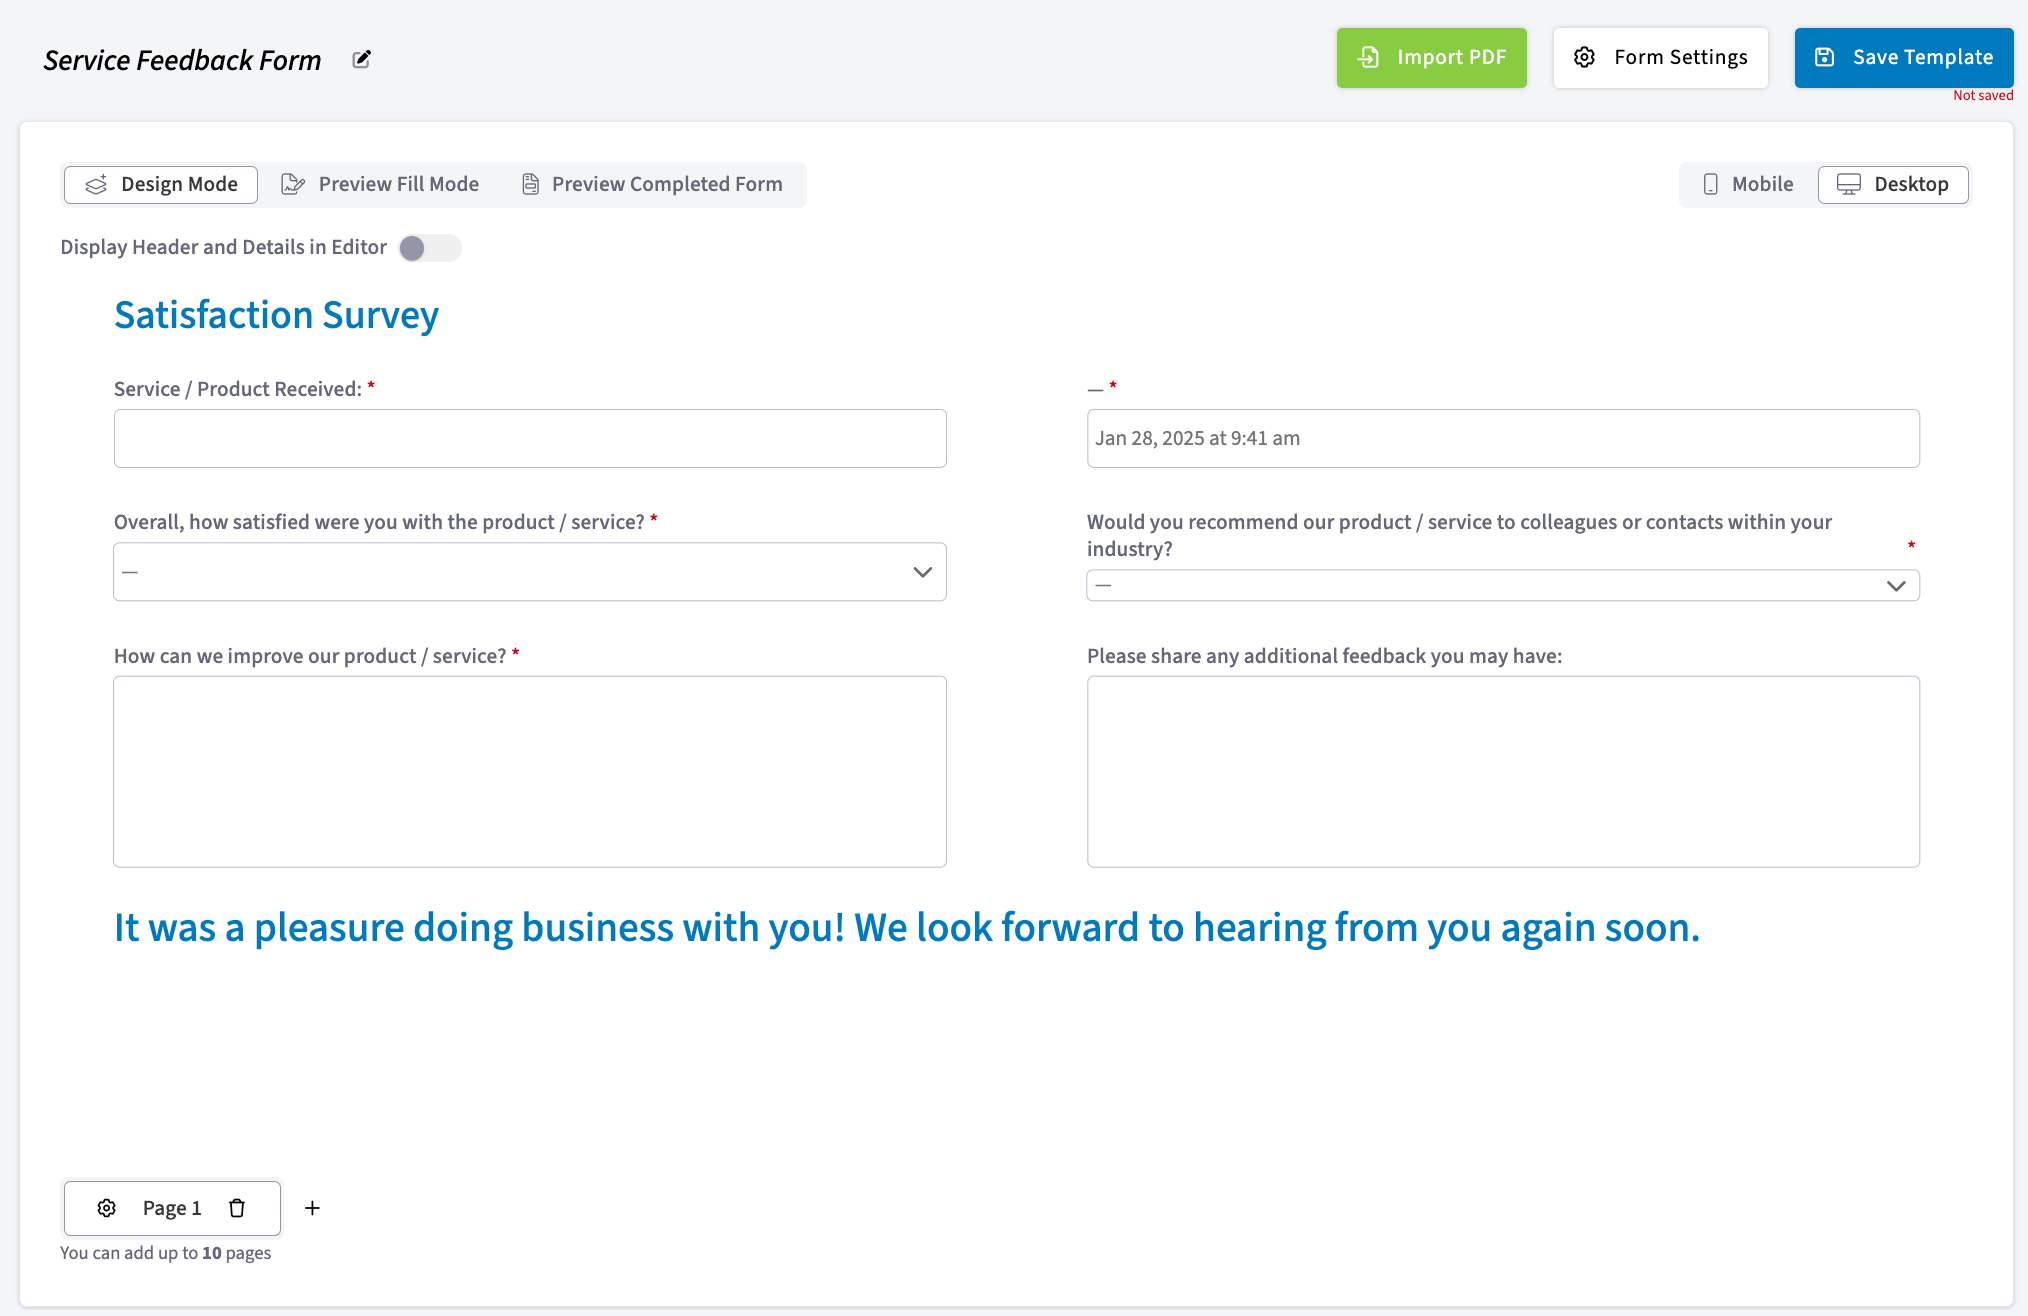
Service feedback forms. A quick form you share with customers on site or by email to gauge what they thought of your product or service, so you can see what is working and where to improve.
How it works
Custom forms move from a template in Company Settings to a completed record on a job in five steps:- An admin enables the feature. In Company Settings, select Features & Plugins, open Custom Forms, and select Enable. See Setting Up Custom Forms.
- An admin builds the form template. In Company Settings > Custom Forms, create a new form and drag fields onto it, or select Import PDF to build on an existing document. See How to Create a Custom Form.
- The admin chooses which records the form attaches to. In Form Settings, the Connect Forms to Records setting controls where the form is available — Standalone, Customer, Job, Estimate, Invoice, Project, Maintenance Agreement, and Asset. See Custom Form Settings Details.
- A team member attaches the form to a record. On the record, select Forms, then Create New, then the form to attach. Fields that reference the related record pull their values from it.
- The form is completed and saved back to the record. Your team can fill it out on web or in the mobile app, attach files to it, or send it to the customer to fill out or to view. Notifications go out when a customer fills or signs a form, configured in Company Settings > Customer Communications > Notification Settings.
when you add a custom form that contains required fields to a job, estimate, invoice, customer, or other record, those required fields do not have to be completed until the form is filled out for the first time.
Filling out forms offline
Custom forms attached to Job and Project records can be opened and edited in Offline Mode, and those same forms can be reached from the associated Customer record. Edits made and forms created without a connection are marked as Offline Drafts and save permanently once the device is back online. There are limits on how many existing forms and templates are available offline — see Custom Forms Offline Mode Details.Availability
Custom Forms is turned on per account. An admin enables it in Company Settings > Features & Plugins, and the Custom Forms area then appears in Company Settings for building and managing templates. Contact the FieldPulse team for pricing.Ready to turn on Custom Forms? Contact the FieldPulse team at support@fieldpulse.com or use the chat in the bottom-right corner of your screen.
Related articles
- Setting Up Custom Forms
- How to Create a Custom Form
- Custom Form Settings Details
- Custom Form Field Types and Formulas Details
- How to Use the PDF Form Filler
- How to Link Custom Forms to Jobs
- How to Import and Export Custom Form Templates
- How to View Photos and Files on Form PDFs
- Custom Forms Offline Mode Details
- Custom Forms FAQs
- How to Create Custom Forms Reports