Want to collect and track customer payments directly in FieldPulse? FieldPulse Payments makes the process seamless and saves you from making yet another account! We are constantly evolving FieldPulse Payments! With this current version of FieldPulse Payments you have the option to enable Next-Day Funding. A feature that offers next-business-day deposits on card and validated ACH payments. You also can utilize Card Fee Recovery. To get started, reach out to us at payments@fieldpulse.com. You can accept payments in 3 ways:Documentation Index
Fetch the complete documentation index at: https://fieldpulse.mintlify.app/llms.txt
Use this file to discover all available pages before exploring further.
- Emailing an online payment request via web app or mobile app
- Processing the payment on the mobile app
- Processing the payment on the web app
Apply for FieldPulse Payments Today
🏦 Fieldpulse Payments Application to learn how 🏦
Emailing an Online Payment Request
Web App
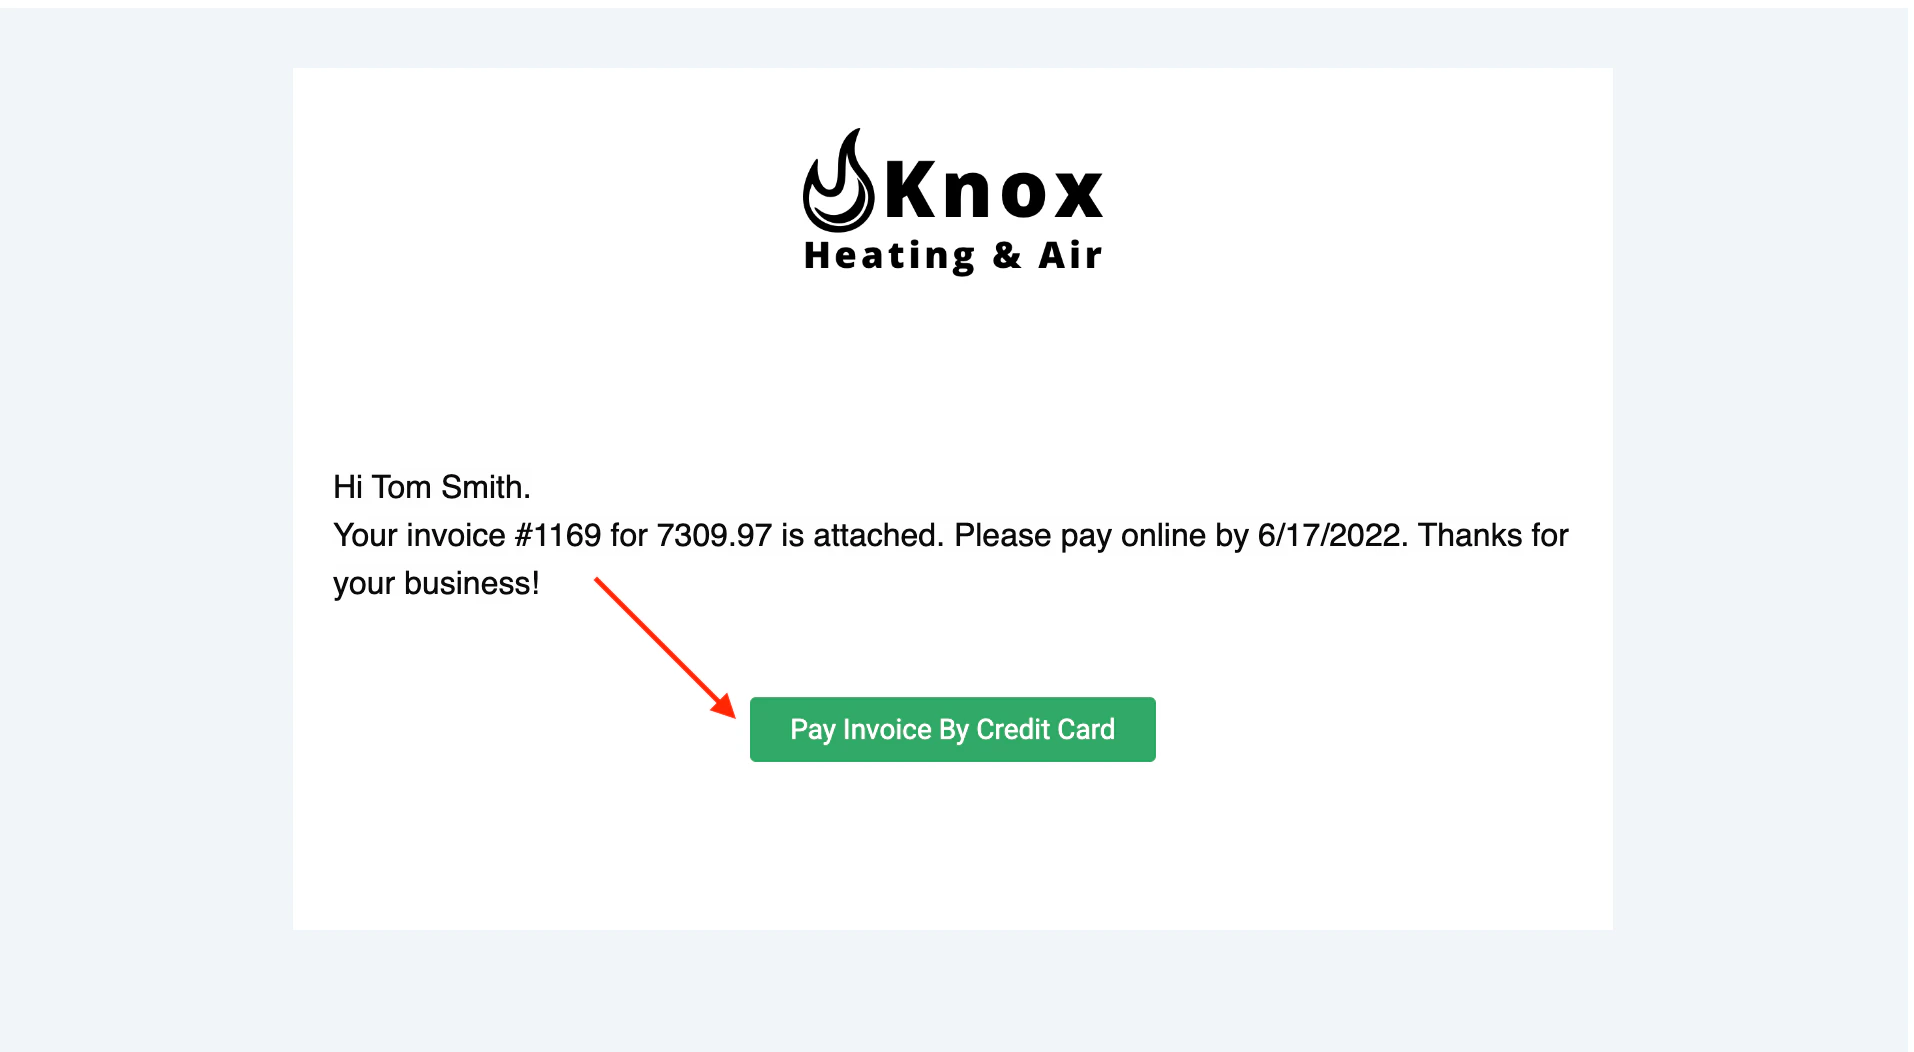
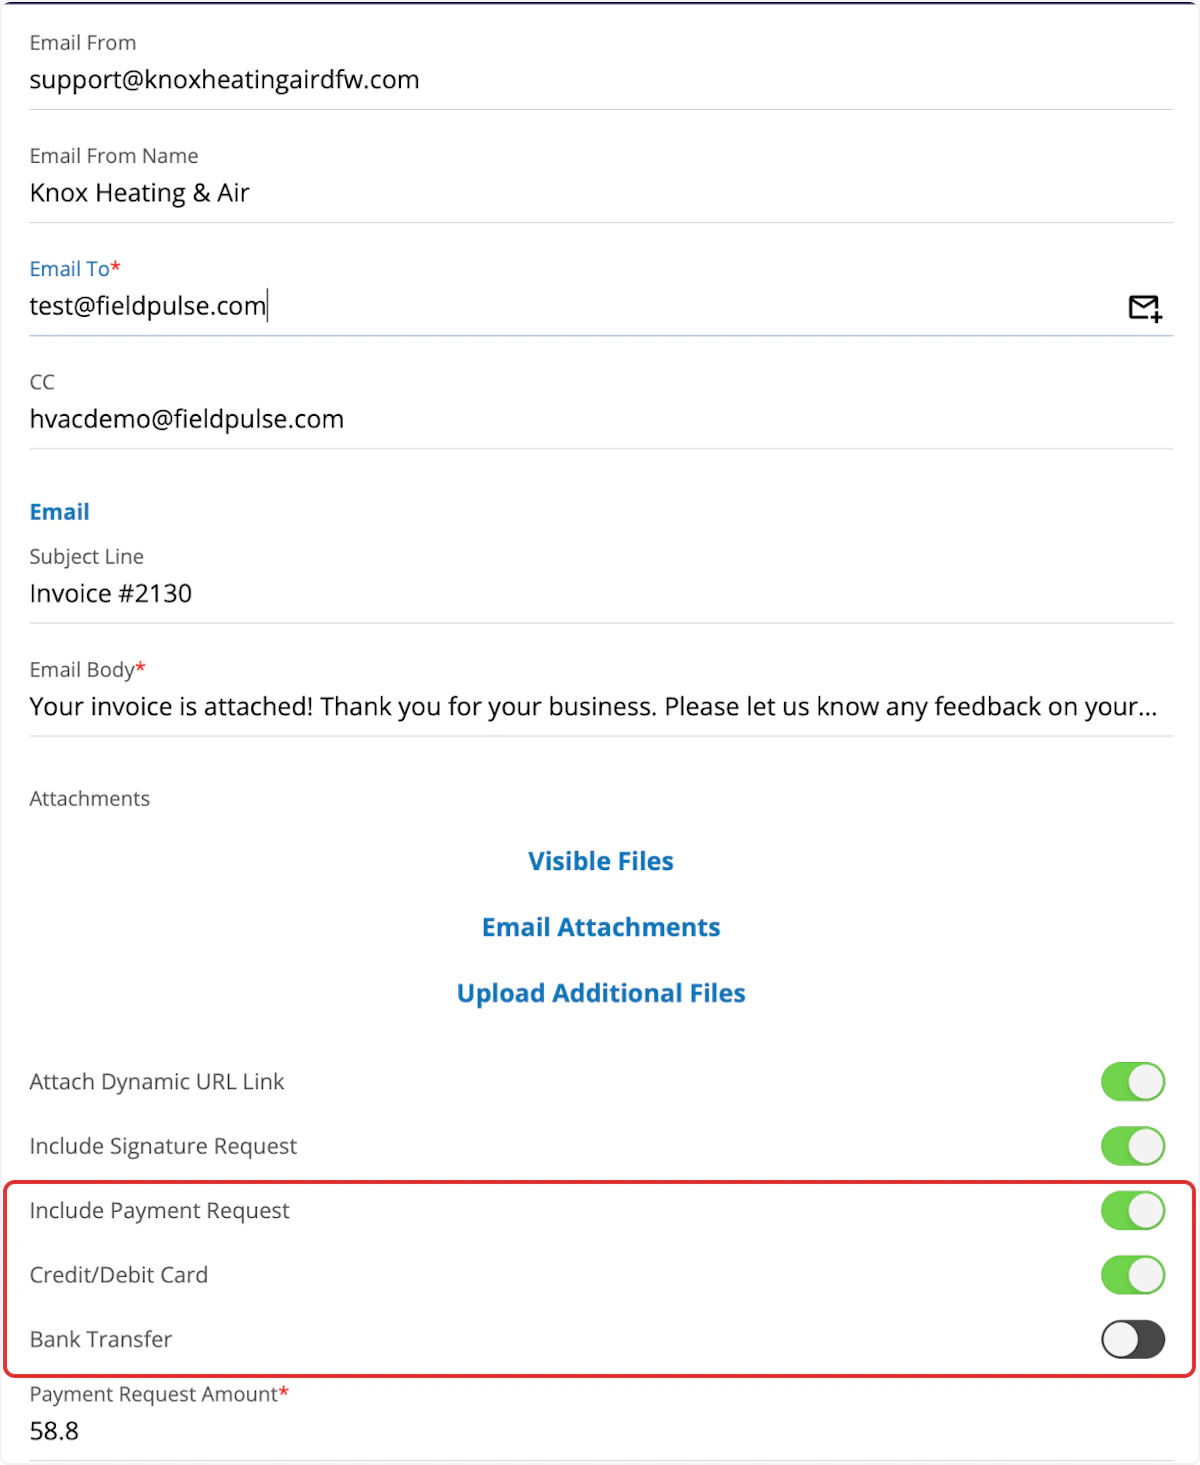
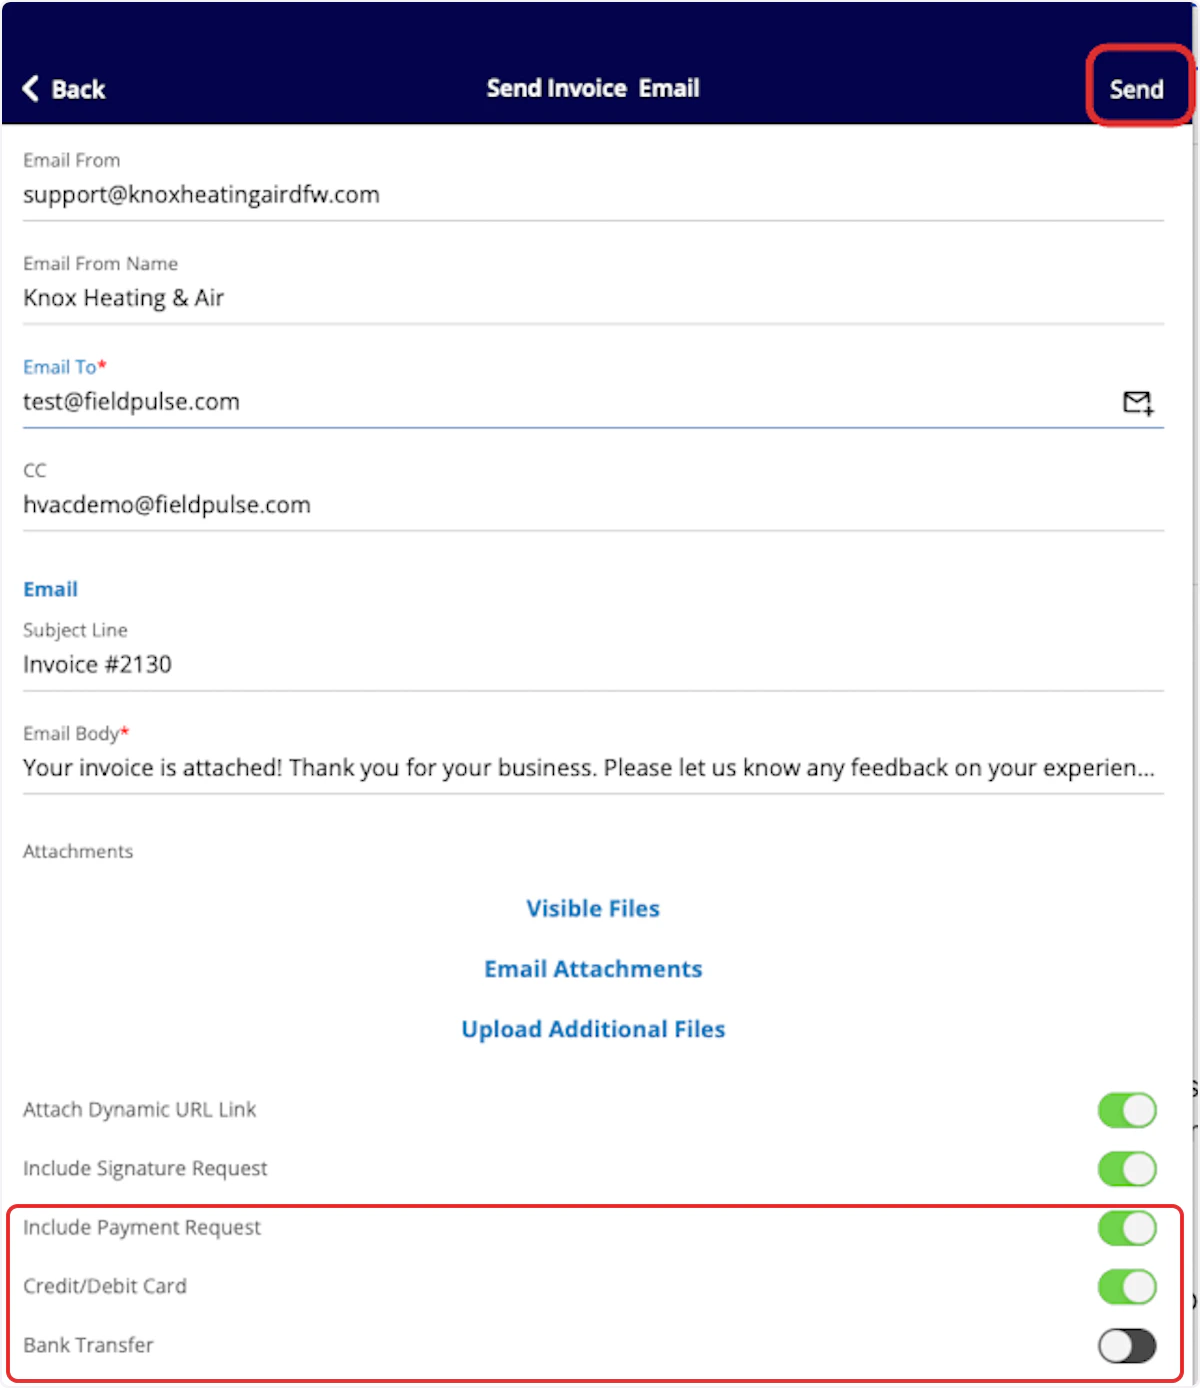
Here’s how to email an online payment request to the customer along with their FieldPulse invoice. This provides them with a Pay Invoice button in the email so they can pay online with their credit card or ACH.Web App: Method 1
You will first navigate to the Invoice tab on the left-side of your screen. From there, select or create the invoice that you would like to take payment on. Select Preview to generate the invoice for you.


Web App: Method 2
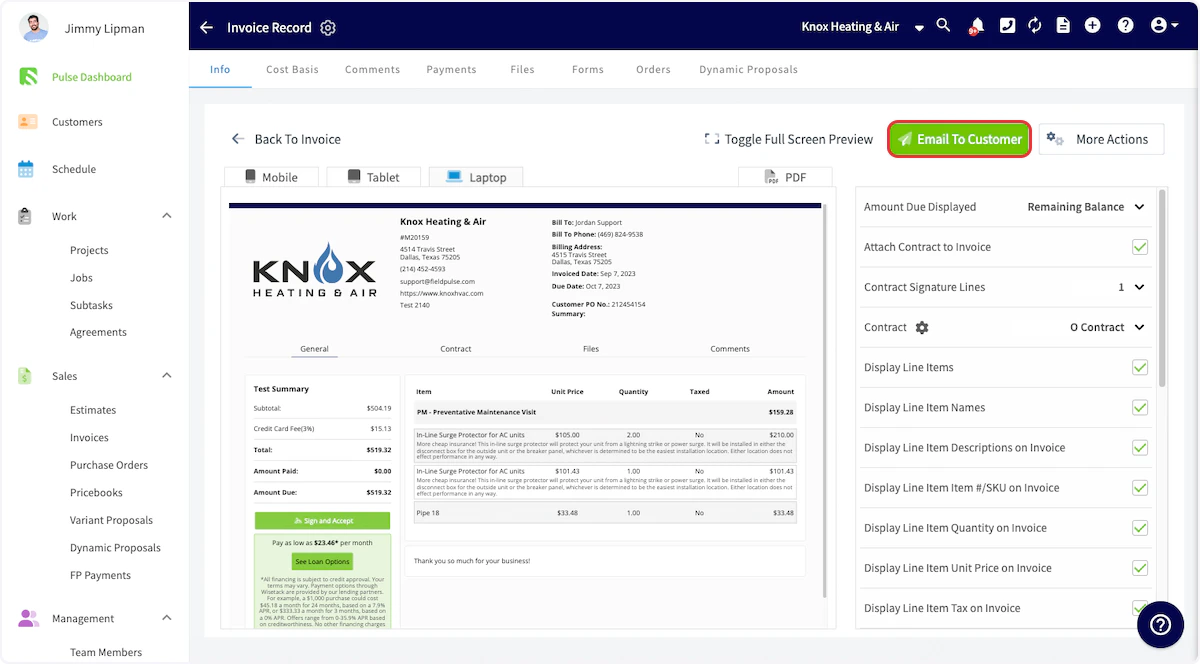
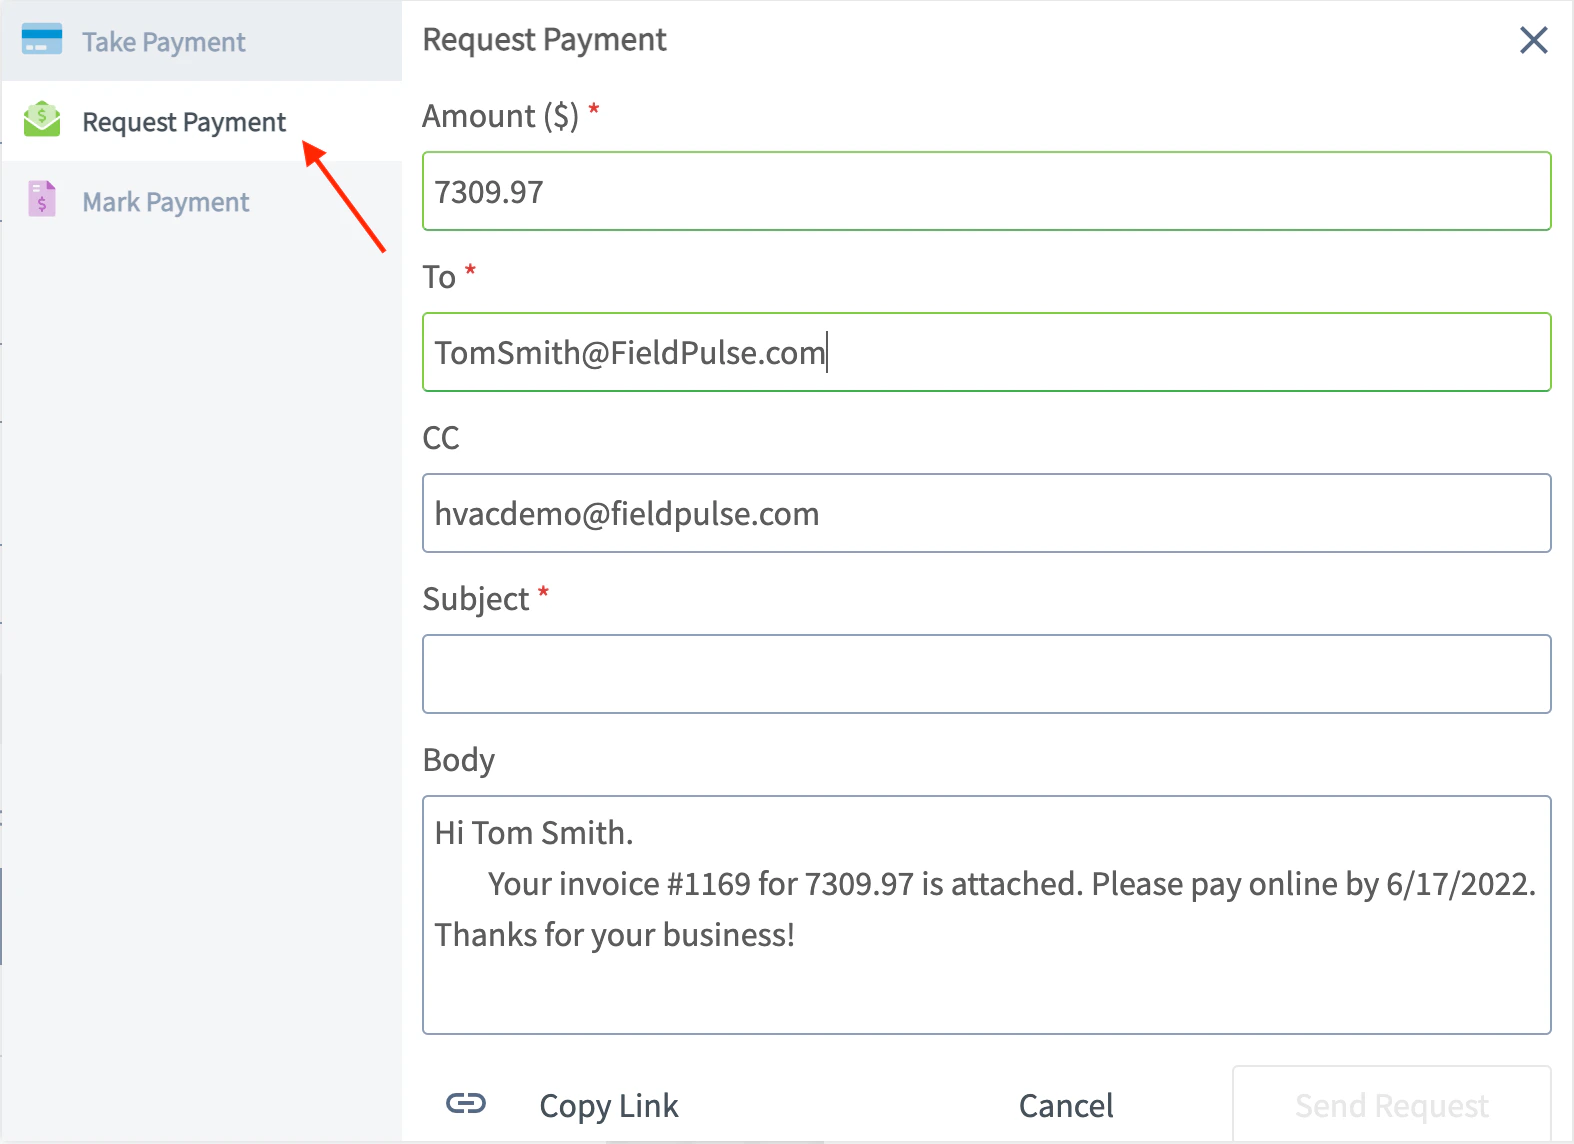
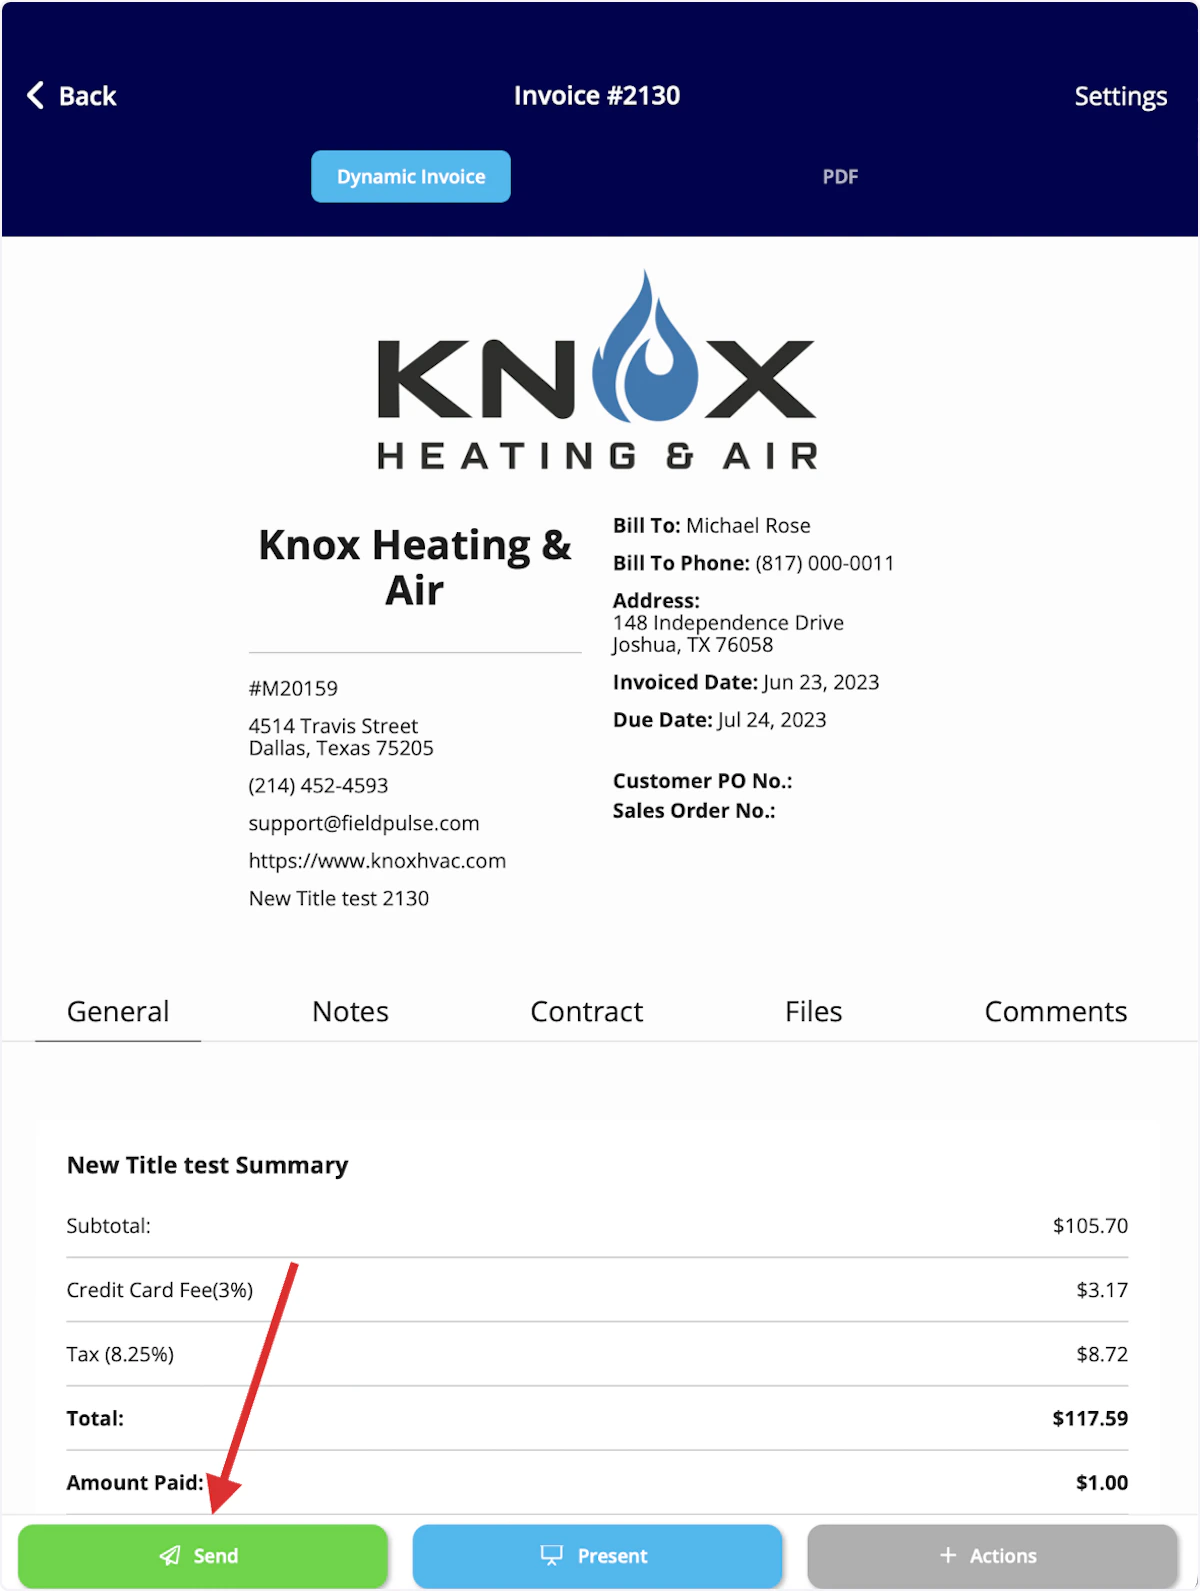
Another way to request payment by email is to return to the invoice record. Select the Payment button and choose Request Payment.

Mobile App
The process for emailing payment requests from the mobile app closely mirrors the process in the web app.Mobile App - Method 1
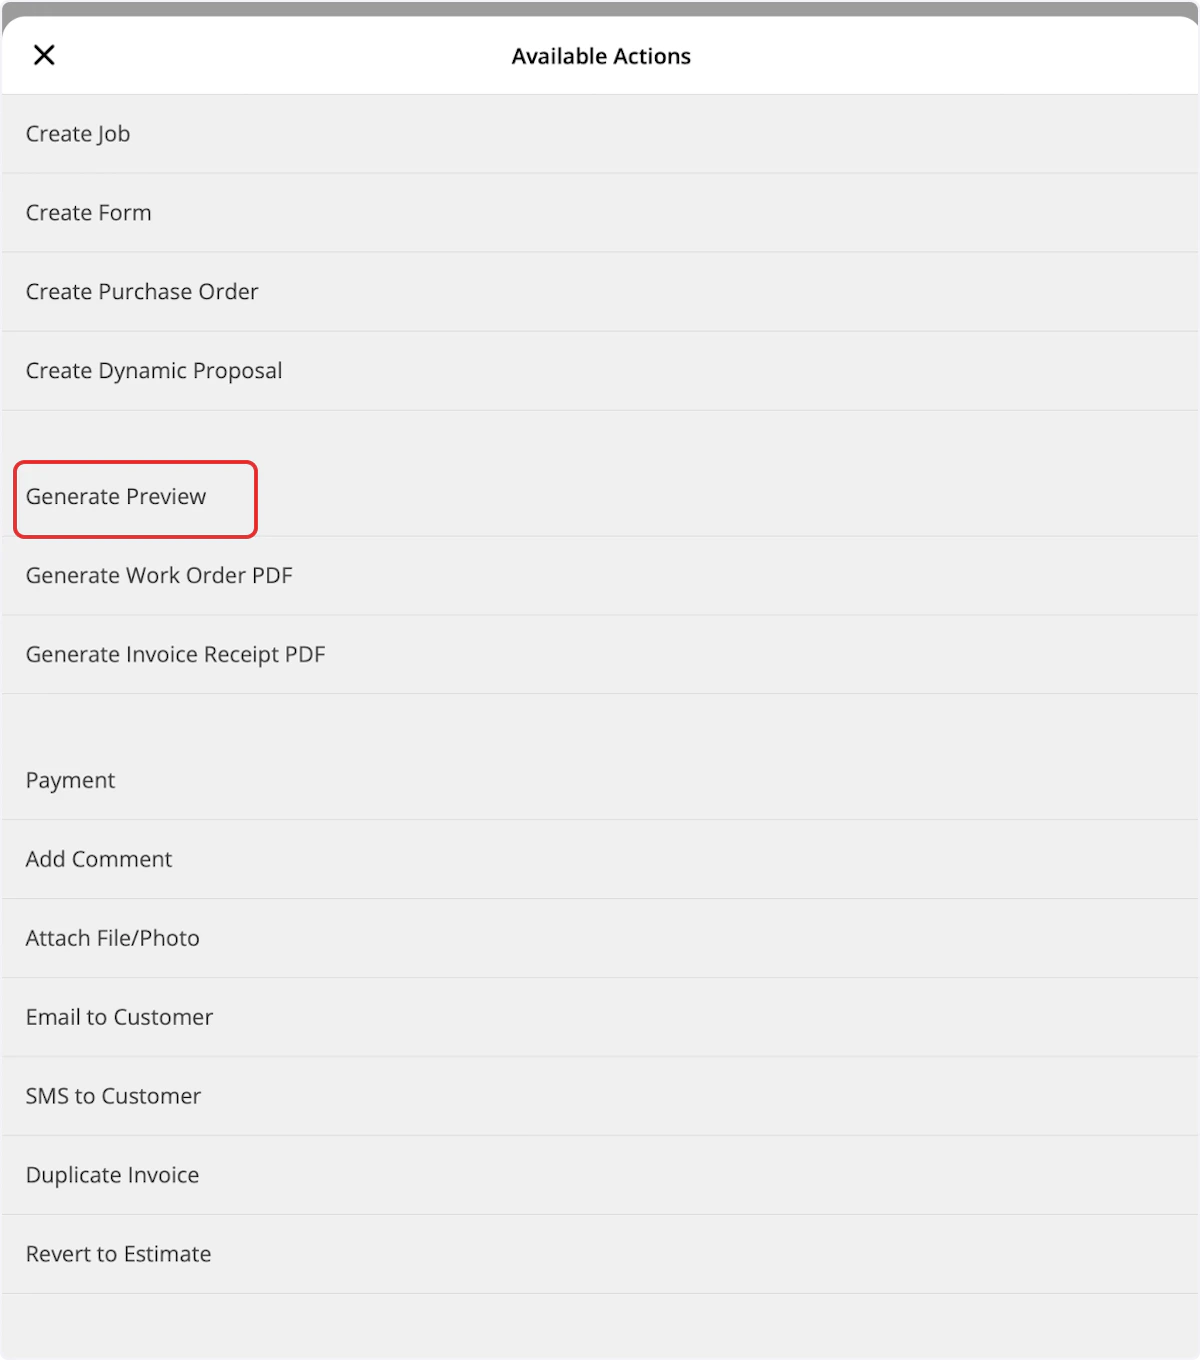
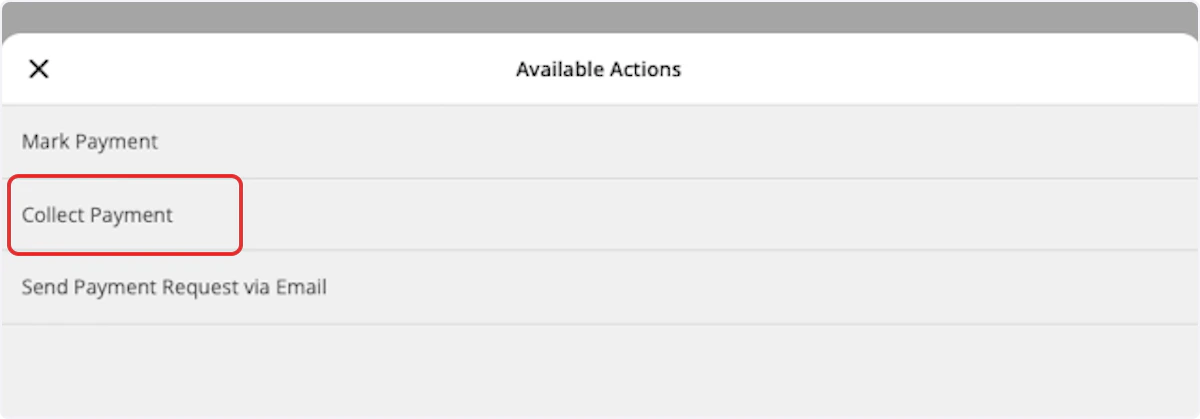
You will first navigate to the Sales tab at the bottom of your screen and select Invoices. Then, open or create the invoice record for which you want to send an email payment request. Once on the invoice record, select Actions.

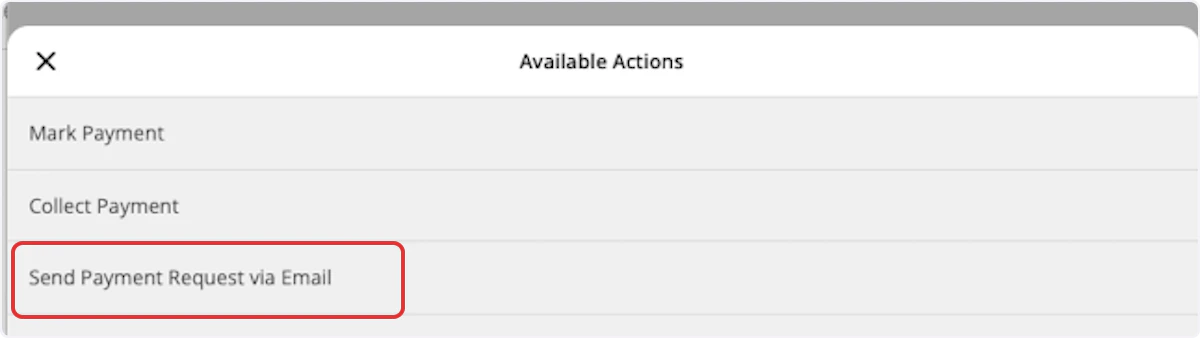
Mobile App - Method 2
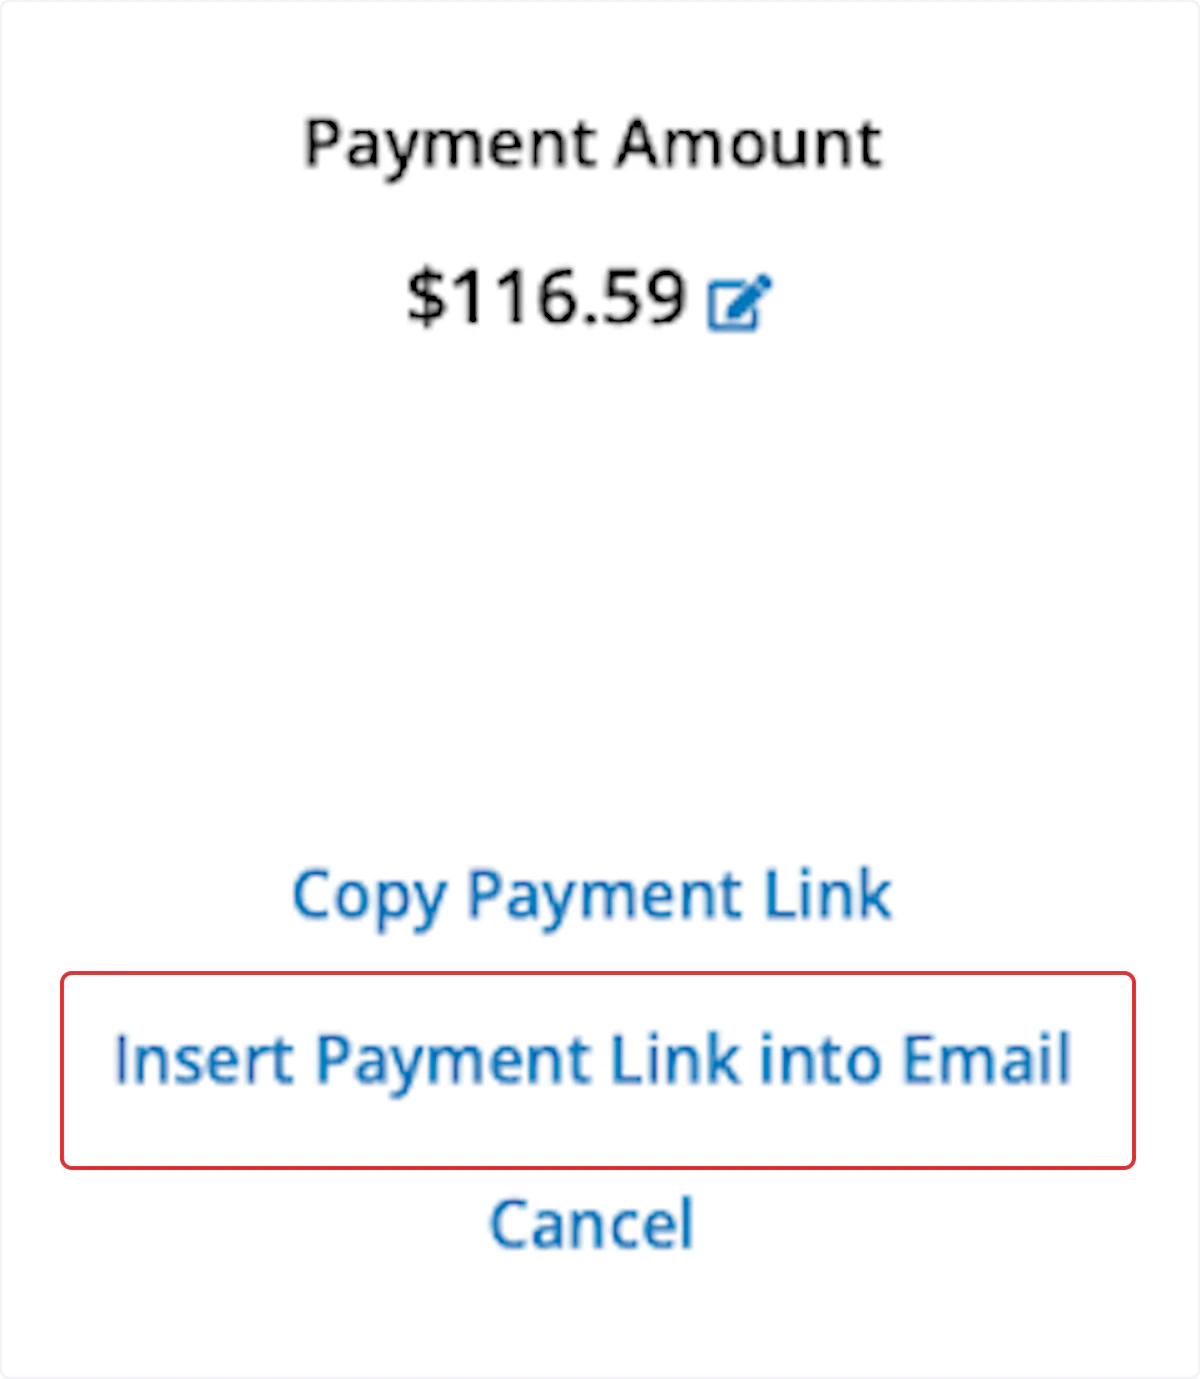
Another way to request payment by email is to return to the invoice record. Select the Payment button and choose Send Payment Request via Email.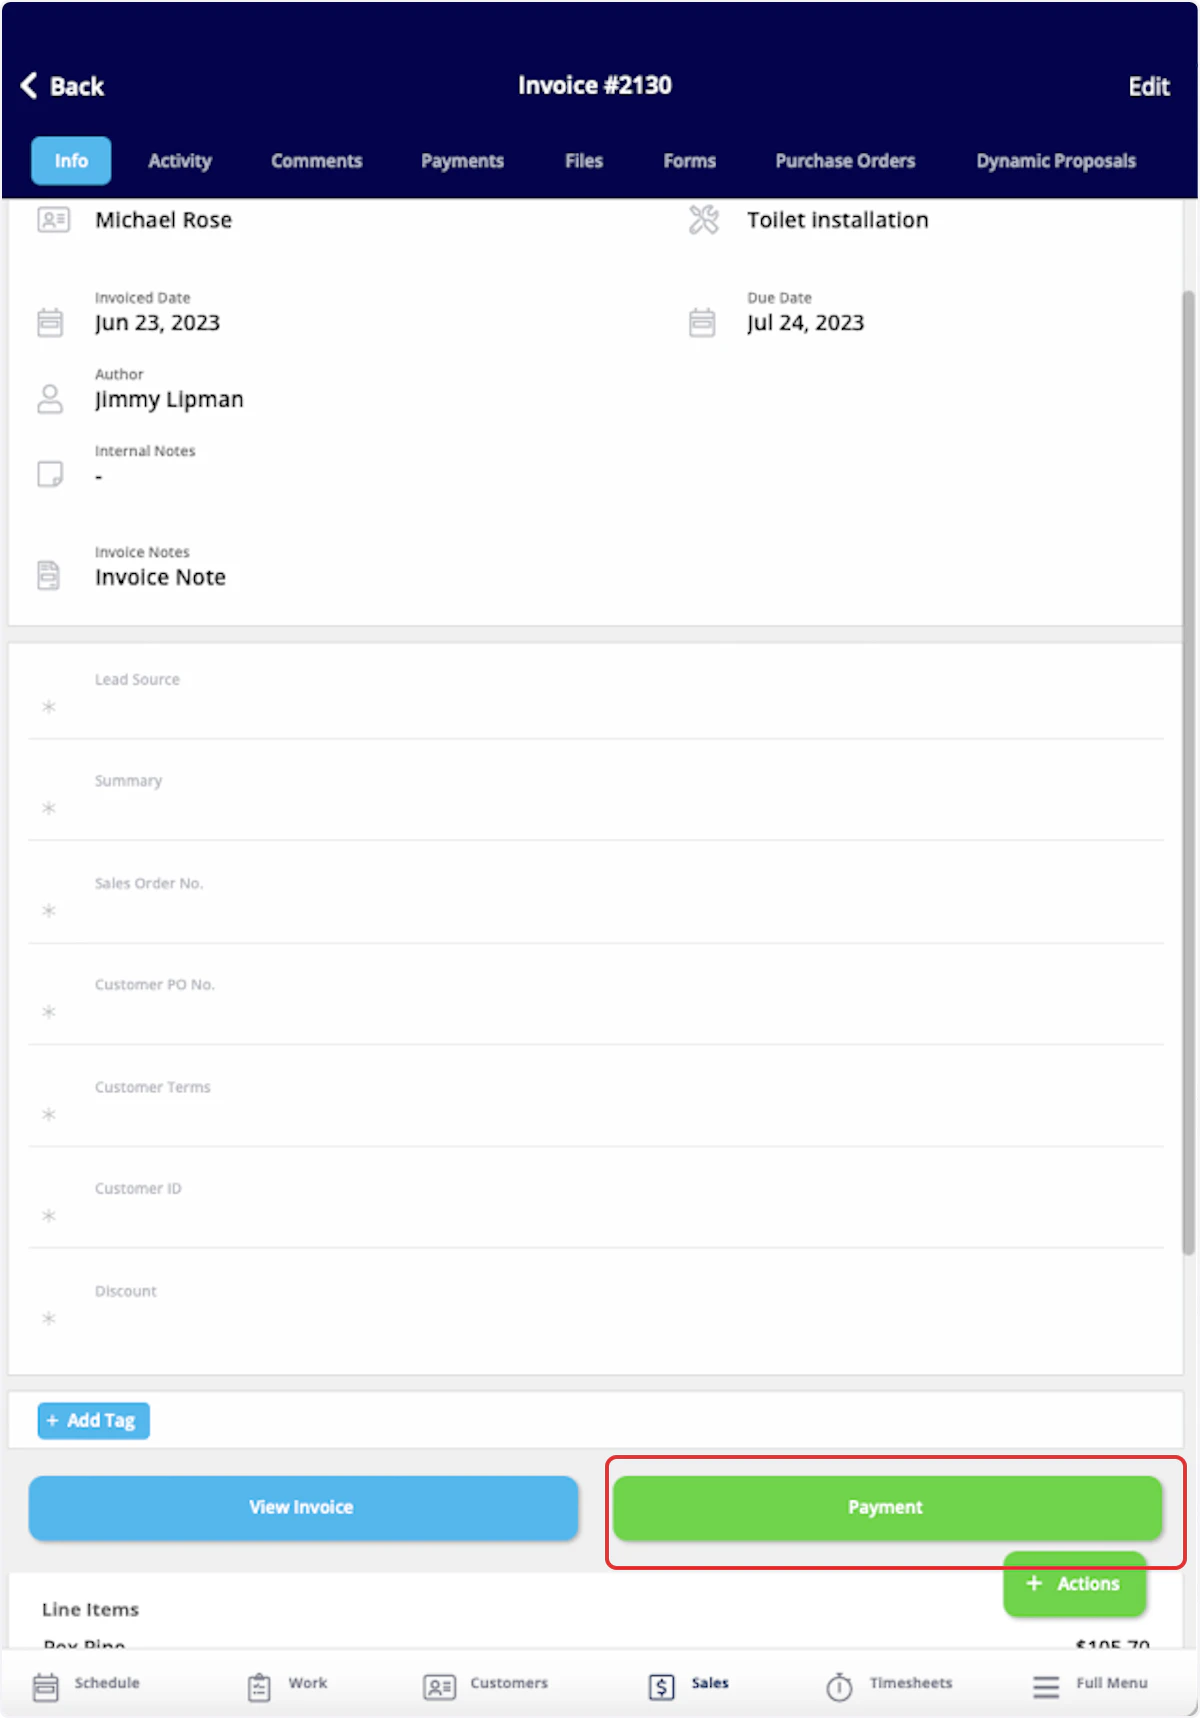
Processing Payments in FieldPulse
Here’s how to process payments in our mobile apps on iOS and Android. The card information can be typed in, scanned, or swiped.Web App
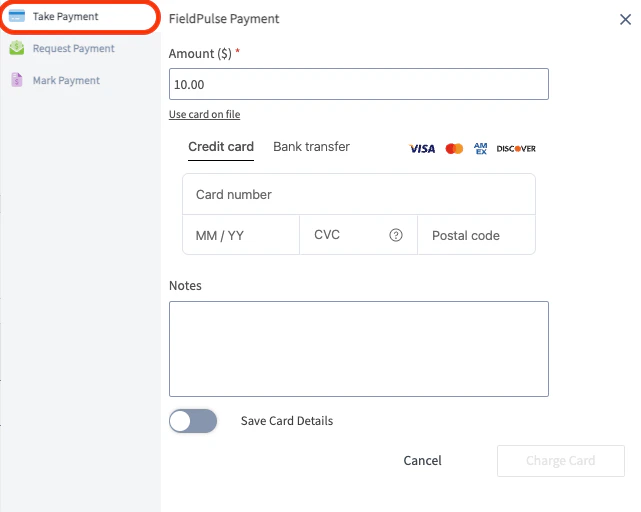
Here’s how to process payments via the WebApp. This would most likely be used for over the phone payments. To start, go to the invoice record that you are looking to collect payment on and click on Payment.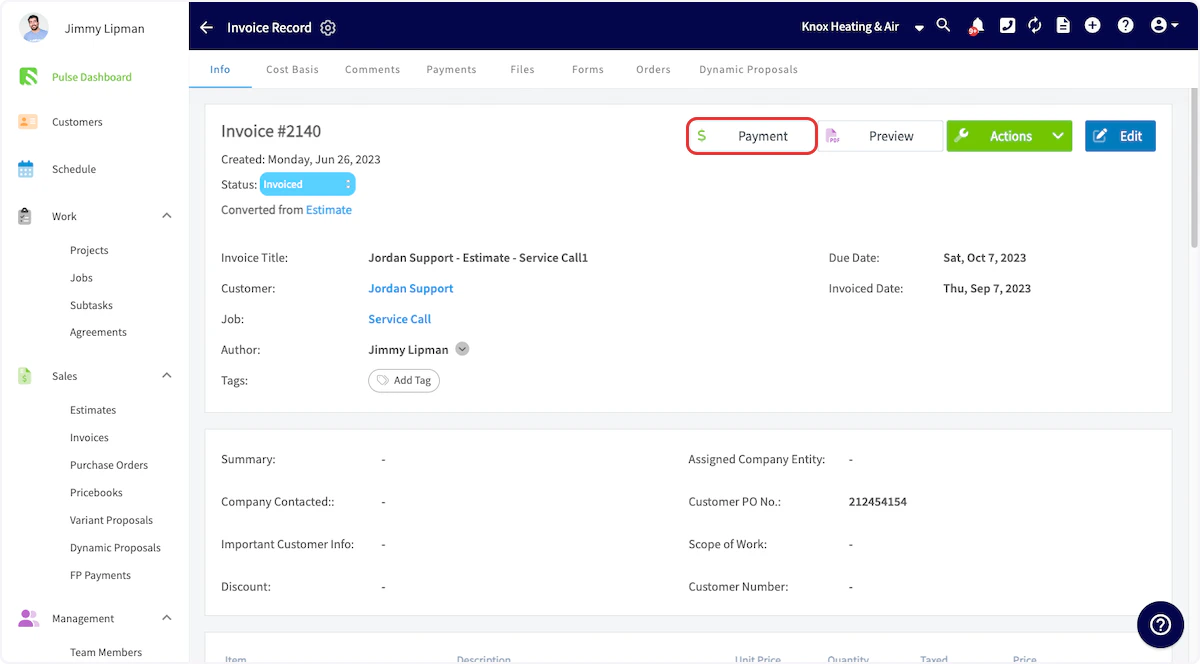
Mobile App
You will first navigate to the Sales tab at the bottom of your screen and select Invoices. Then, open or create the invoice record for which you want to collect payment.


Refunds in FieldPulse
To learn more about processing refunds in FieldPulse, Refunds.FieldPulse Payments Portal
FieldPulse Payments is fully integrated into the FieldPulse platform, streamlining the payment process for all users. Gone are the days of juggling separate logins and setting up individual accounts for each team member. With this integration, payments are now conveniently linked to their corresponding invoices, along with projected deposit dates, making financial management more efficient. You can also easily manage chargebacks, enhancing the overall experience and control over each transaction.FieldPulse Deposits
You will receive a deposit on each US banking day, which is the sum of all transactions (card, ACH, refunds, chargebacks, ACH returns, etc.) that are available for deposits. Deposit timing is dependent on the payment method type:- Standard Processing Time: Credit Card Payouts = 2 business days & ACH is 4 business days
- Next-Day Funding Processing Time: Credit Card Payouts = 1 business day & validated ACH is also 1 business day. To enable Next-Day Funding, contact a member of our team today and start enjoying faster access to your funds!
Deposit Statuses
| Status | Description of Status |
|---|---|
| Processing | Deposit is processing and funds have been initiated. |
| In Review | Deposit has been flagged for risk review. |
| Succeeded | Deposit has completed processing and the funds were deposited to the merchant. |
| Failed | Deposit unsuccessfully attempted to process. |
- Amount: The total sum of money that was deposited.
- Deposit Type: This indicates whether its a deposit or a payin.
- Status of the Deposit: This shows whether the deposit is pending, completed, or failed.
- Method: The method used for the deposit (e.g., bank transfer, credit card).
- Creation Date: The date and time when the deposit was created.
- Deposit ID: A unique identifier for the deposit itself.
Filtering Your Data
To filter the information displayed in each column, use the three horizontal lines (often referred to as a “hamburger” icon) located at the top of each column. This allows you to narrow down the data based on specific criteria, making it easier to find the information you need.
Exporting Your Data
If you need to share or analyze your deposit data outside of the platform, look for the export option. This feature allows you to download the data in a .csv file format. You can choose to download the deposits for the previous month, current month, or select a custom date range.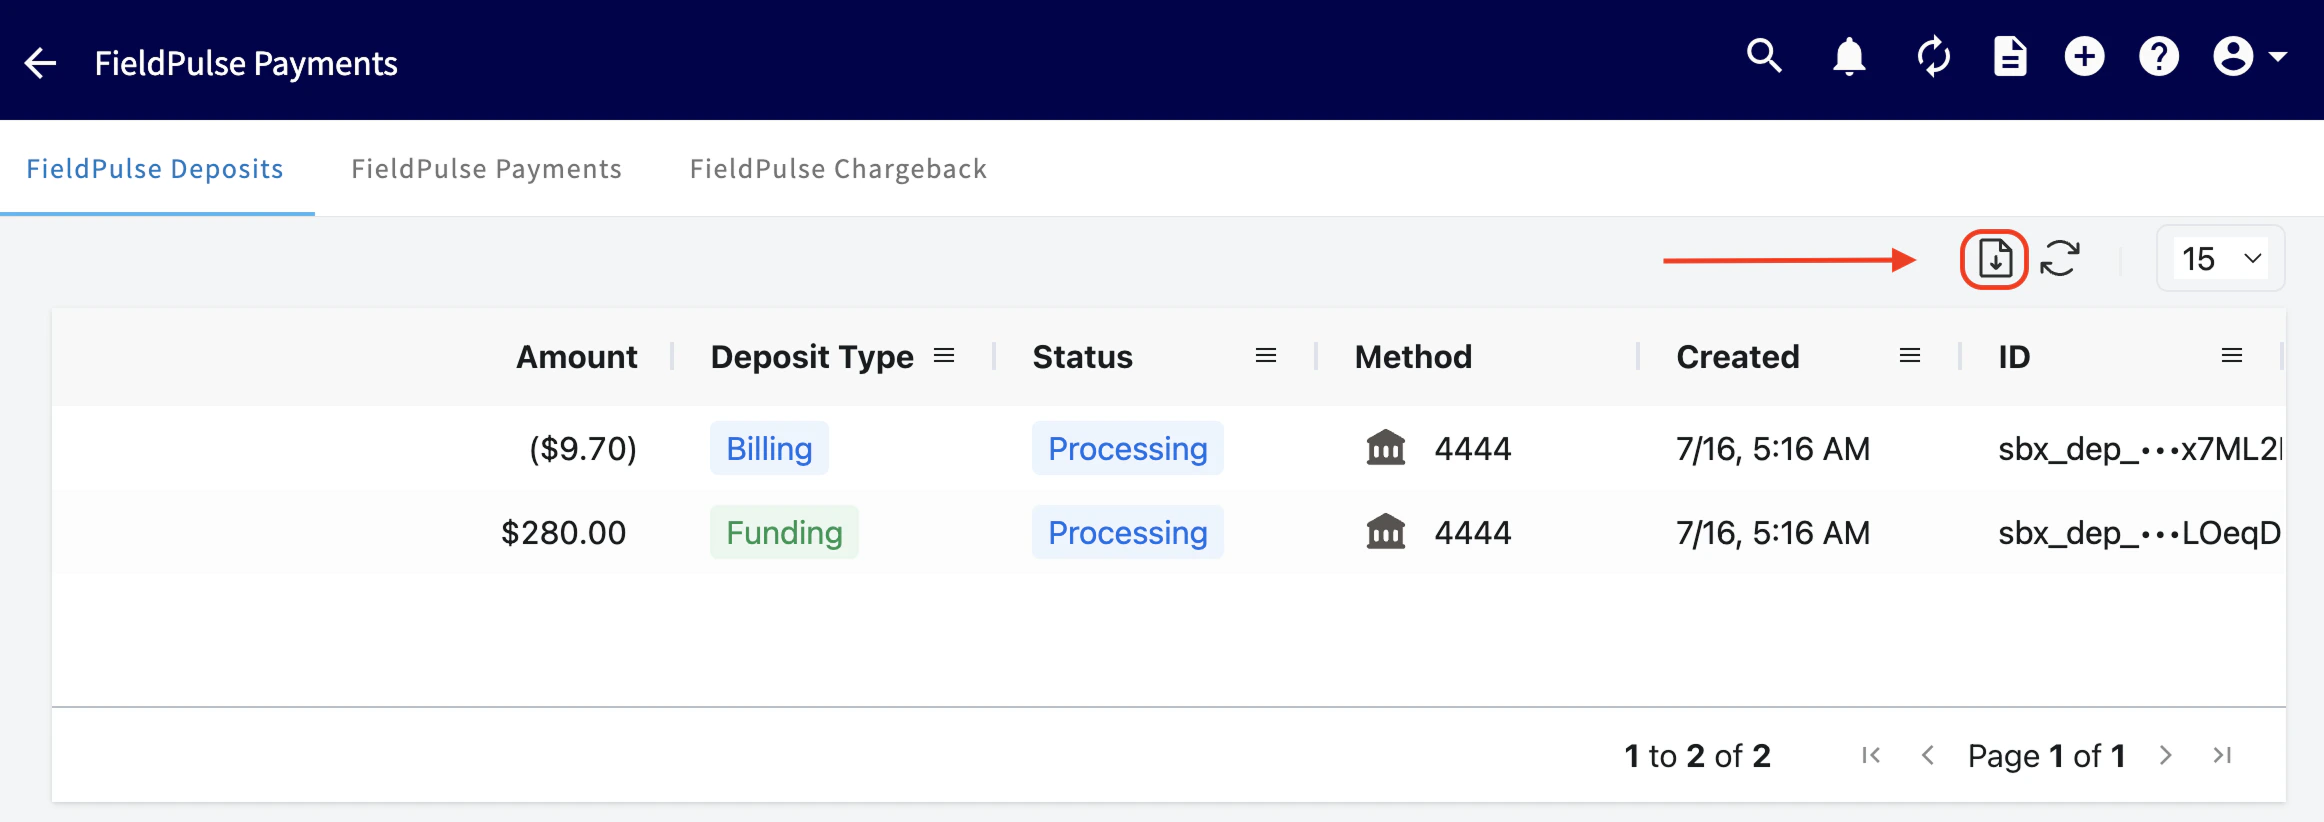
Adjusting Viewable Deposits
You can customize how many deposits are visible on your screen at one time. To do this, locate the dropdown menu in the top right corner of the screen. Here, you can select the number of deposits you want to display: 15, 30, 60, or 100.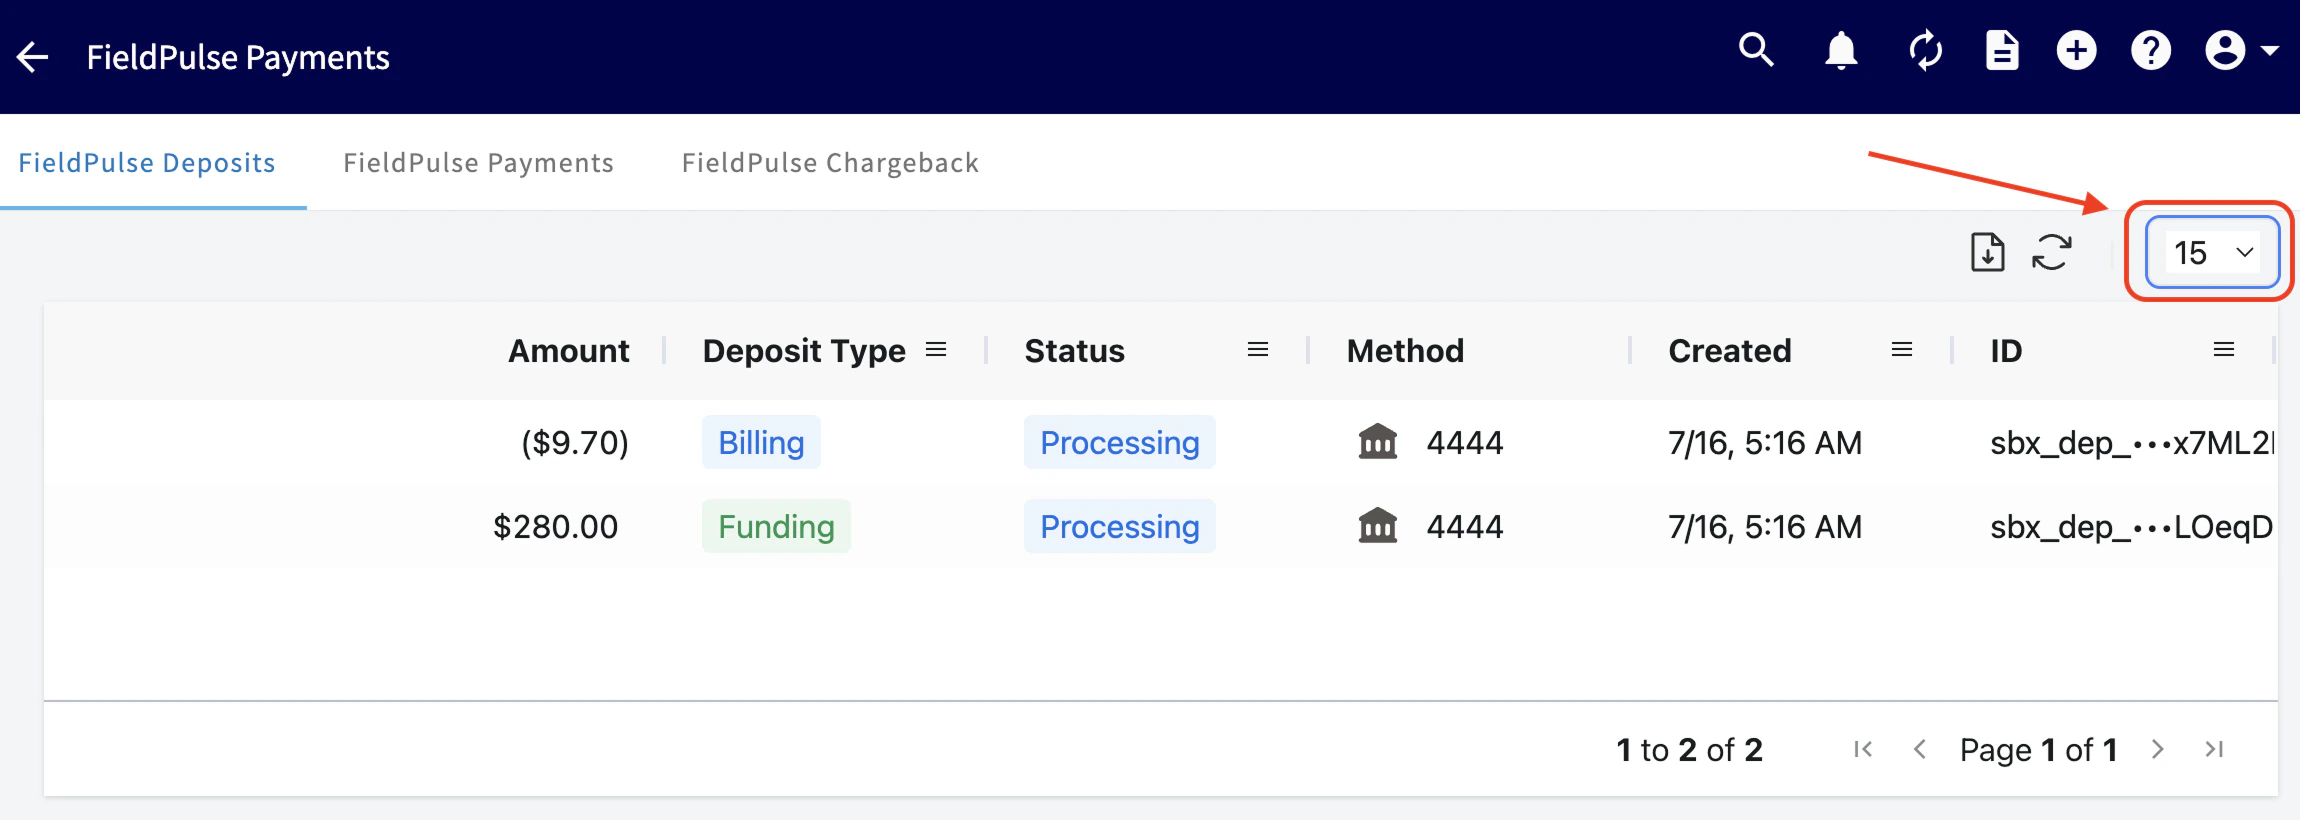
FieldPulse Payments
You have full visibility into the movement of funds from your customer to your business.Payments Statuses
| Status | Description of Status |
|---|---|
| Created | Payin was created and waiting approval. This is an interim status. |
| Presenting | Payin is presented on a terminal device and waiting for the user to process the payin on the device. This is an interim status. |
| Authorized | Payin is authorized for processing. For Card payins, your customer’s issuing bank has placed a hold on the funds. |
| Processing | Payin was captured and is currently processing. The funds will move from your customer’s issuing bank to your business. This is an interim status. |
| Succeeded | Payin has completed processing and is available to be deposited. |
| Failed | Payin failed to process. |
| Canceled | Payin processing was canceled and no funds will be moved. This means the payment was canceled/voided after processing or canceled when presenting on a terminal device. |
| In Review | Payin has been flagged for fraud review. |
- Invoice ID: This is the unique identifier associated with the invoice linked to the payment.
- Customer: The name of the customer associated with the payment.
- Amount: The total sum of money that was paid.
- Payment Type: This states whether it is a payin or refund.
- Status of the Payment: This shows whether the payment is pending, completed, or failed.
- Method: The method used for the payment (e.g., online payment, check).
- Creation Date: The date and time when the payment was created.
- Expected Payment Date: The date when the payment is anticipated to be processed.
- Payment ID: A unique identifier for the payment itself.
Video Tutorial
FAQs
Who is eligible to use FieldPulse Payments? Businesses located in the United States can use FieldPulse Payments. How can I get started? You can begin the application process at your convenience. Fieldpulse Payments Application to start! What are the associated costs? There is a processing fee for debit/credit cards and ACH payments, as well as a monthly cost. Chat with our team to learn more. Is there a transaction limit? Your transaction limit is set at $500,000. If you need to change this limit, reach out to our team to submit documentation and request an increase! What are the funding timelines in the United States?-
Standard Funding:
- Credit Card Payouts = 2 business days
- ACH = 4 business days
-
Next-Business Day Funding:
- Credit Card Payouts = 1 business day
- Validated ACH = 1 business day
Daily Cutoff Times
| PAYIN TYPE | DAILY CUTOFF |
|---|---|
| Card | 11:00 PM ET |
| ACH | 9:00 PM ET |
- A total deposit reflecting the overall value of the payments you processed.
- A billing fee representing the total of all payment processing fees.
Have additional questions? Contact us at support@fieldpulse.com or use the chat feature in the bottom right corner of your screen.