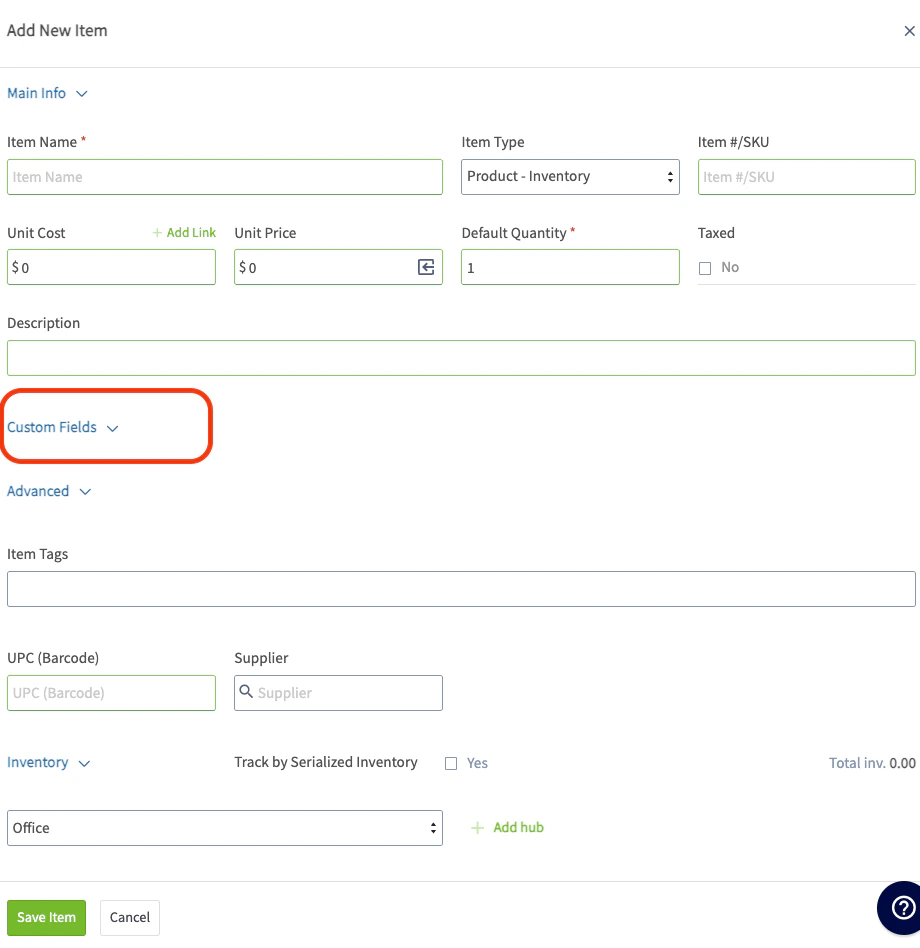
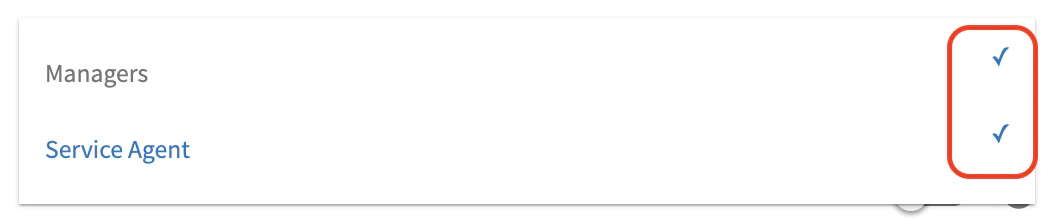
You can create custom fields for Items to store and display any data you wish. With the ability to set the order of your custom fields and add different visibility permissions by role, you can control how your custom fields are displayed to your team members. Line item custom fields will apply to all items regardless of if they are listed as Product - Inventory, Product - Non Inventory, or Service. Item Custom Fields are only available on the Items in your Item List (shown in the picture below). This means you won’t be able to see them on invoices, estimates, material lists, etc. These fields can be used to capture any additional information needed on an item, such as:Documentation Index
Fetch the complete documentation index at: https://fieldpulse.mintlify.app/llms.txt
Use this file to discover all available pages before exploring further.
- Expiration Date
- Storage Conditions
- Supplier Lead Time
Adding a New Custom Field
To create a custom field, navigate to Company Settings, click on Estimates & Invoices and then the Item Custom Fields tab. On the Items Custom Fields page, click Create New.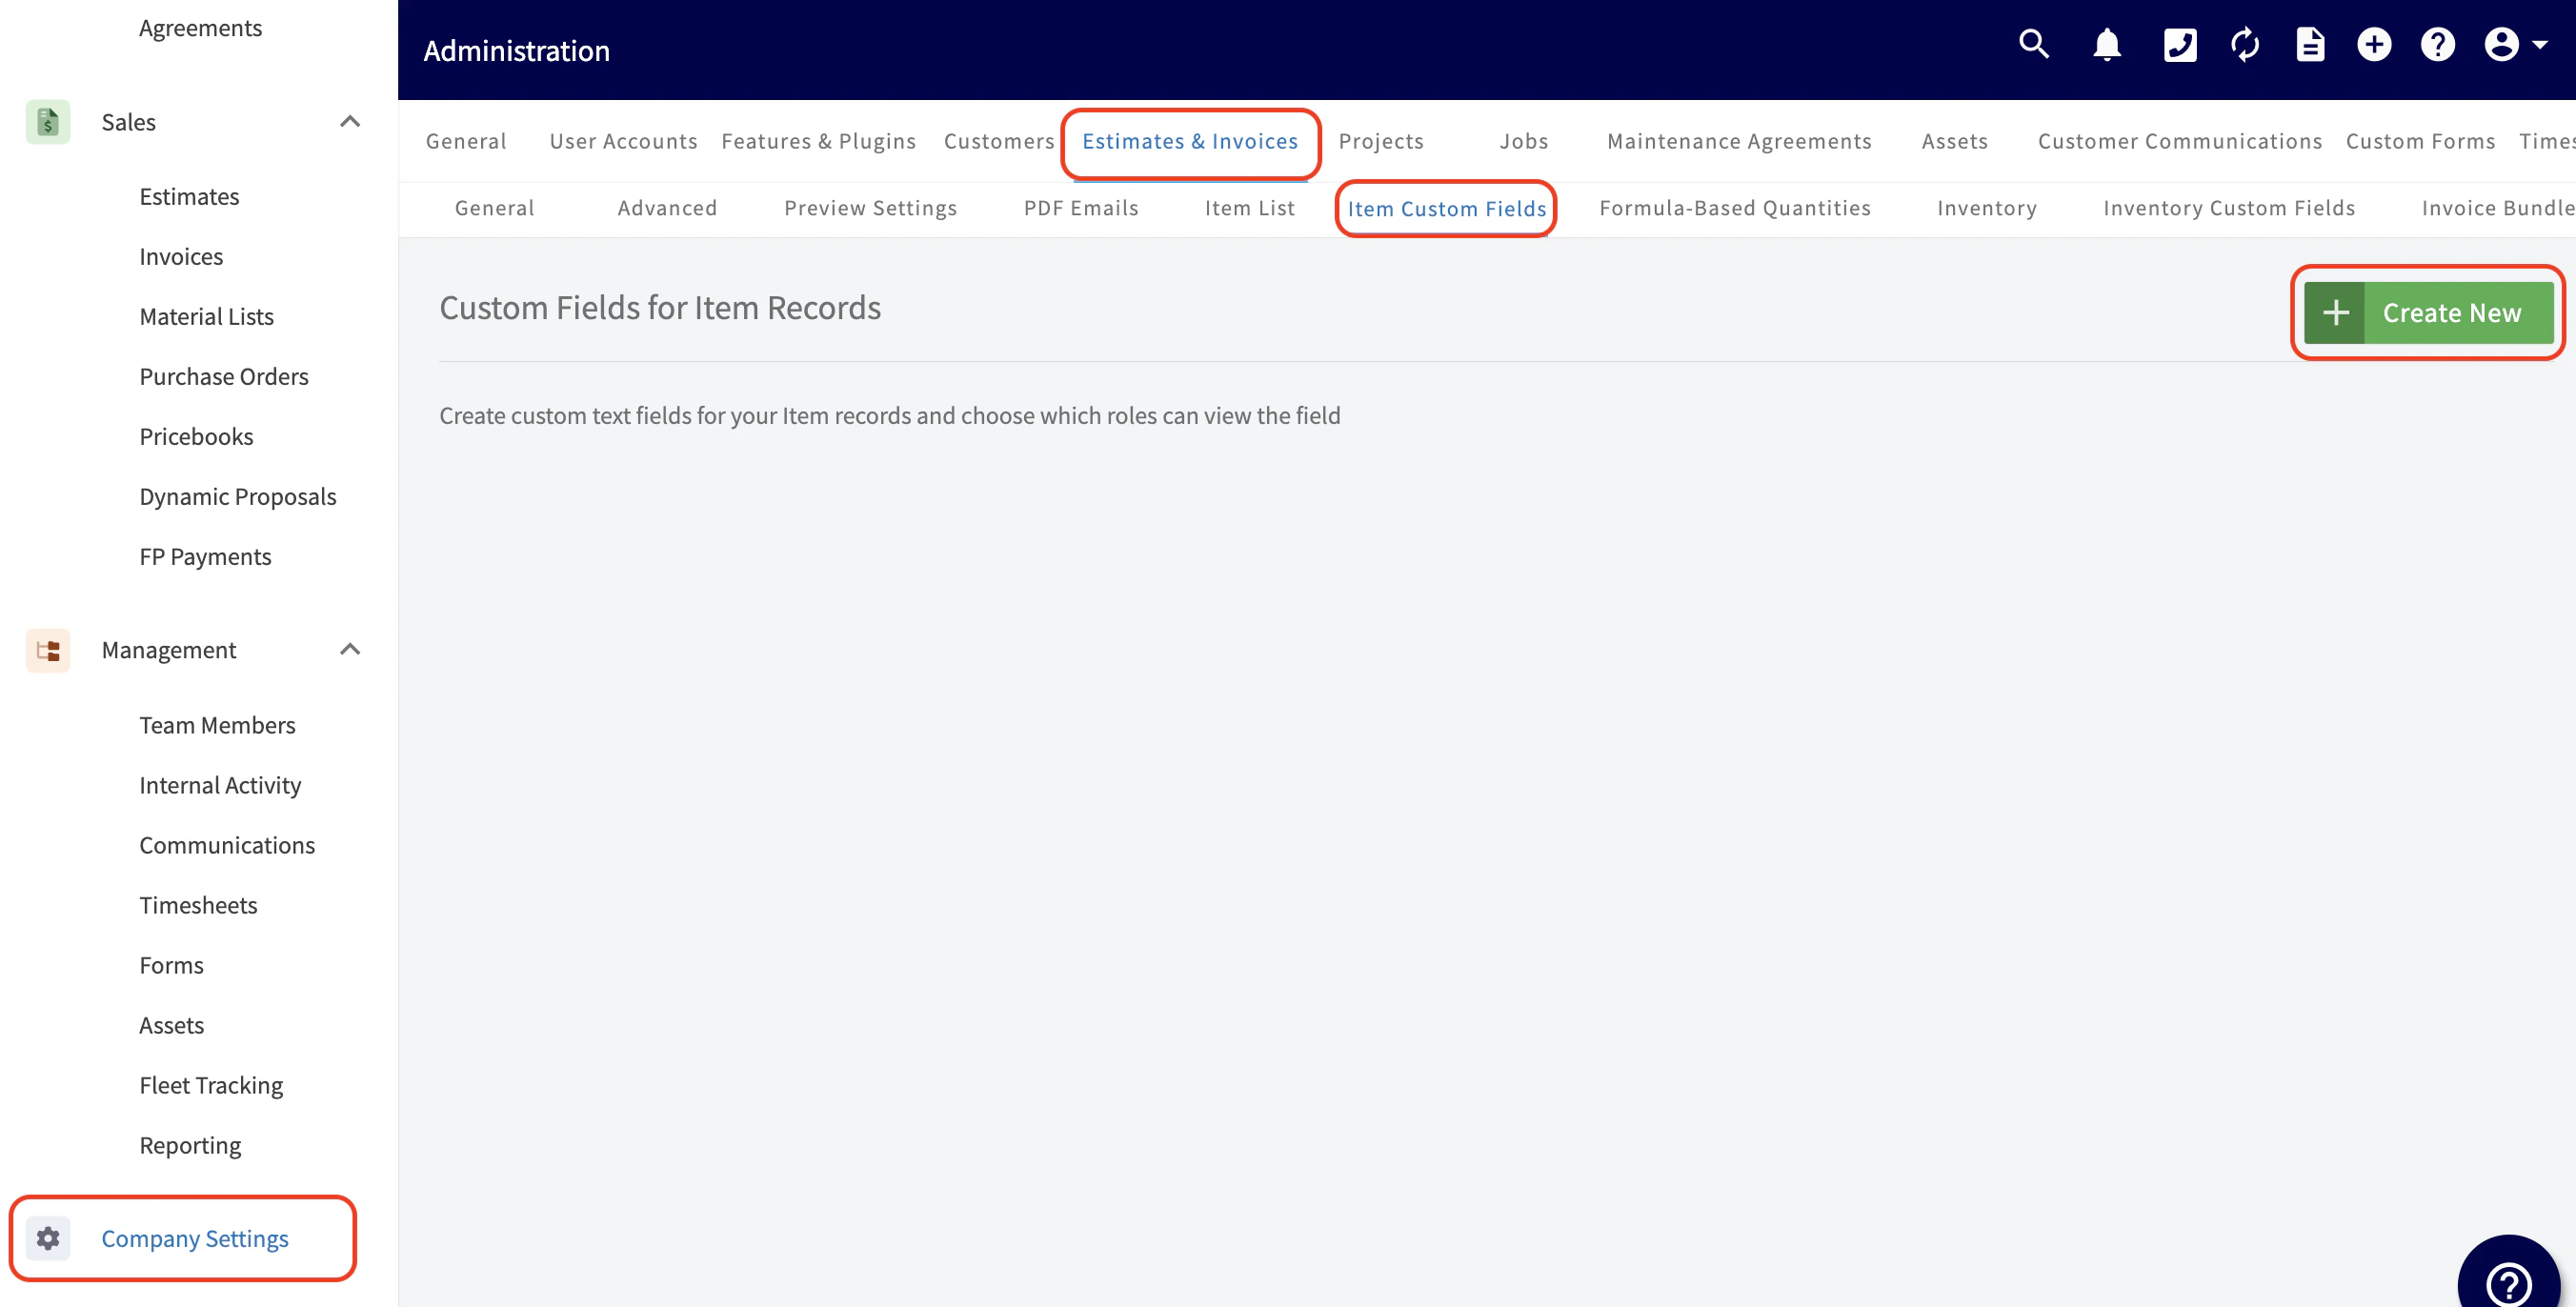

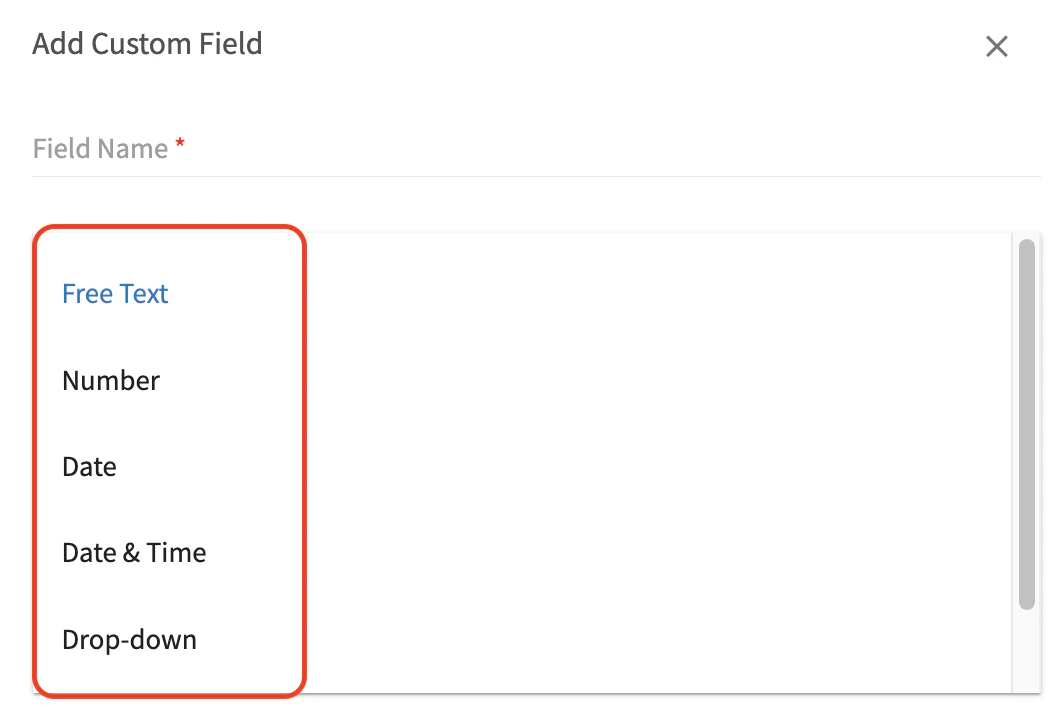
- Free text: Here you have the option to add “free text”, allowing you to type freely in your own words.
- Number: By selecting this, you can easily indicate the number or quantity for this line item.
- Date: This option allows you to easily autofill the date in by clicking on the small calendar icon.
- Date & Time: This option allows you to easily autofill the date in by clicking on the small calendar icon. The time will default to today’s date at 8 am, but you can manually adjust the time.
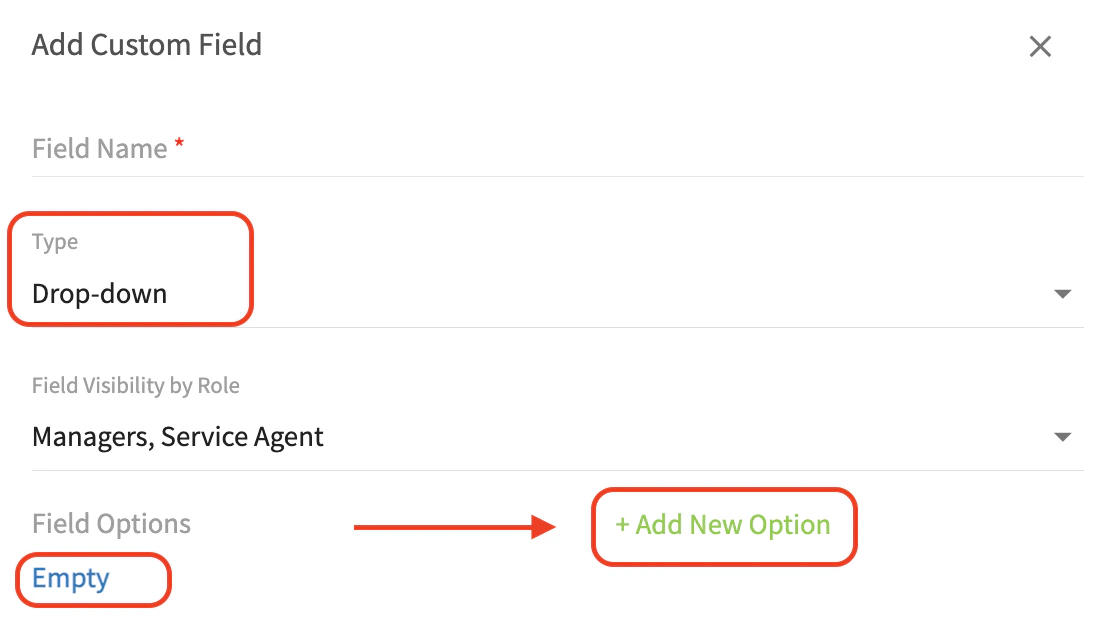
- Drop Down: Upon selecting this option, you will be asked to Add New Field Options (see the first picture below) and edit them. After assigning a name to each option, ensure that you click on the save icon (see second picture below). By adding all of the options here, when on your item you will then select a single option from a dropdown list.

Have additional questions? Contact us at support@fieldpulse.com or use the chat feature in the bottom right corner of your screen.