
Who uses this: Admins and Team Managers who manage Engage phone lines. Availability: United States and Canada · requires the Engage add-on.Call routing decides where an incoming Engage call goes when it comes in on a phone line. You set it per line, and you pick one of three methods: a Phone Tree that sorts callers with a menu, Call Forwarding that sends every call to another number, or Sequential Call Ring that dials a list of lines in order until someone answers. To turn it on, go to Engage > Settings > Phone Numbers, then open Call Routing on the line you want to route.
Overview
Call routing is what stands between a ringing phone and a missed call. Without it, an incoming call rings one place and rolls to voicemail if no one picks up. With it, you decide the path every caller takes. Because routing is set line by line, your main office line, your sales line, and an after-hours line can each behave differently. You choose one method per line:Before you begin
- Confirm Engage is enabled on your account. Engage is available in the United States and Canada; to enable it, email support@fieldpulse.com or use the chat feature in the bottom right corner of your screen. See Engage Overview.
- Confirm your role has access to Engage — Assignment Users and Limited Agents cannot use Engage. See Engage User Roles Details.
- Decide which line you are routing. Each line is configured on its own.
- For Sequential Call Ring, note that only lines without call routing already enabled can be added to the sequence, and each number can appear in the queue once.
Step-by-step setup
- Go to Engage > Settings > Phone Numbers.
- Open the line you want to route and select Call Routing.
- Choose one method: Phone Tree, Call Forwarding, or Sequential Call Ring.
- Configure the method using the sections below.
- Save your changes before leaving the page.
Build a phone tree
A phone tree plays a greeting and then offers callers branches to choose from. You can design a different tree for each phone line.-
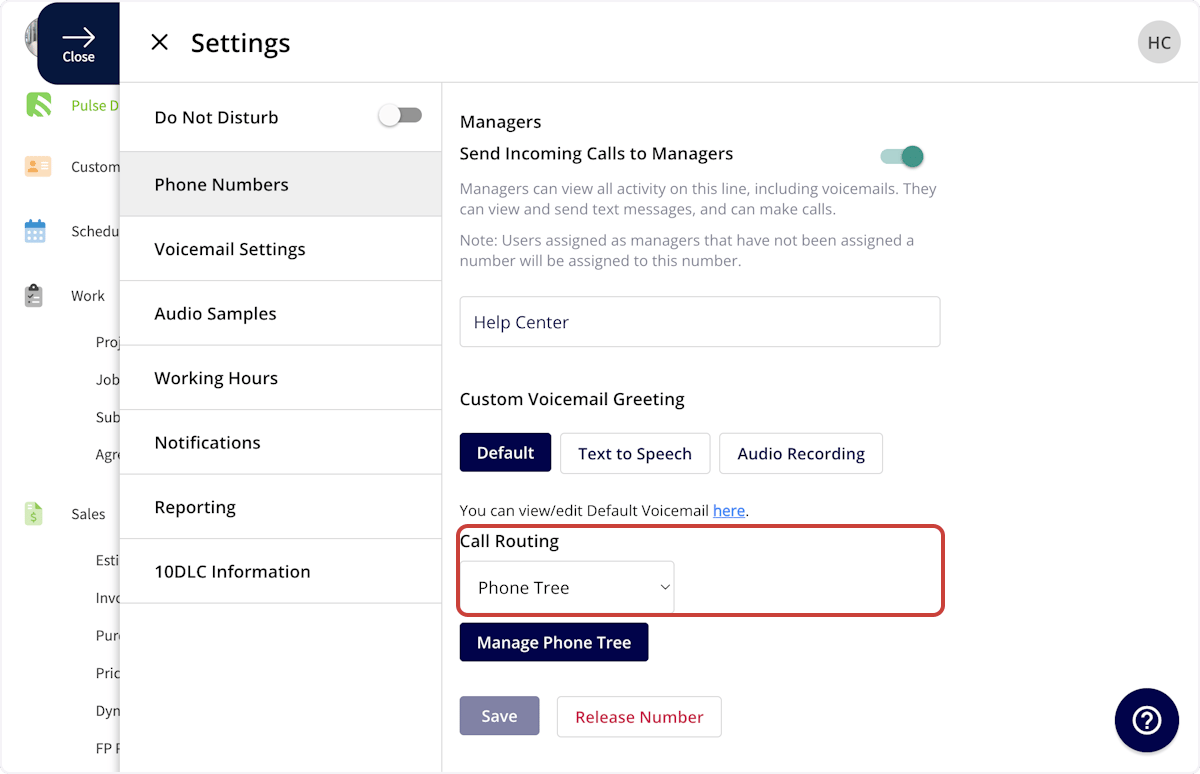
On the line’s Call Routing screen, select Phone Tree.
-
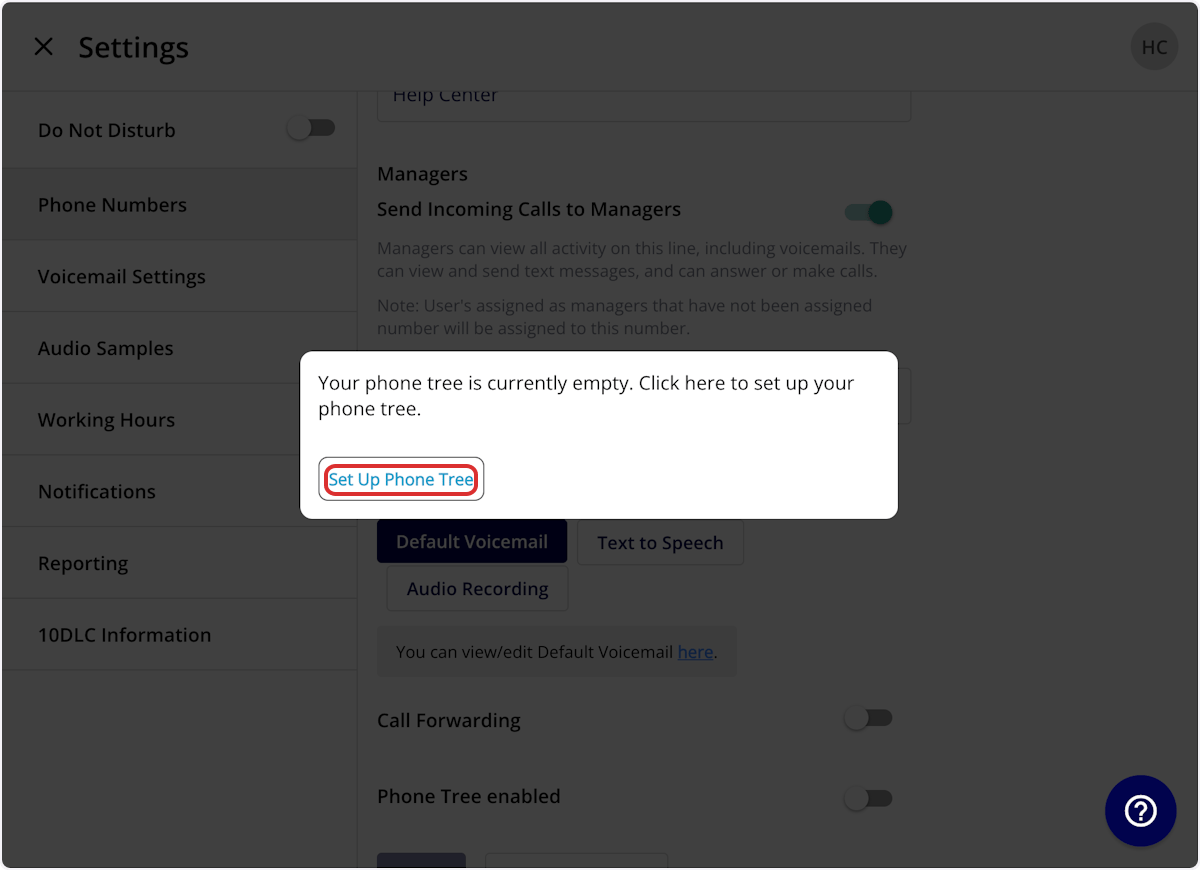
Select Set Up Phone Tree when prompted — a new line’s phone tree starts empty.
-
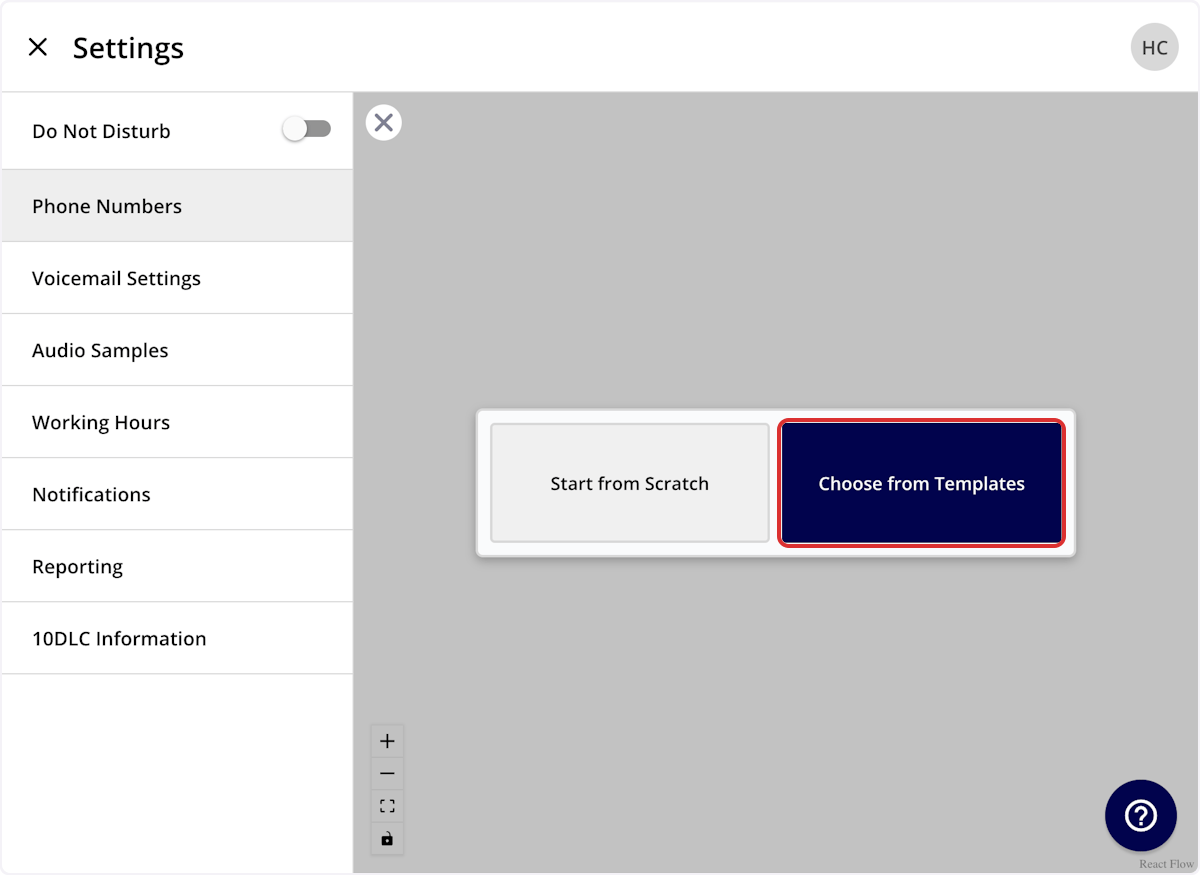
Select Start from Scratch to build your own tree, or Choose from Templates to start from a FieldPulse template.
-
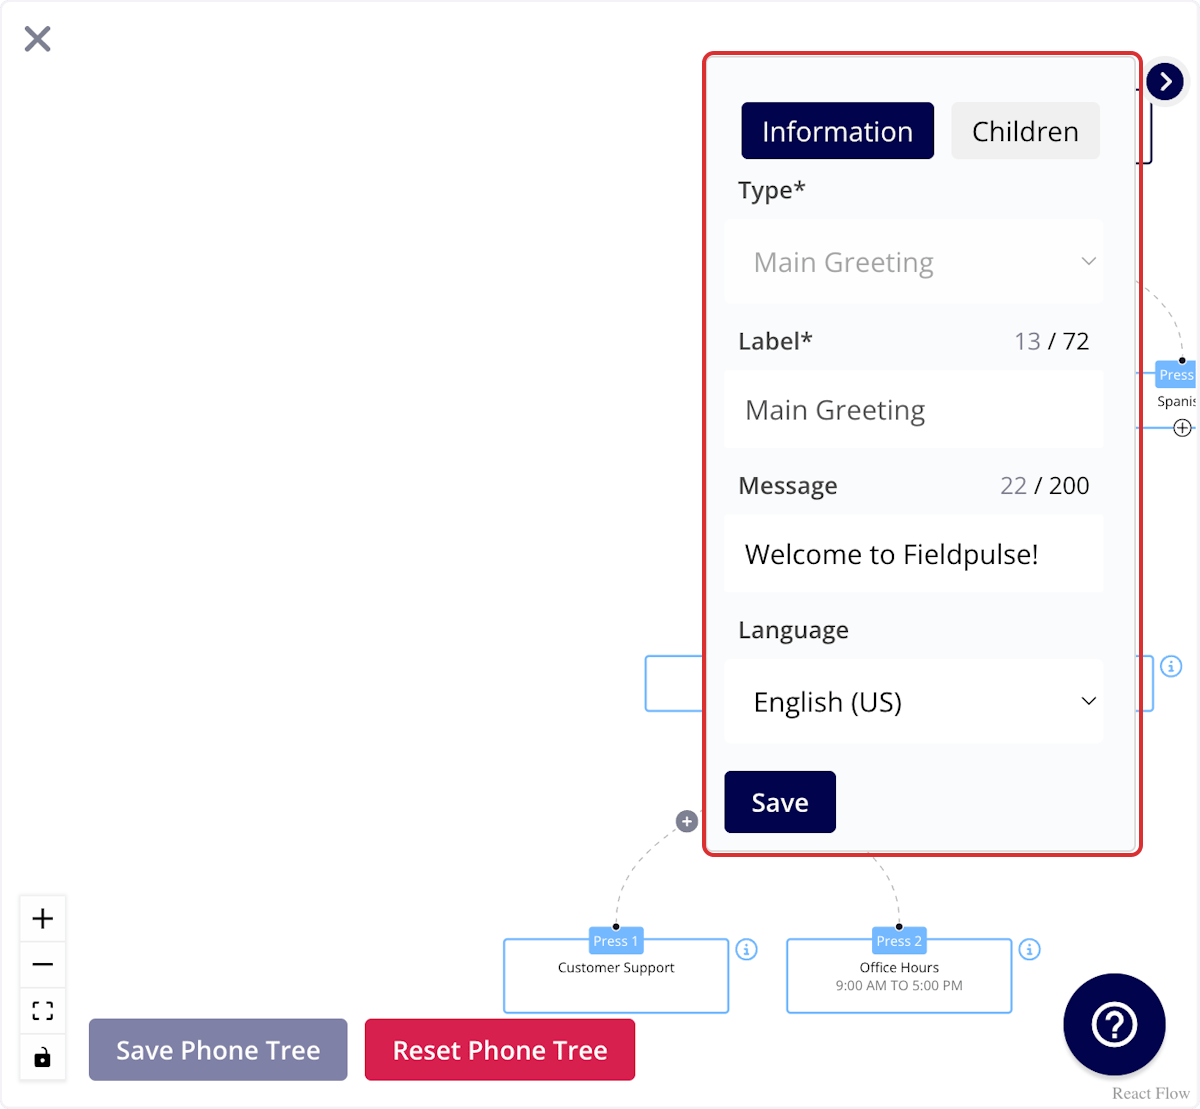
Set the main greeting — every phone tree starts here:
- Label — an internal title for you and your team.
- Message — the text read to the caller by text-to-speech when they call this phone line.
-
Add branches (called Children) under the greeting — for example, an English branch and a Spanish branch. To reorder them, open the Children tab, adjust the order, and select Save Order.
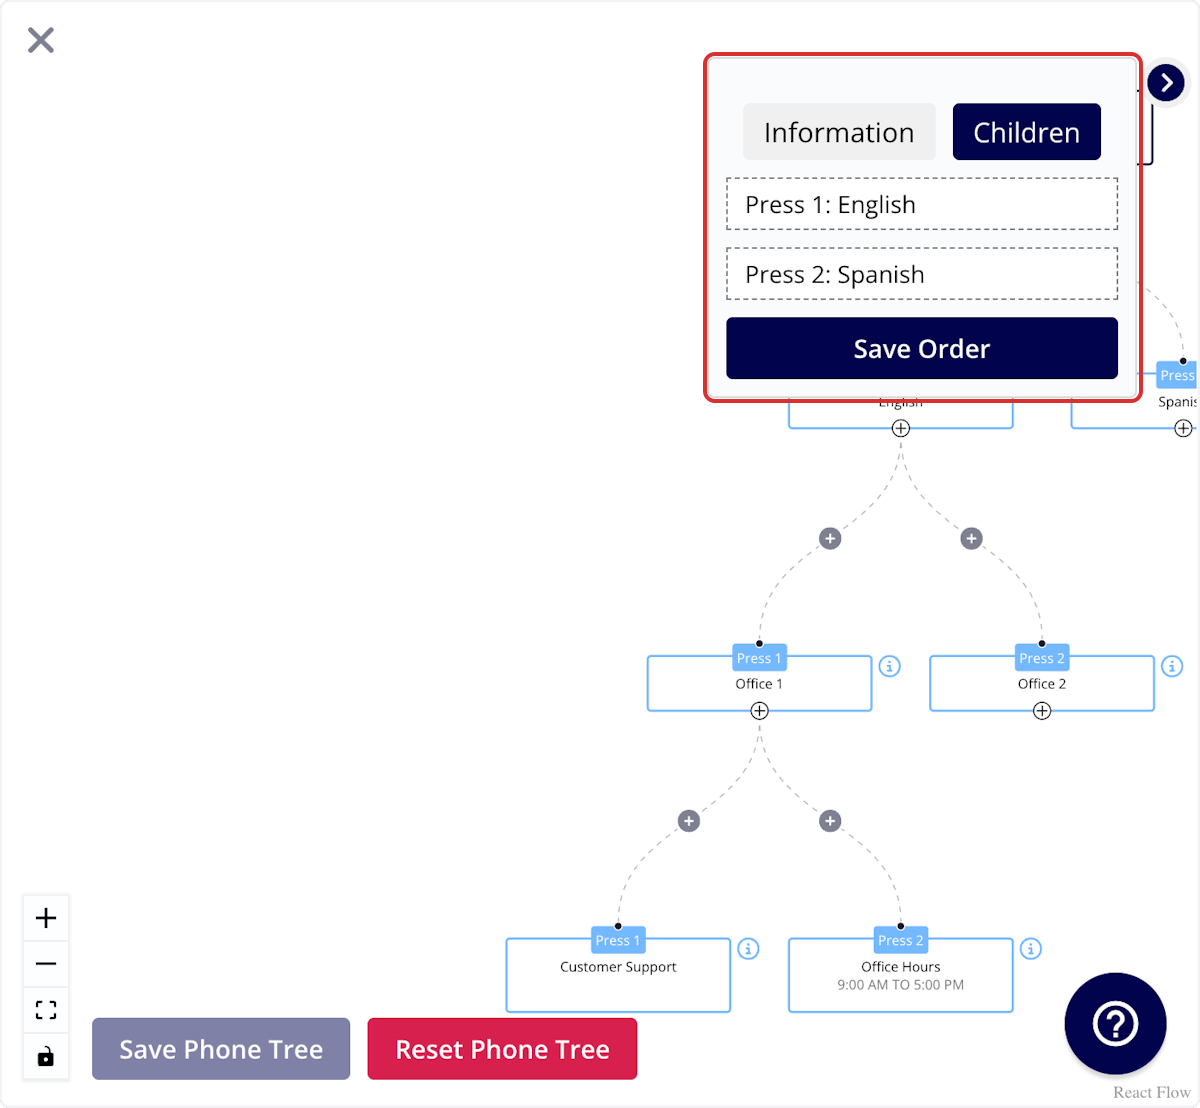
- Give each branch a Label and a Message — the text read to the caller when they reach that branch — then set what the branch does using one of the step types below.
- Select Save Phone Tree when the tree is complete.
You do not need to type “press 1 / press 2” into any Message field. Engage reads the options aloud to the caller automatically — a greeting with an English branch and a Spanish branch is spoken as “Press 1 for English or press 2 for Spanish.”
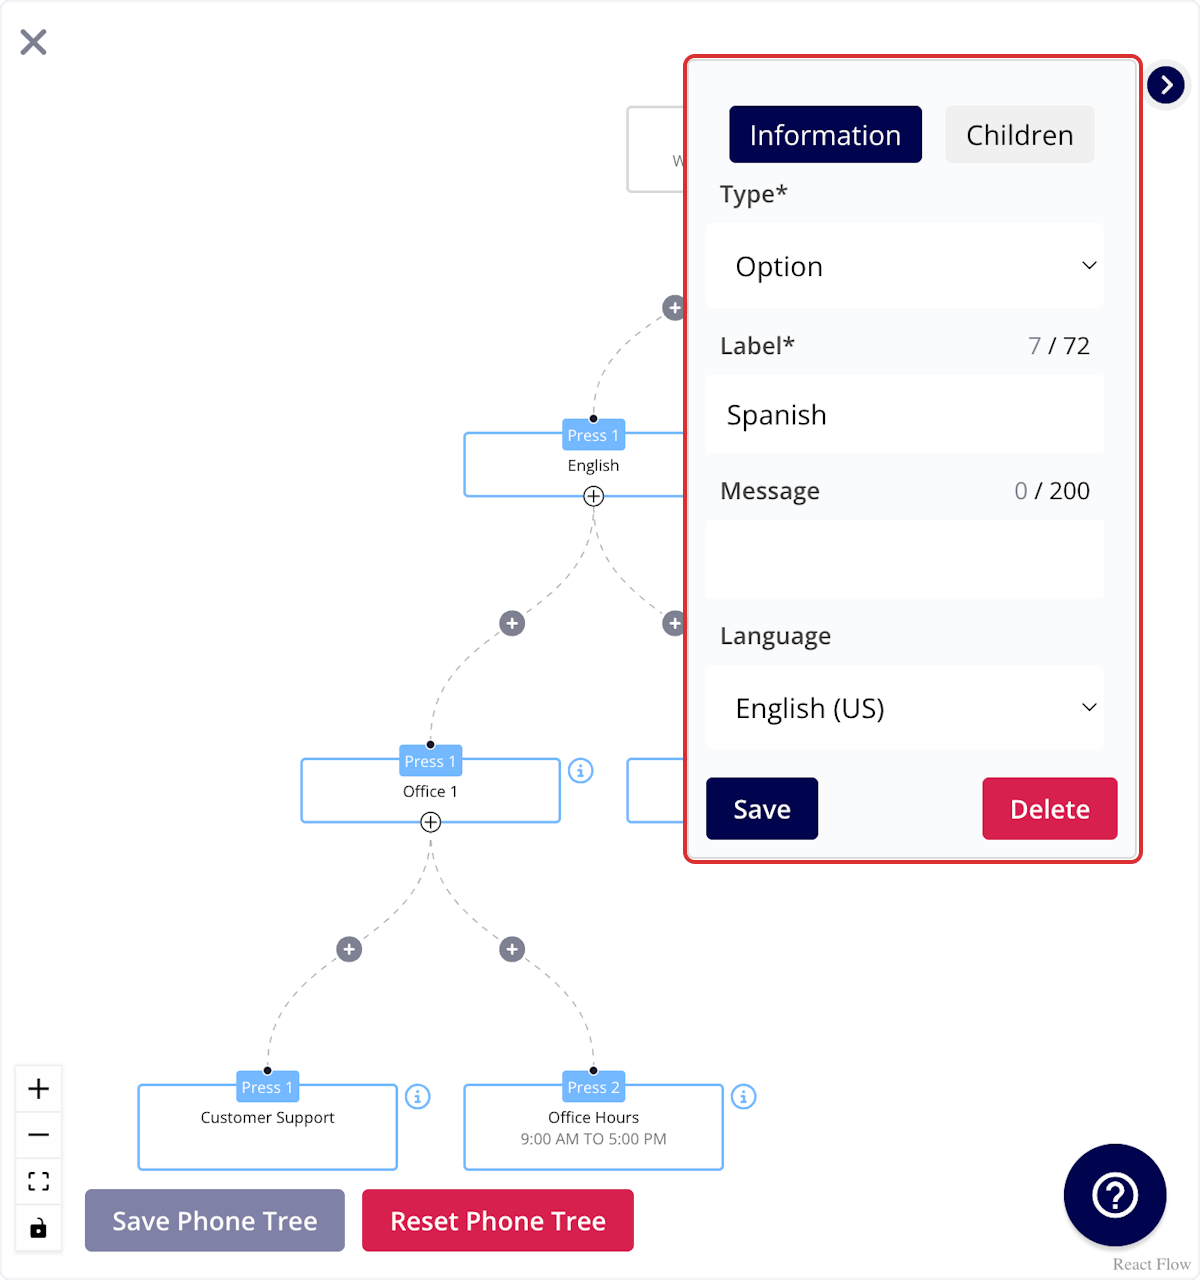
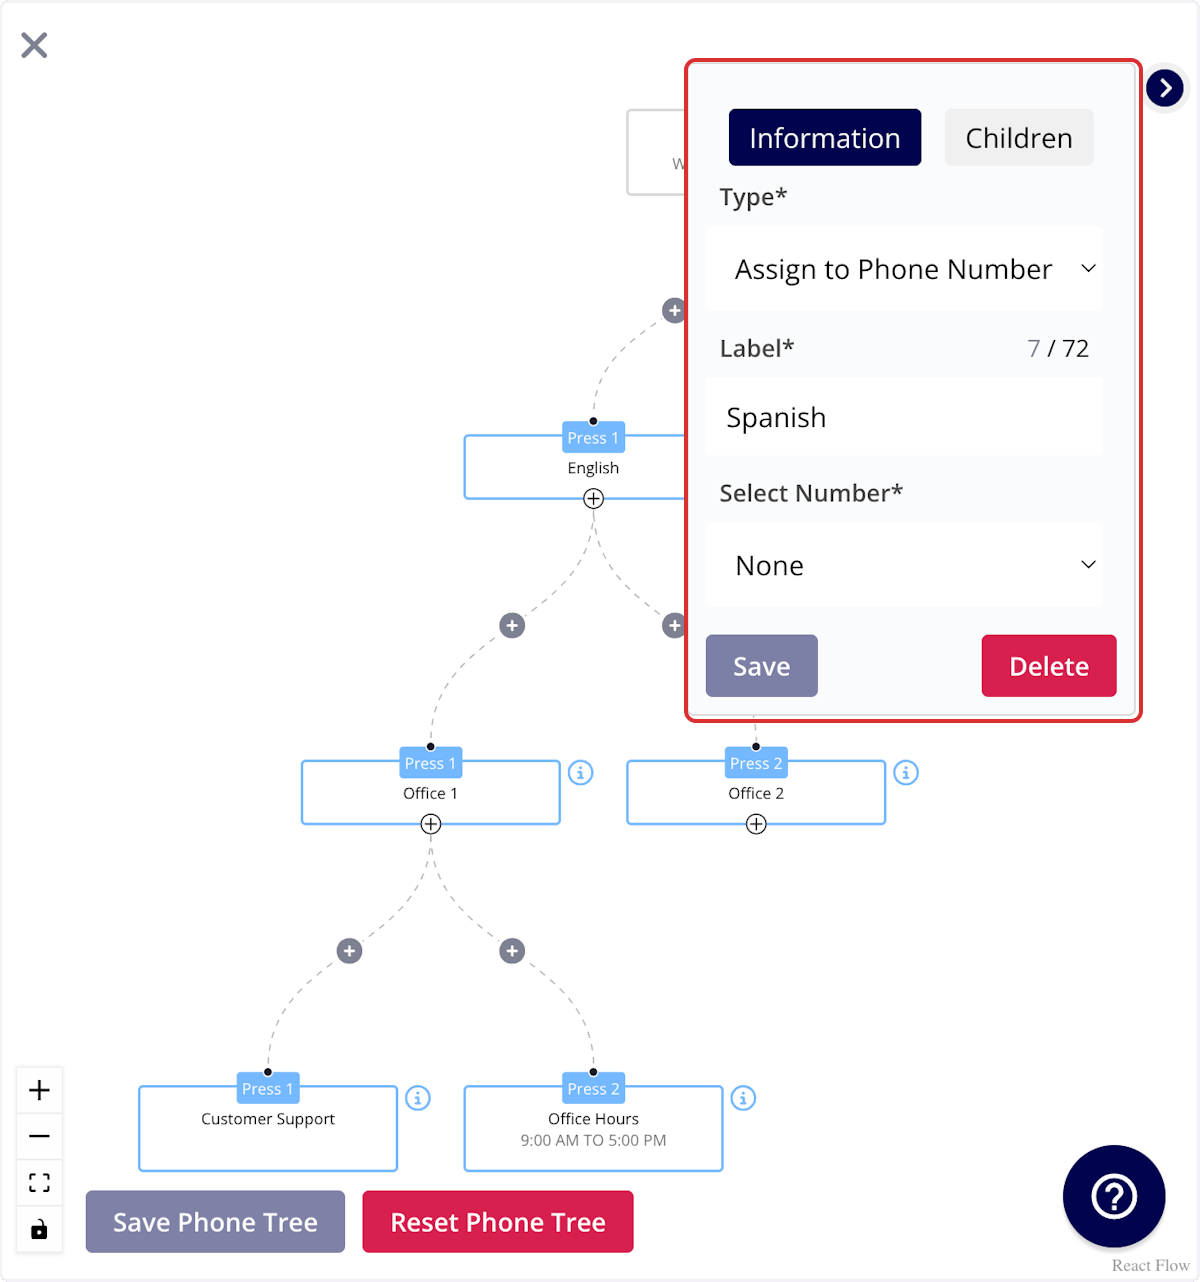
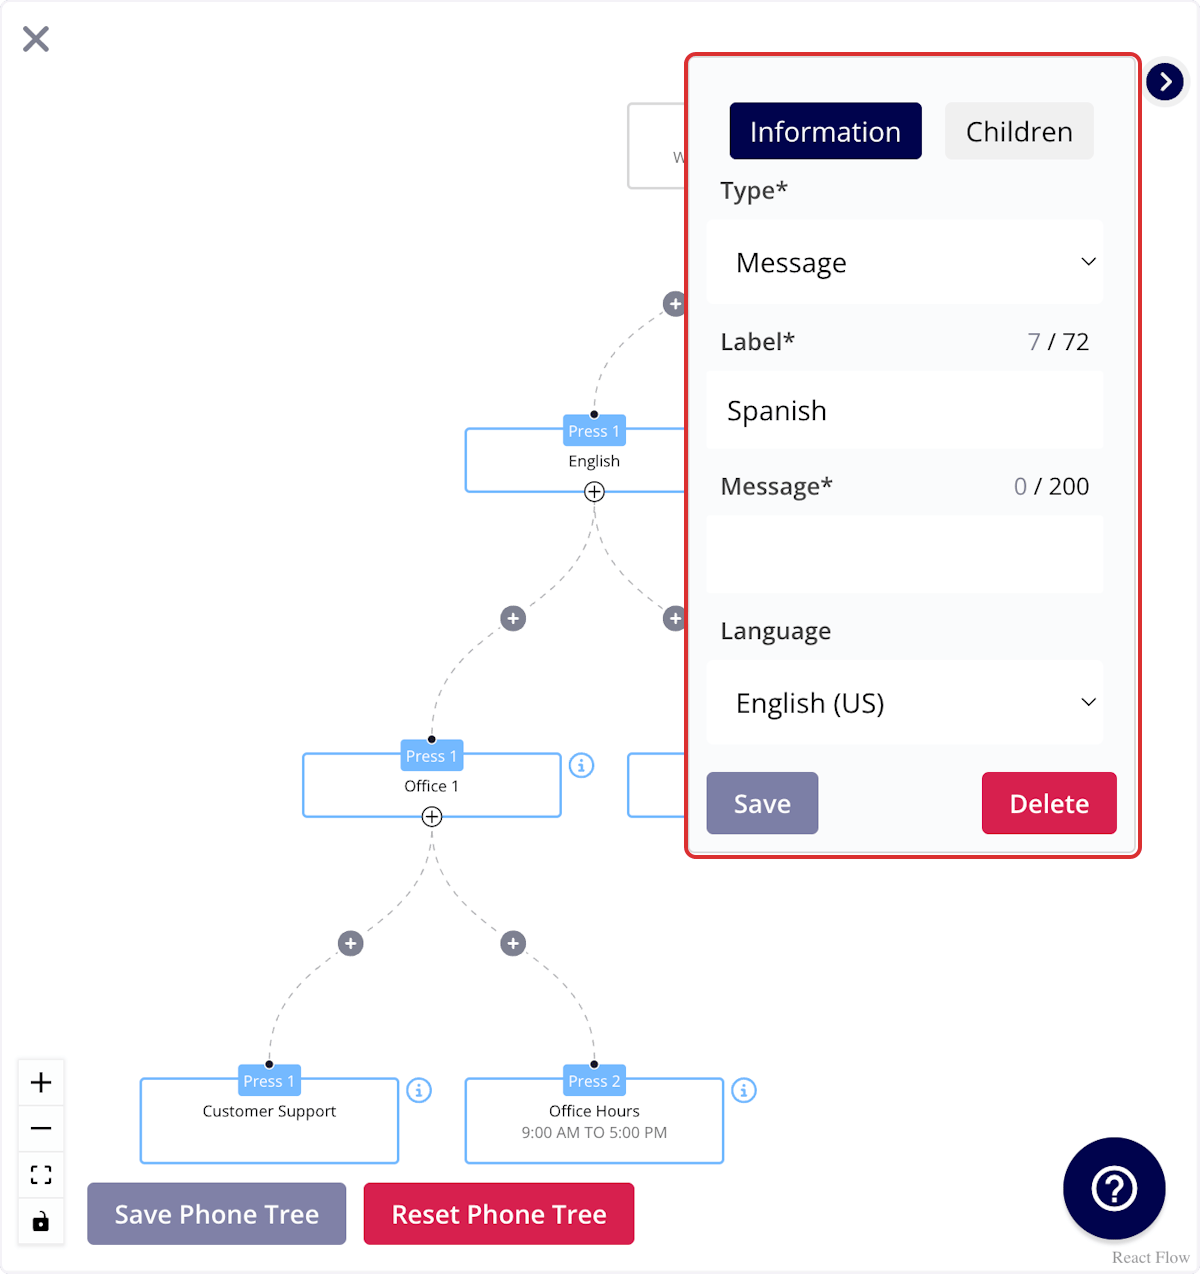
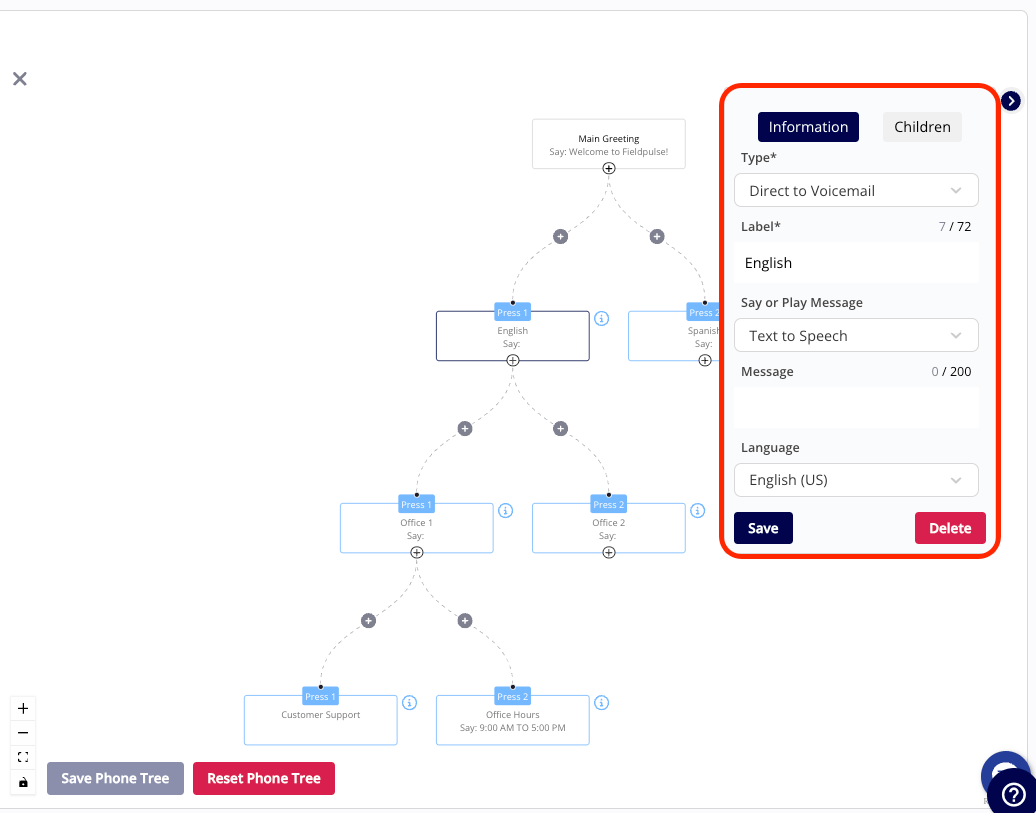
Every phone tree branch should ultimately end with a Message, Direct to Voicemail, or Assign to Phone Number step — Option only sorts callers and cannot be an endpoint.
Set up call forwarding
Call forwarding sends every incoming call on a line to another phone number.- On the line’s Call Routing screen, select Call Forwarding.
-
Enter the number that should receive the calls. It can be an Engage number or any other phone number.
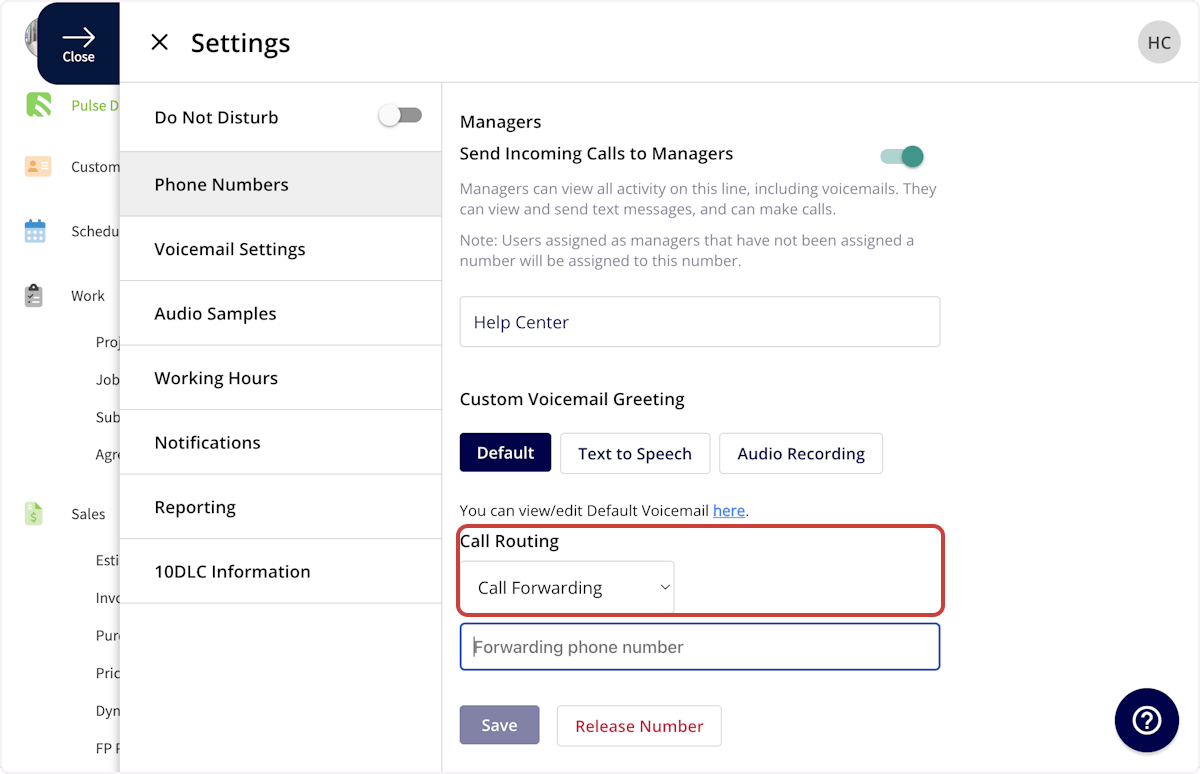
- Save your changes.
Set up sequential call ring
Sequential call ring dials a list of numbers in order, moving to the next number if the current one isn’t answered — so a call tries several people before it reaches voicemail.-
On the line’s Call Routing screen, select Sequential Call Ring.
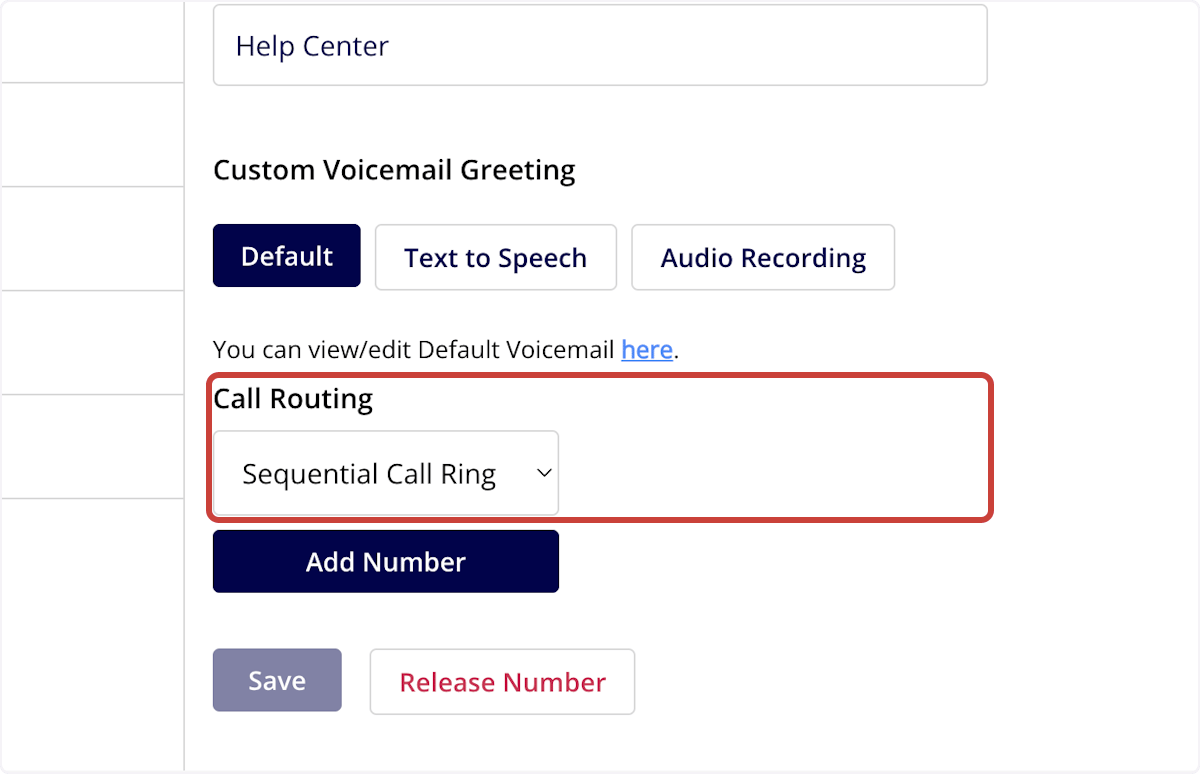
- Select Add Number to add up to three lines to the queue, in the order they should ring. Only lines that don’t already have call routing enabled can be added, and each number can appear once.
-
To include a non-Engage number, select Alternative Number, enter the number, and select Save. A common setup is Engage Number 1, then Engage Number 2, then an Alternative Number.
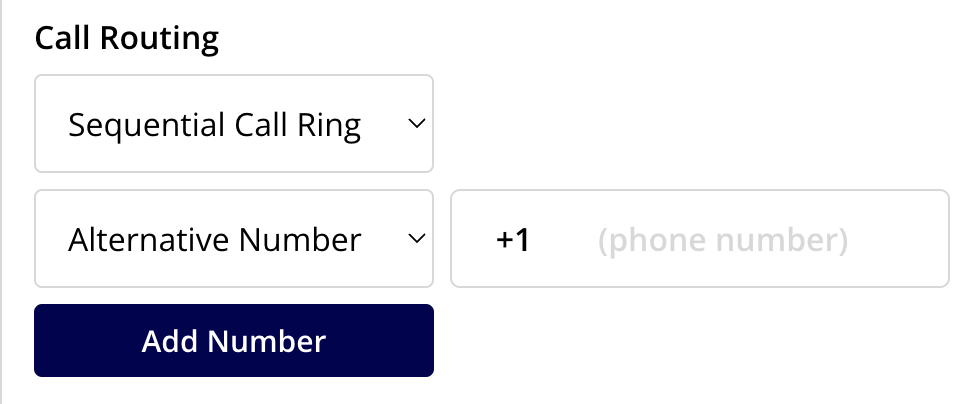
- Save your changes.
Related articles
- Engage Overview
- Setting Up Ring Duration
- Setting Up Voicemail
- Setting Up Working Hours
- Phone Line Settings Details