
Who uses this: Admins and Team Managers who manage Engage settings. Availability: Engage add-on · United States and Canada.Working hours in Engage set the hours your business is available to answer customer communications on your Engage phone lines, plus what happens to a call that comes in after you close. You set a time zone, mark your hours for each day of the week, and choose where after-hours calls go. You can set one company-wide schedule and, optionally, give individual phone lines their own schedule — or make a line answer 24/7.
Overview
Working hours answer one question: what happens to a call that comes in after you’ve closed for the day? Set them up and an after-hours caller hears the greeting you chose or gets redirected to another line instead of ringing an empty office. Engage working hours are a separate setting from the working hours on your FieldPulse schedule — configure Engage working hours inside Engage settings. When someone calls outside your working hours, the After-Hours Greeting determines what they hear. You choose one of three options:Before you begin
- Confirm Engage is enabled on your account. Engage is available in the United States and Canada; to enable it, email support@fieldpulse.com or use the chat feature in the bottom right corner of your screen. See Engage Overview.
- Confirm your role can manage Engage settings — Assignment Users and Limited Agents cannot use Engage. See Engage User Roles Details.
- To use an audio recording as your after-hours greeting, record or upload it first under the Audio Samples tab. See Setting Up Audio Samples.
Step-by-step setup
Set up company-wide working hours
Company-wide working hours are your company’s global schedule — every Engage line follows it unless you give that line its own schedule.-
Go to Engage Settings by selecting the gear icon.

-
Select the Working Hours tab from the menu on the left, then toggle Working Hours on.
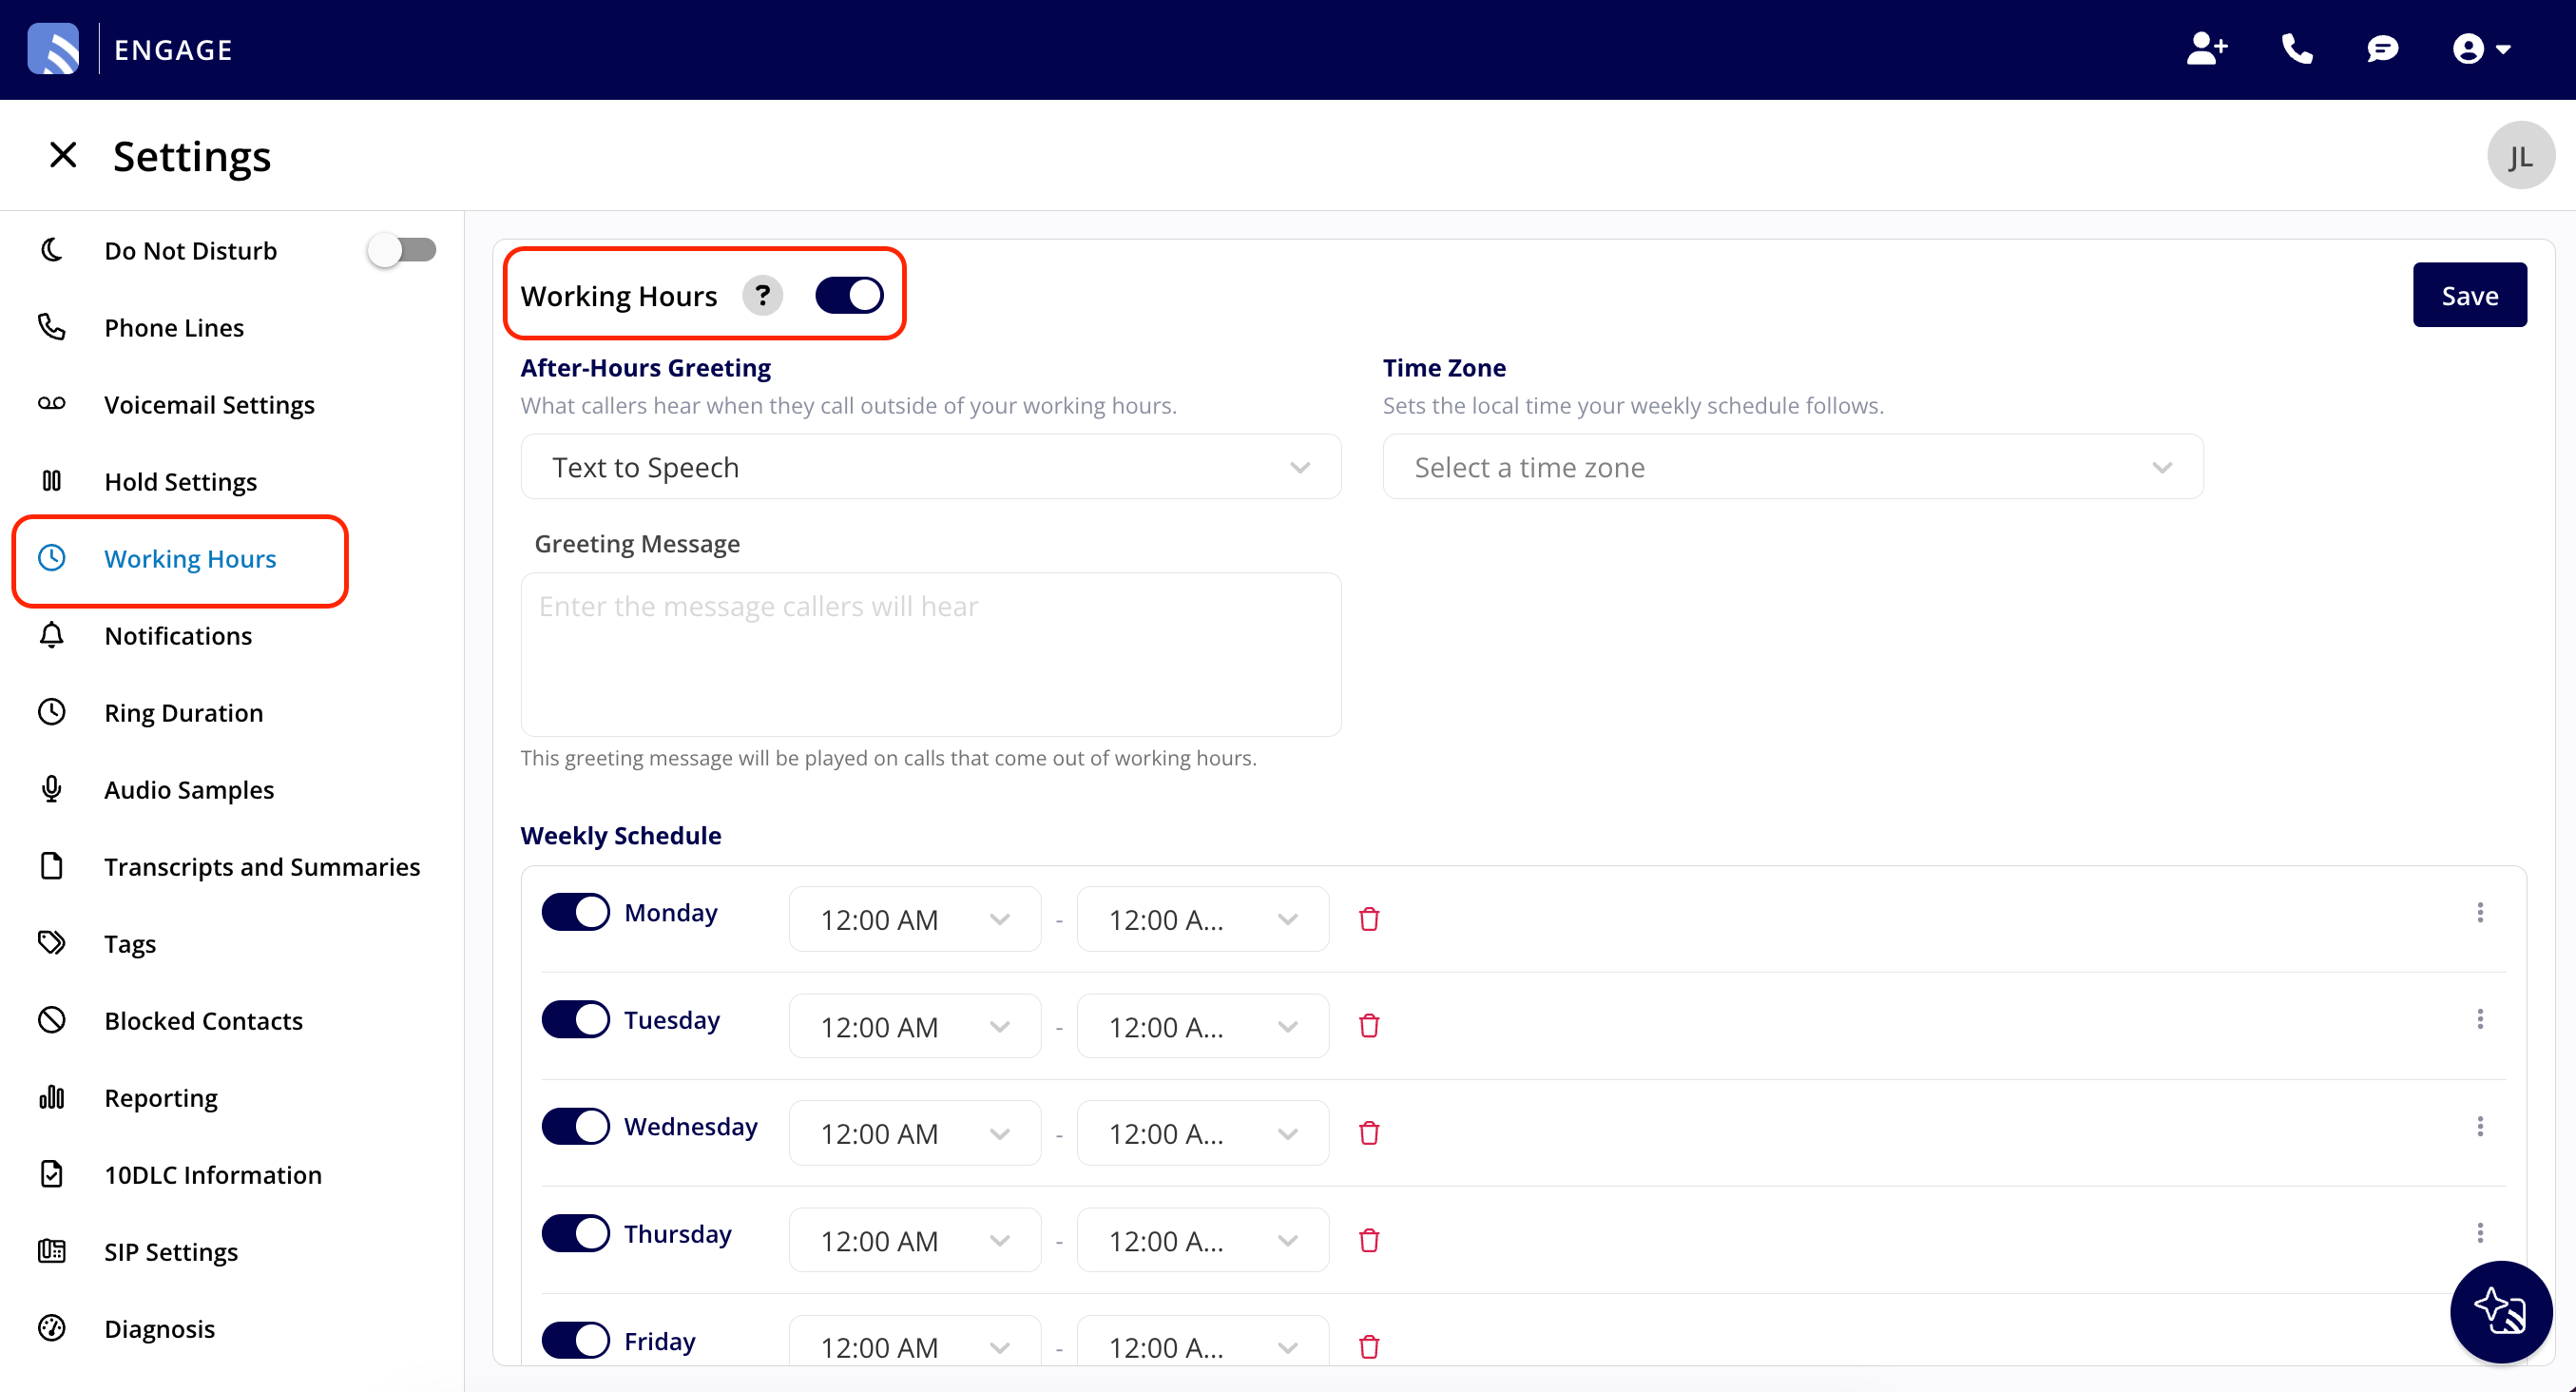
-
Set your Time Zone — it sets the local time your weekly schedule follows.

-
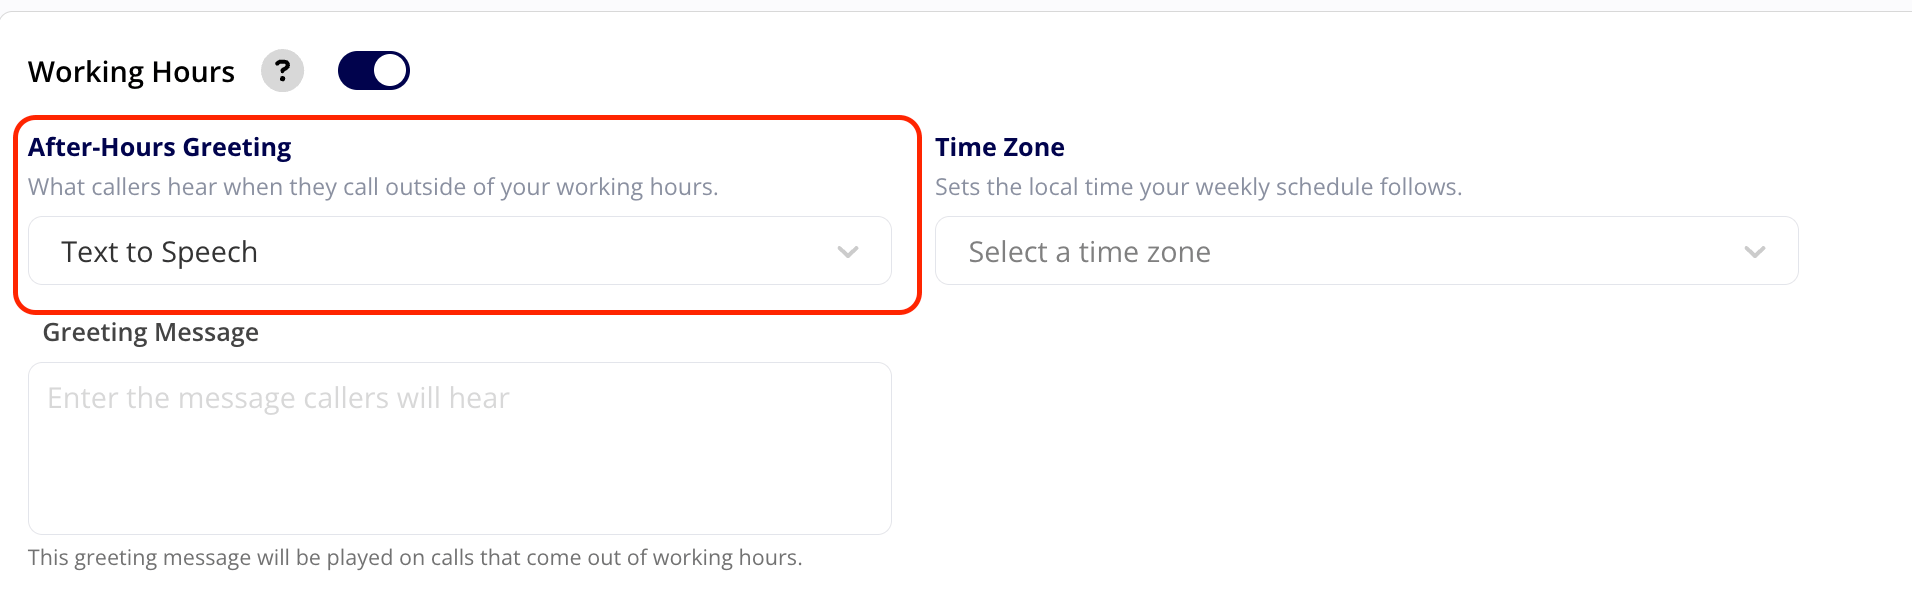
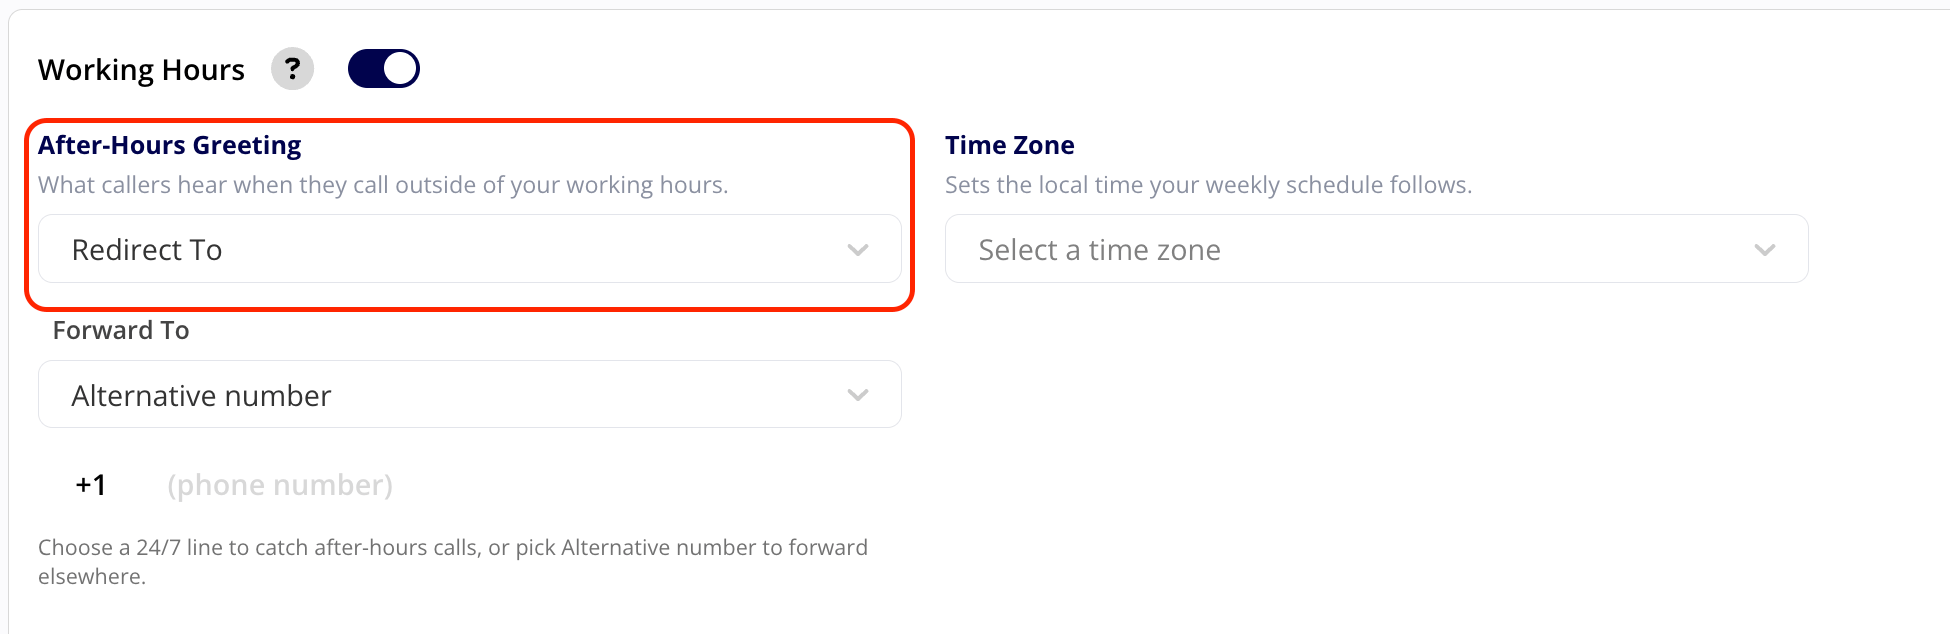
Under After-Hours Greeting, choose what happens when someone calls outside your working hours — Text to Speech, Redirect To, or Audio Recording — and configure the message, forwarding target, or audio sample. The Overview table above describes each option.

-
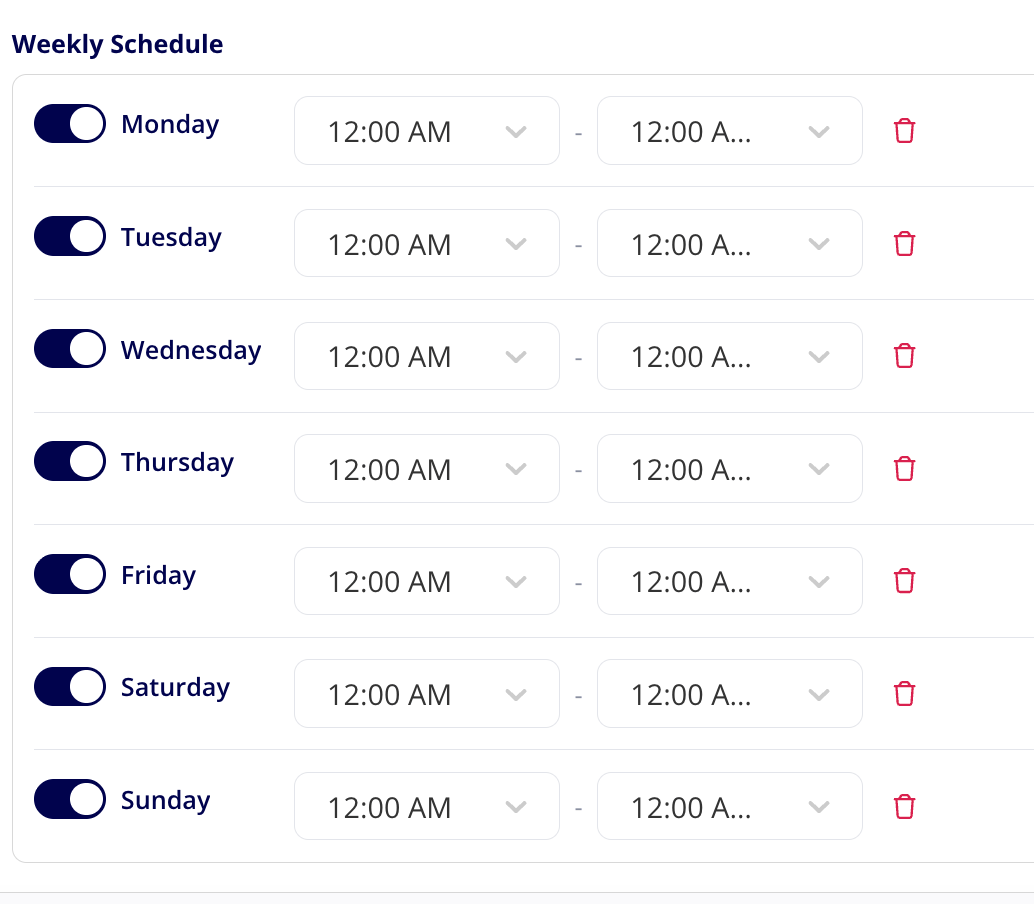
Under Weekly Schedule, set your hours for each day of the week.
- Select Save.
Set up working hours for one phone line
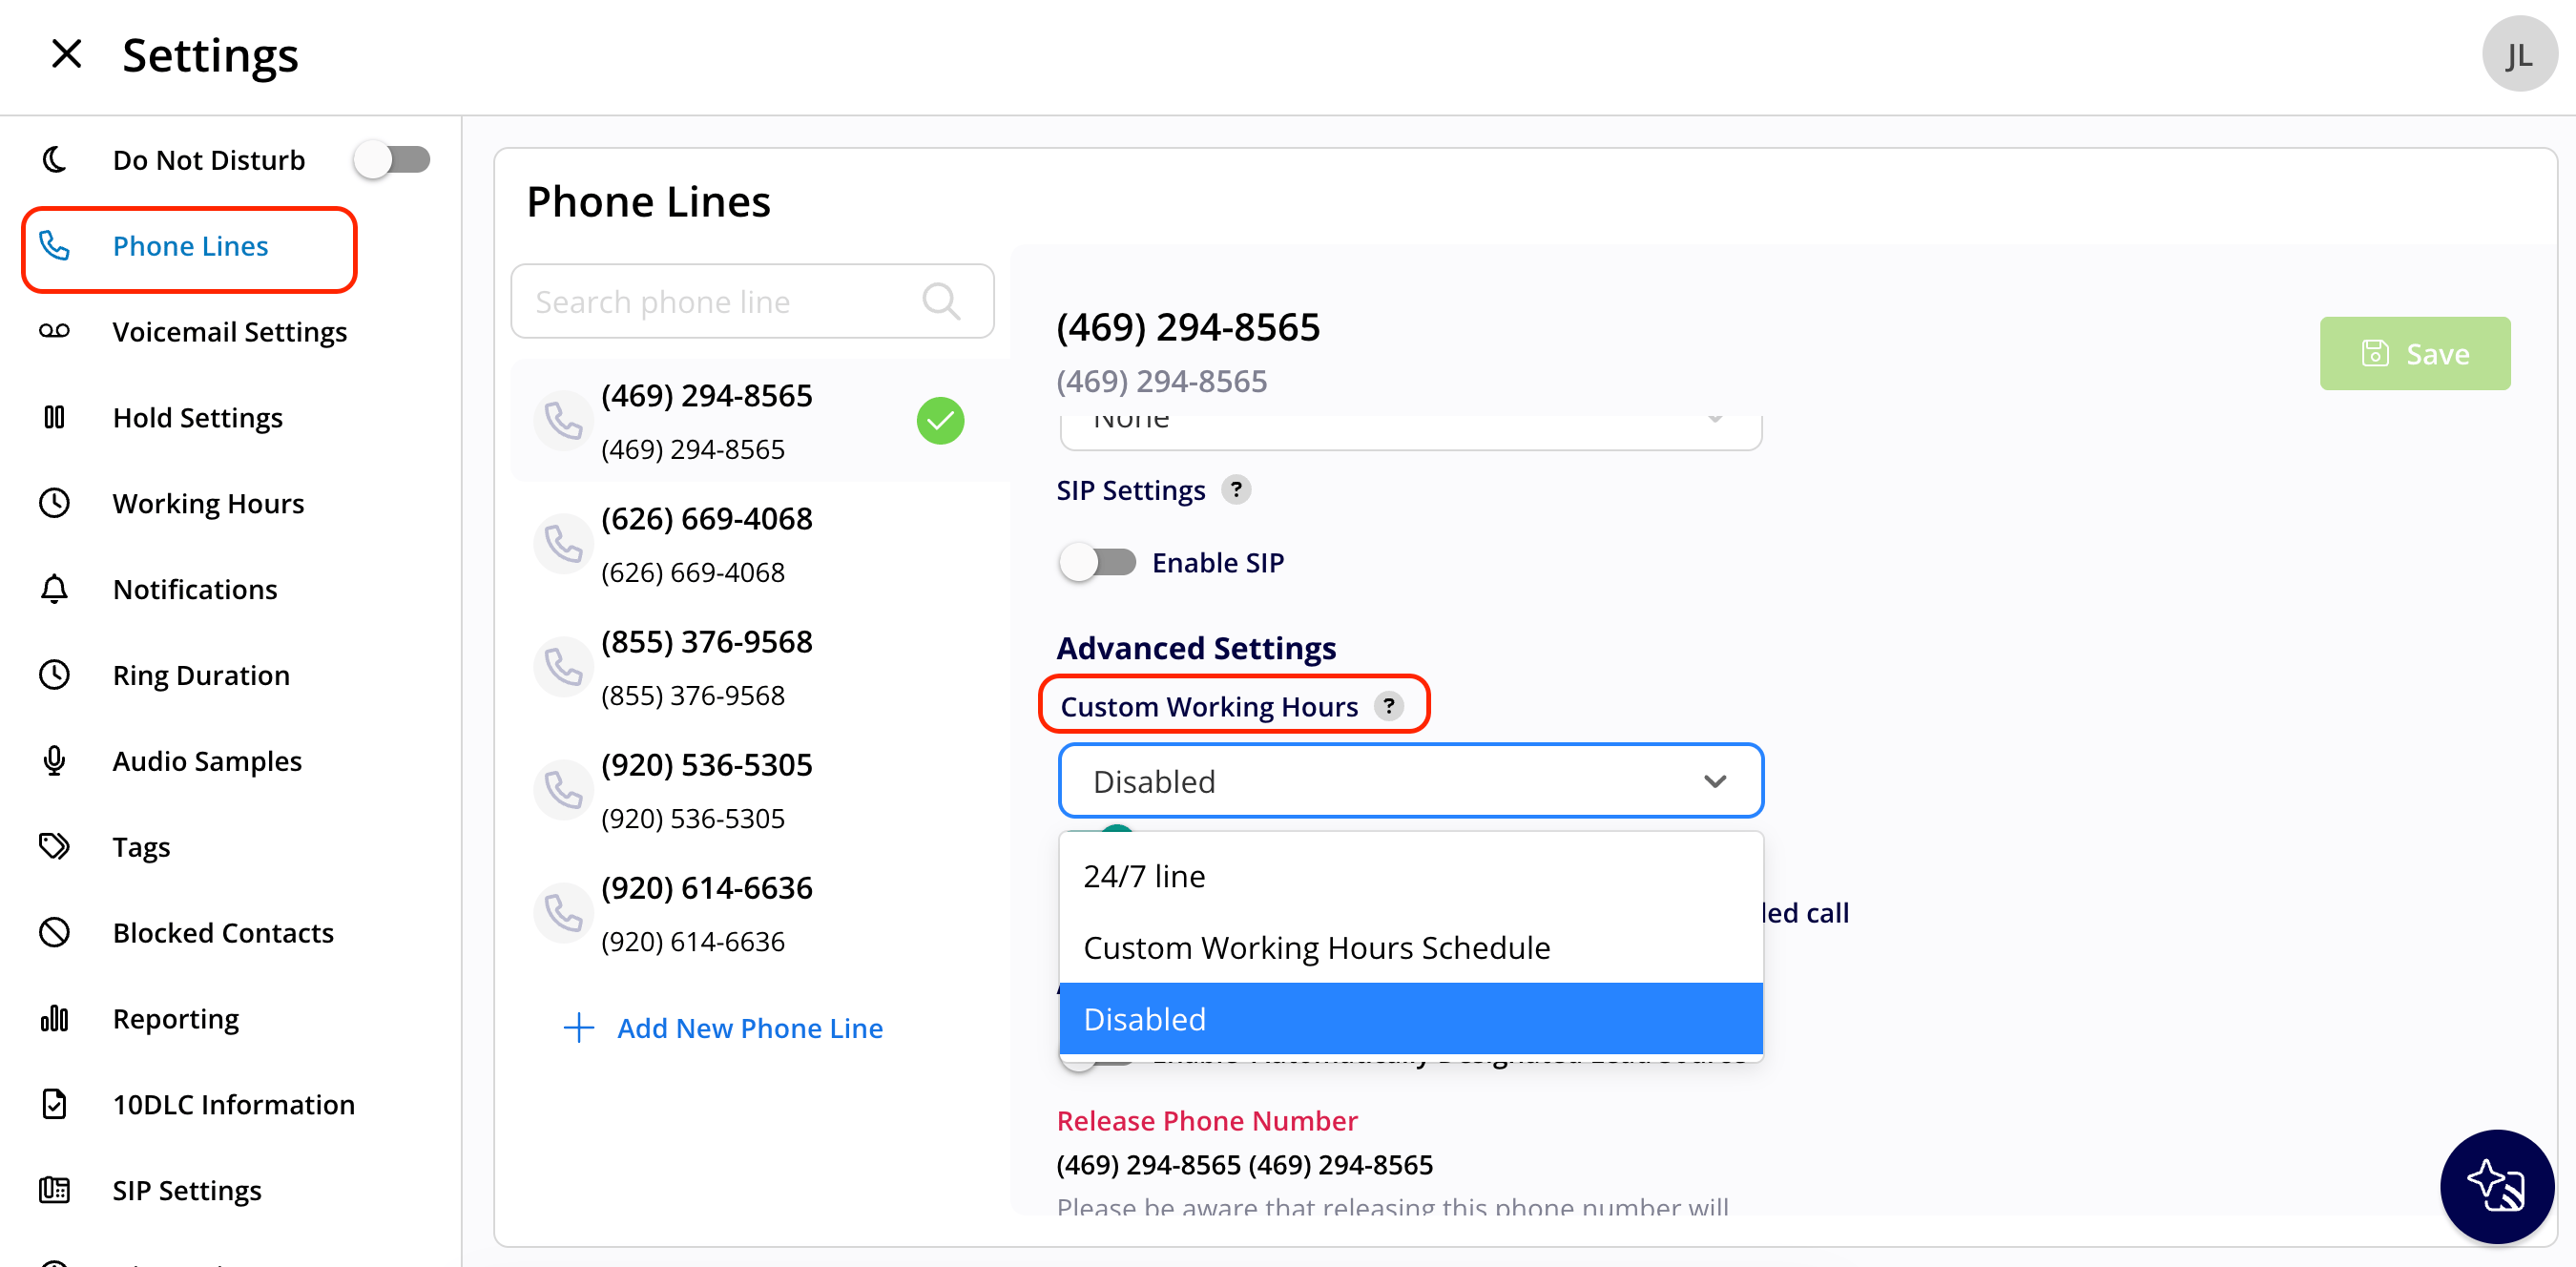
Each phone line can run its own call-handling schedule instead of following the single company-wide one — so each team or department can keep different hours.- Go to Engage Settings and open the Phone Lines tab.
- Select the line you want to manage.
-
Scroll down to Advanced Settings and open the Custom Working Hours dropdown.
-
Choose one of the three options:
- Save your changes.
Related articles
- Engage Overview
- Setting Up Call Routing
- Setting Up Voicemail
- Setting Up Audio Samples
- Phone Line Settings Details