
Who uses this: Anyone who emails an estimate or invoice to a customer from FieldPulse. Availability: All regions.You attach photos and files to an estimate or invoice as part of emailing it, so the customer sees the supporting documents at the same time they see the number. Attach files that already live on the job, or upload new ones straight from your computer.
Overview
Photos and files are attached from the email window, not from the estimate or invoice itself. You open the record, select Preview, then select Email to Customer to build the email — and the email window is where you pick what to attach. Two sources are available:- Visible Files — every file already associated with the job referenced on the estimate or invoice.
- Upload Additional Files — files from your computer that are not stored in the Files section of the job.
Before you begin
- Create the estimate or invoice you want to send. Files are attached while you email the record, so the record has to exist first. See How to Create an Estimate or How to Create an Invoice.
- Upload the job photos and files you want to send to the Files section of the job referenced on the estimate or invoice. Those are the files Visible Files pulls from.
- Have any other files ready on your computer for Upload Additional Files.
Attaching files to an estimate or invoice email
-
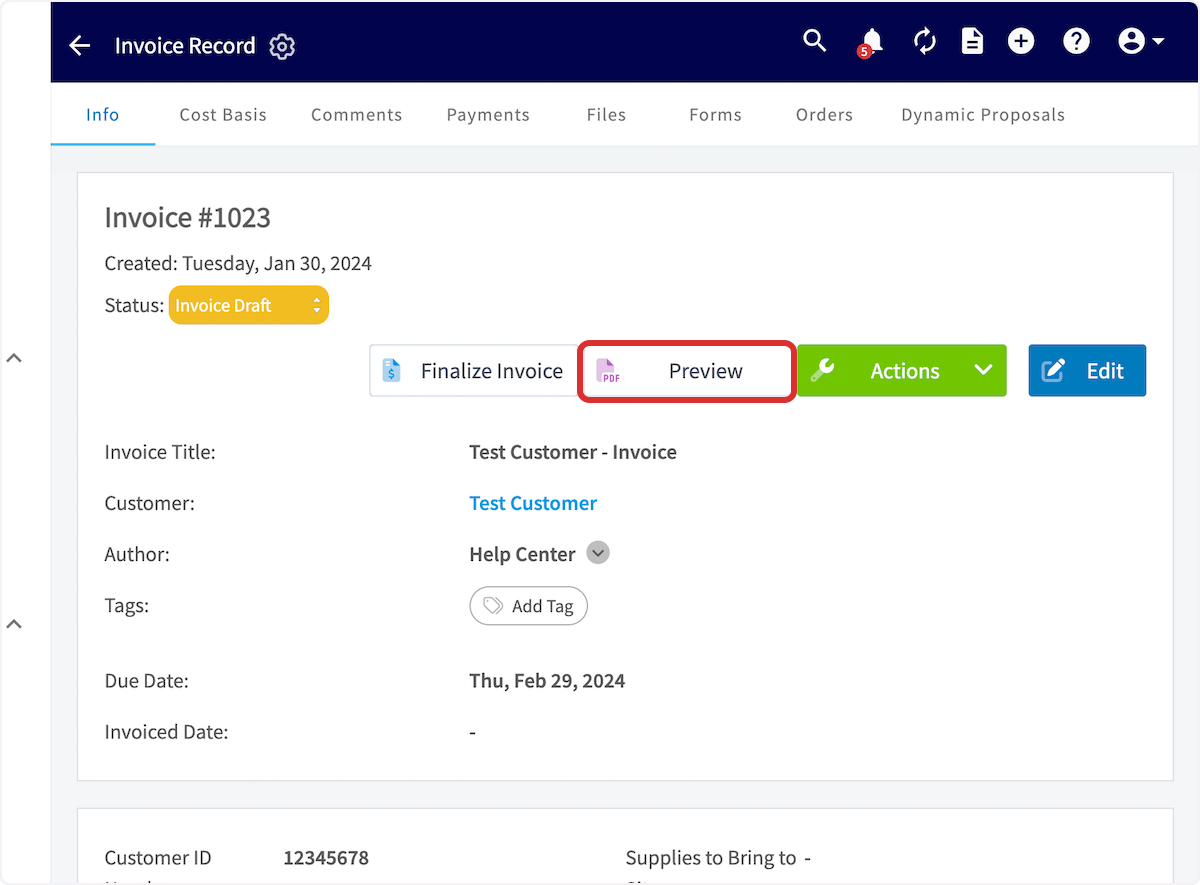
Open the estimate or invoice, then select Preview.
-
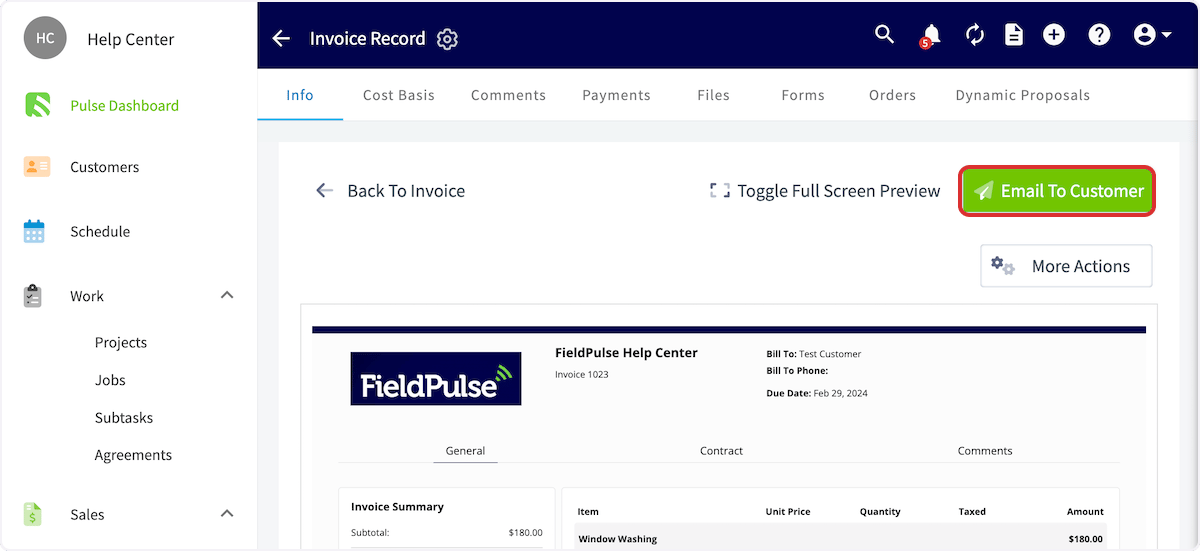
On the estimate or invoice preview, select Email to Customer in the top-right corner. A new window opens where you build the email.
-
In the email window, scroll past the subject and body to Visible Files and open the dropdown to pull up every file associated with the job referenced on the estimate or invoice. Select each file you want attached to the email.
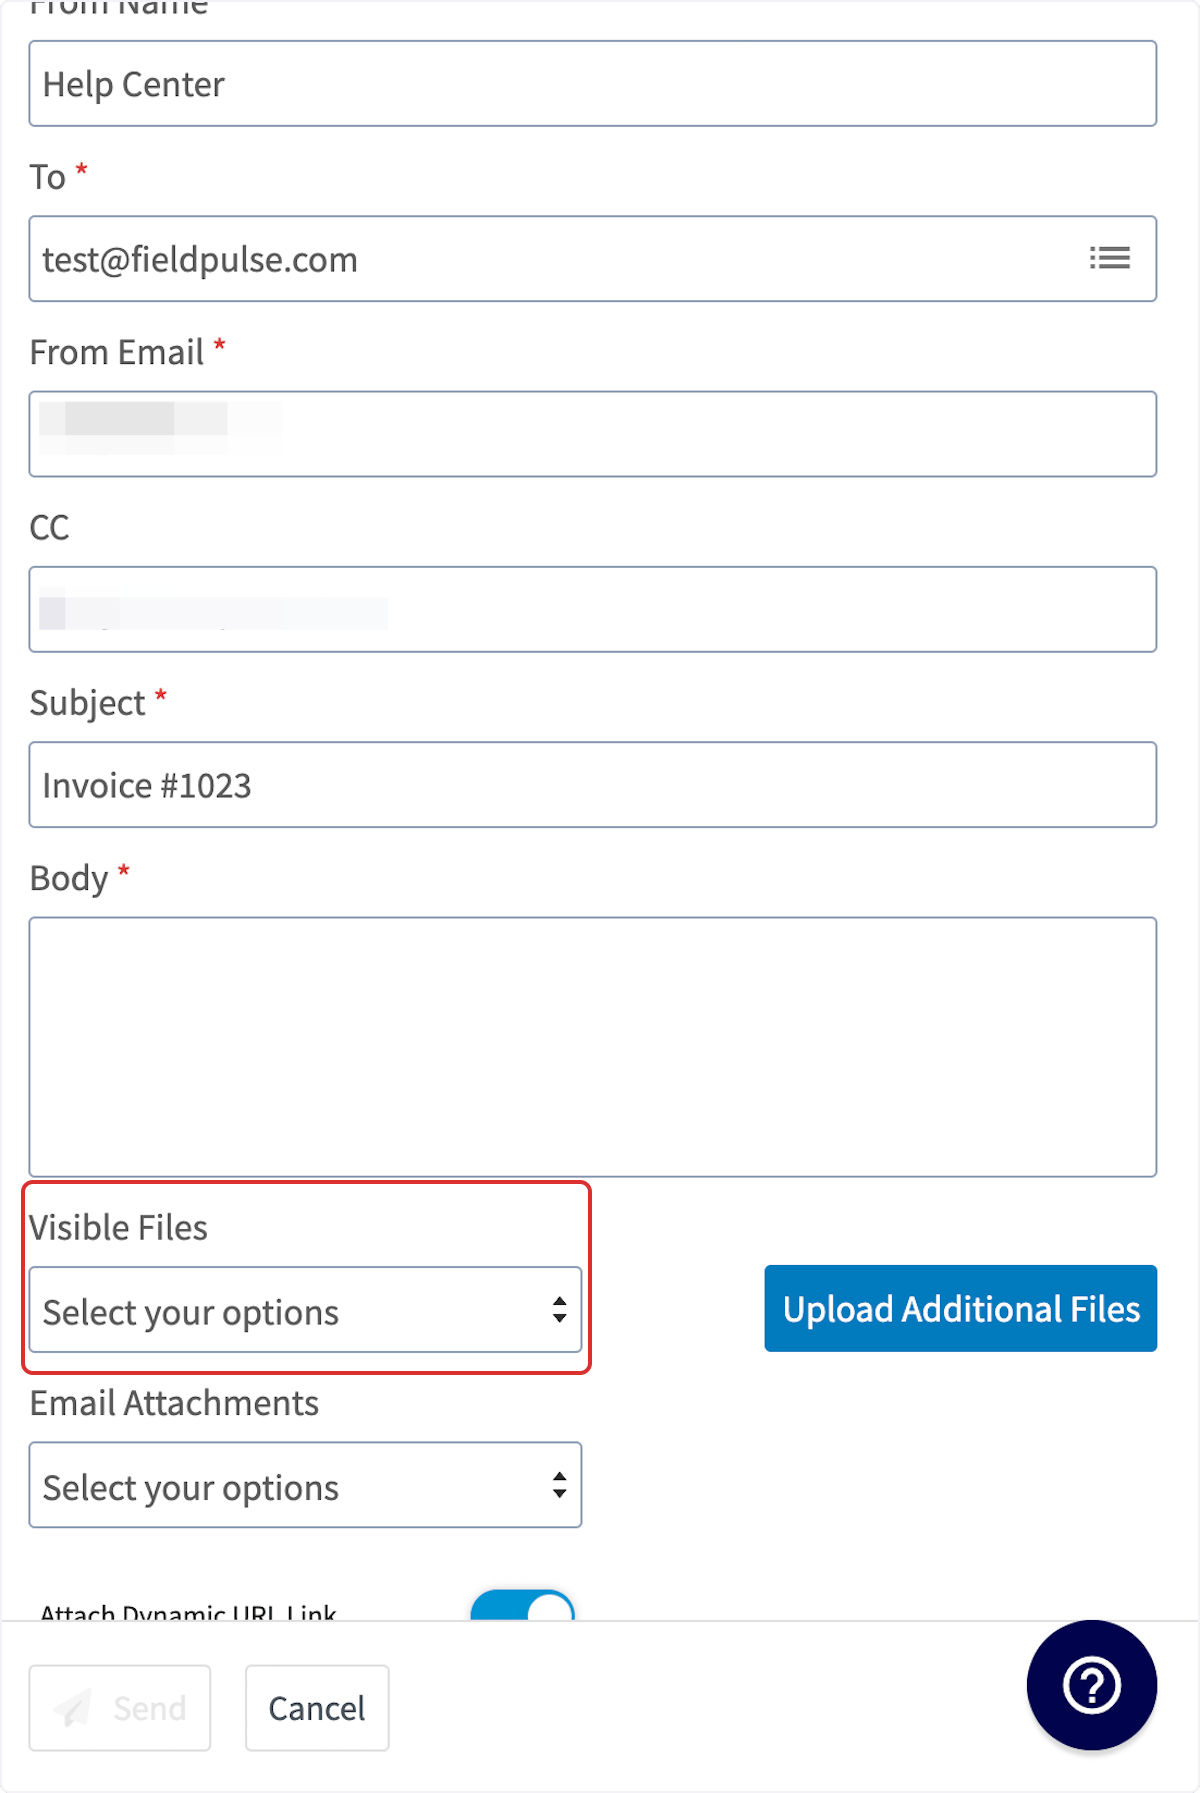 Visible Files has no cap on how many files you can add. Recipients can view them all on the dynamic record, or through the QR code and URL link displayed at the bottom of the PDF.
 -
To include a file that is not stored in the Files section of the job, select Upload Additional Files and attach it from your computer.
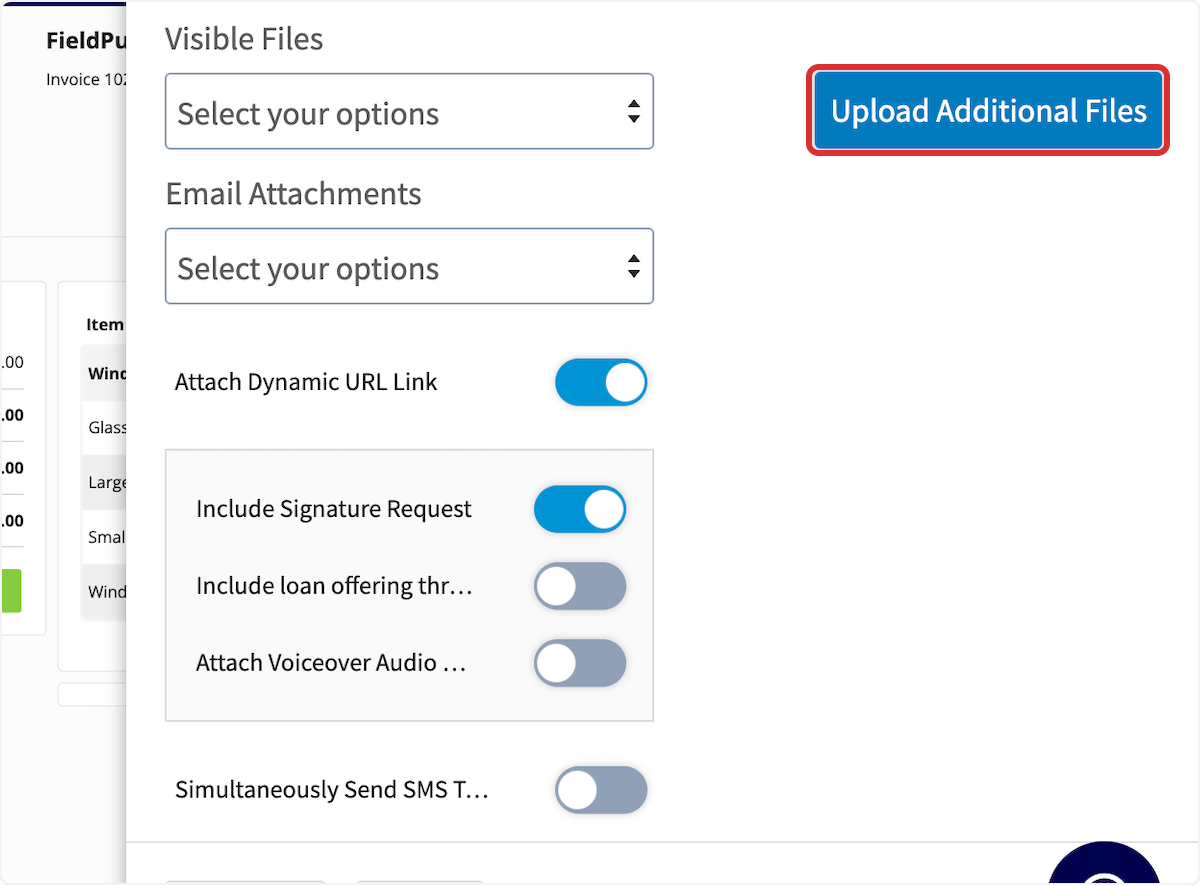
- Once you have attached every file you want to include, select Send to email the estimate or invoice along with the attached photos and files.
Still need help?
Reach the FieldPulse support team at support@fieldpulse.com or through the chat feature in the bottom-right corner of your screen.Related articles
- How to Send Estimates & Invoices to Customers
- Estimate & Invoice Customer Experience Overview
- How to Manage Files
- How to Create an Estimate
- How to Create an Invoice