Use the Invoices > Inventory tab to create reports based on inventory data including supplier data, tags, unit cost, and more. Some common inventory reports include inventory by supplier and inventory items by hub.Documentation Index
Fetch the complete documentation index at: https://fieldpulse.mintlify.app/llms.txt
Use this file to discover all available pages before exploring further.
Create an Inventory Report
Date Range
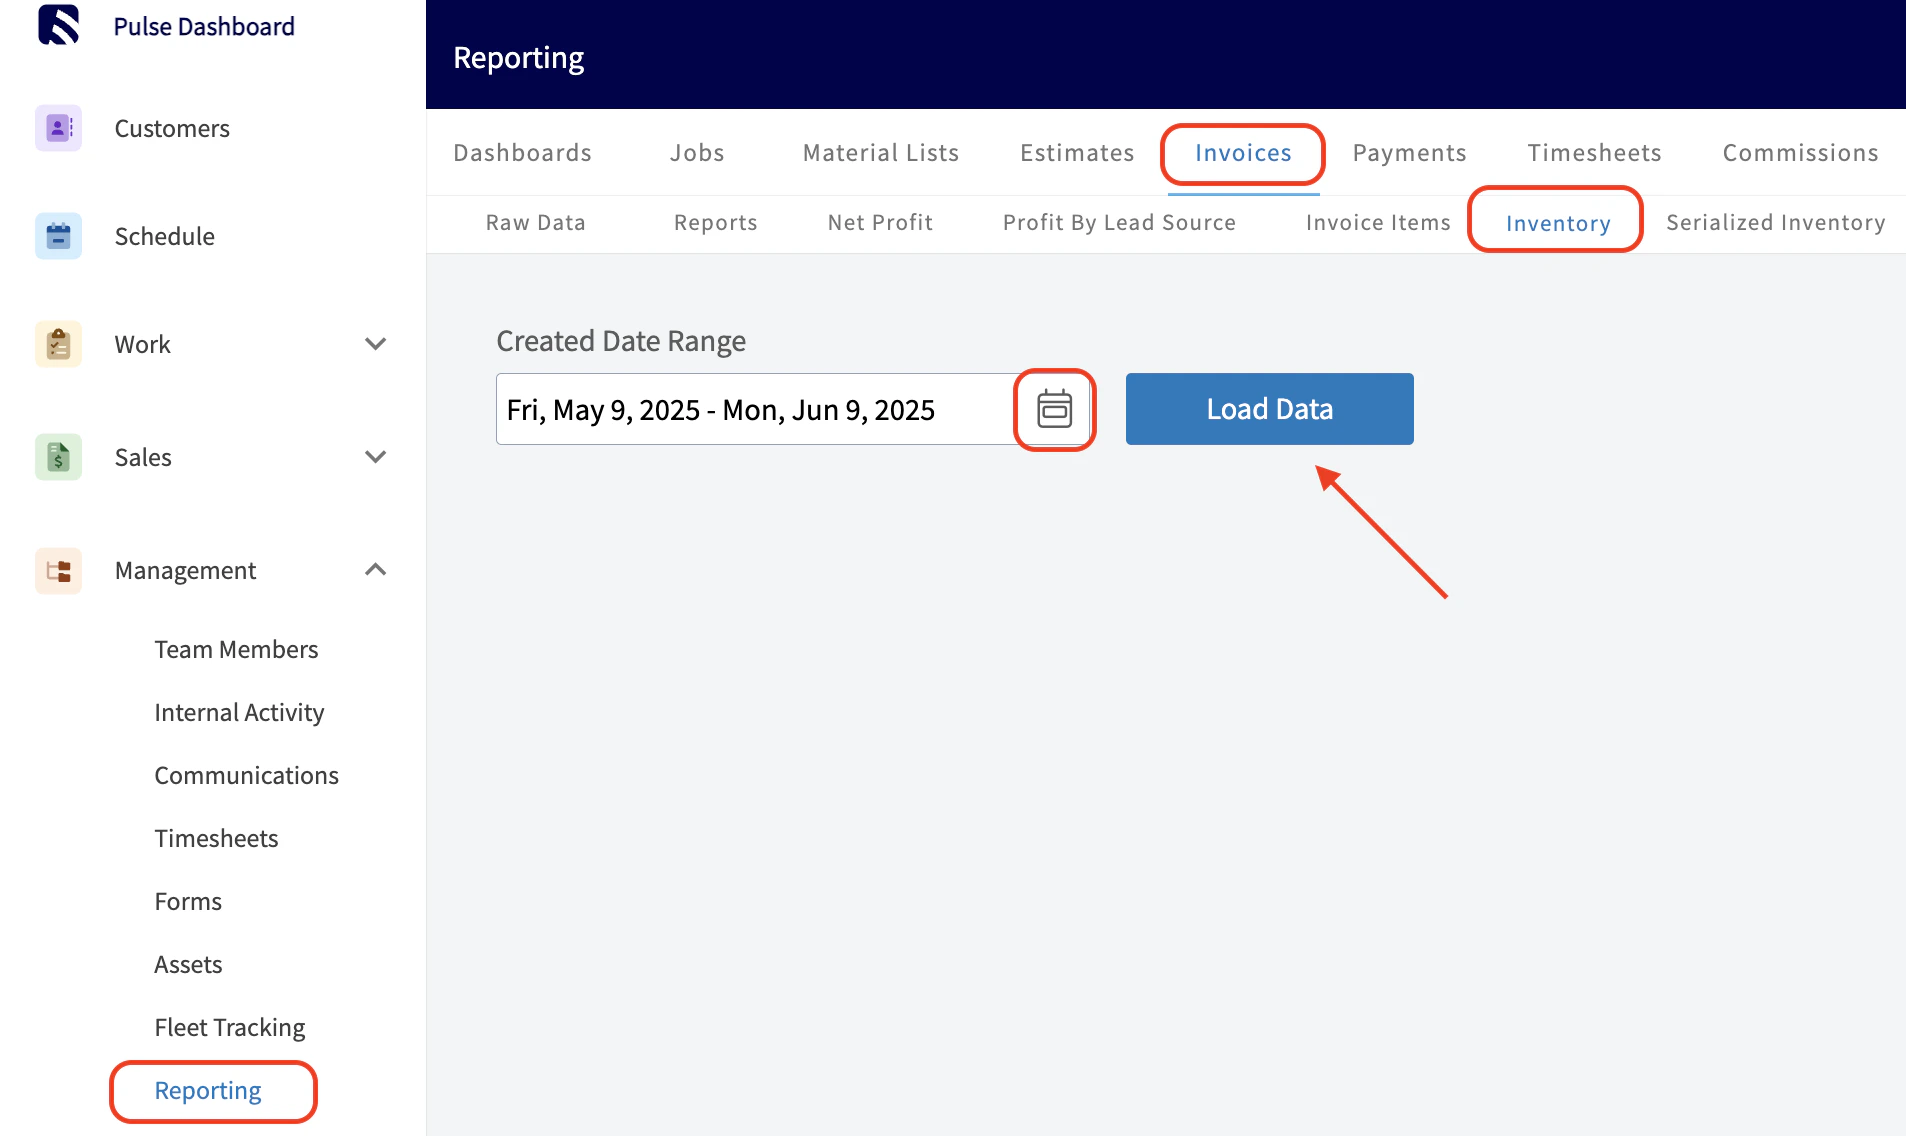
Begin by selecting the start date range for which you’d like to report on. Click on the calendar icon to select a date range and click Load Data.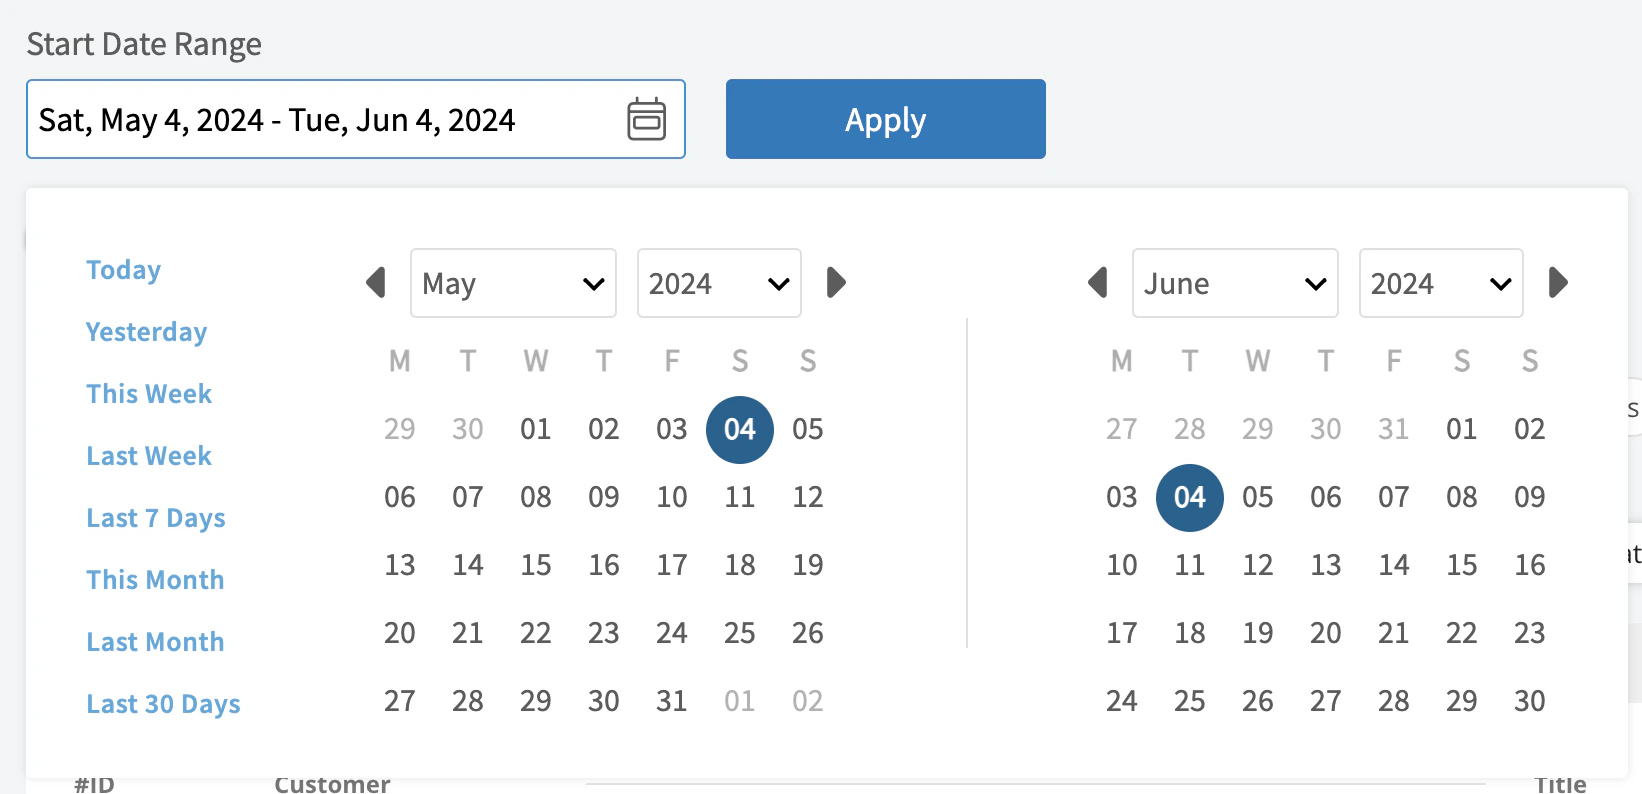
- Today: From 12:00 AM to the current time
- Yesterday: Previous day from 12:00 AM to 11:59 PM
- This Week: From Monday through Sunday of the current week
- Last Week: Previous week
- Last 7 Days: Previous seven days, including today
- This Month: From the first of the current month to the current day
- Last Month: Entire month before the current month
- Last 30 Days: Previous 30 days, including today
- Custom: Use the calendar to select start and end dates
Columns
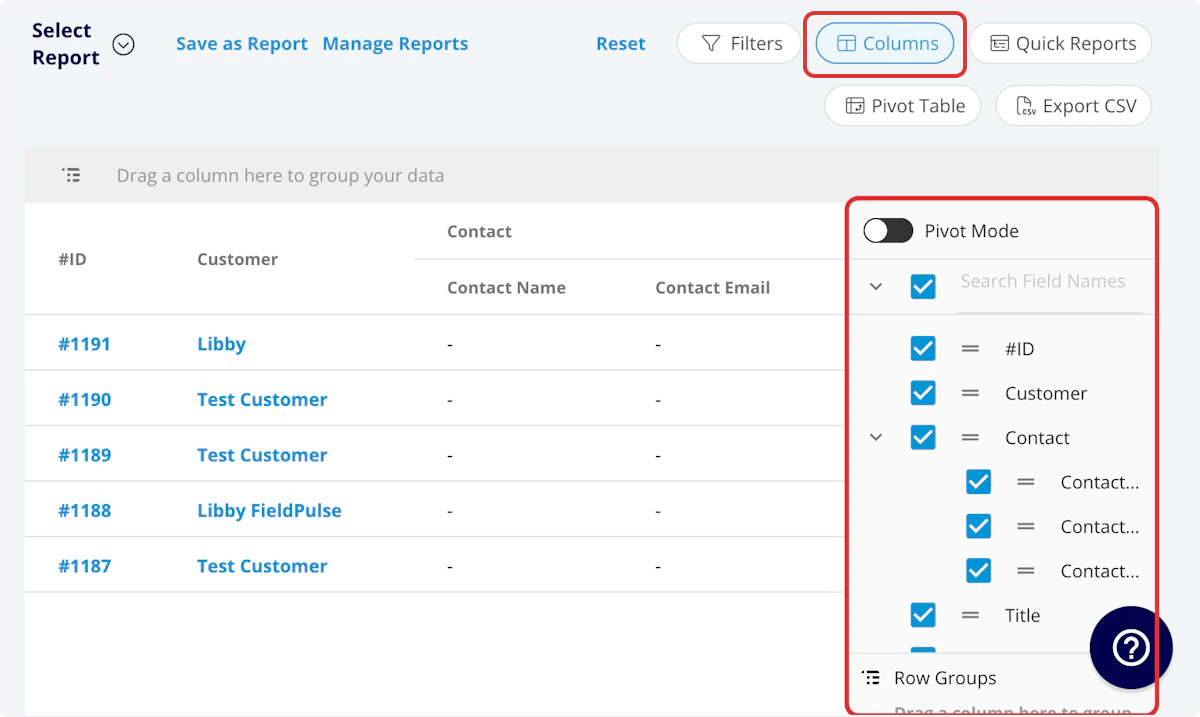
- Item Name: Line item name
- Description: Line item description
- SKU: Item #/SKU
- Type: Product - Inventory
- Unit Cost: Unit cost
- Unit Price: Unit price
- Quantity: Default quantity
- UPC: UPC/barcode
- Tags: Tags on line item
- Created At: Date and time the line item was created
- Supplier Name: Linked supplier
- Hub Name(s): Quantity stored at each hub
Filters
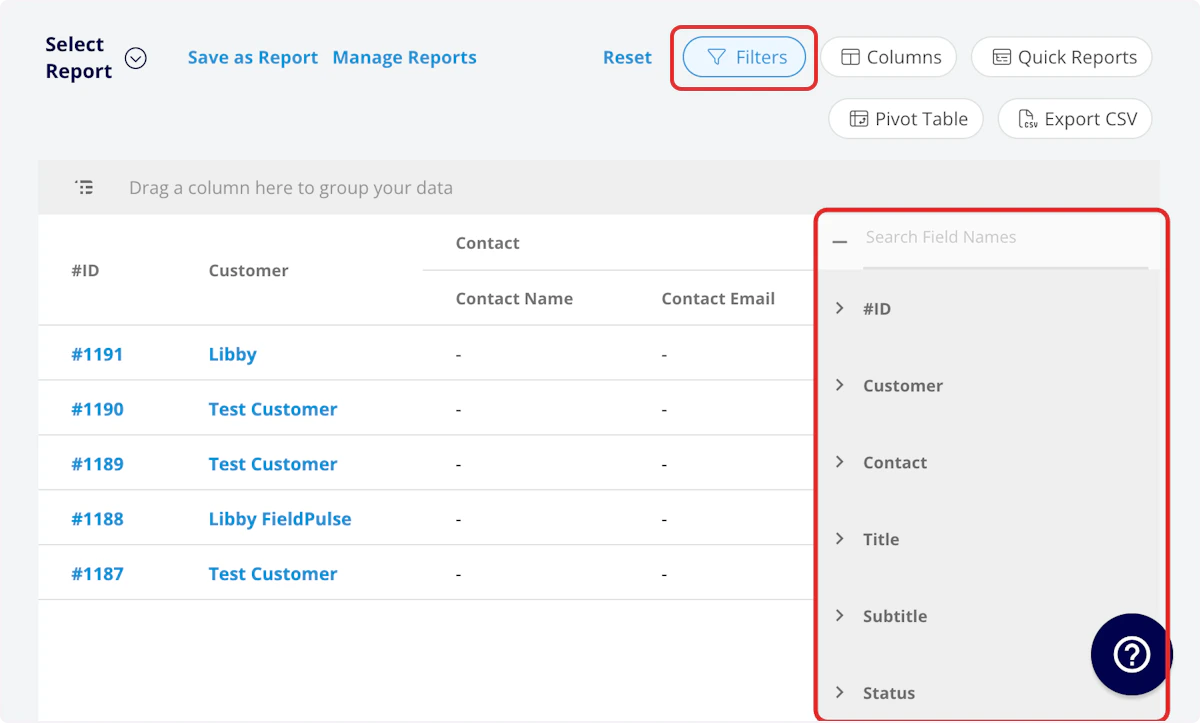
- Item Name: filter by contents
- Description: filter by contents
- SKU: filter by contents
- Type: filter by contents
- Tags: filter by contents
- Created At: filter by date
- Supplier Name: filter by contents
- Hub Name(s): filter by contents
Common Inventory Reports
Inventory by Supplier
Use this report to view all inventory sorted by the linked supplier. Columns: Customize to your needs, but must include Item Name and Supplier Group by: SupplierFAQs
Is there a way to view the inventory assigned to each technician’s van? Yes! Navigate to Company Settings > Estimates & Invoices > Inventory.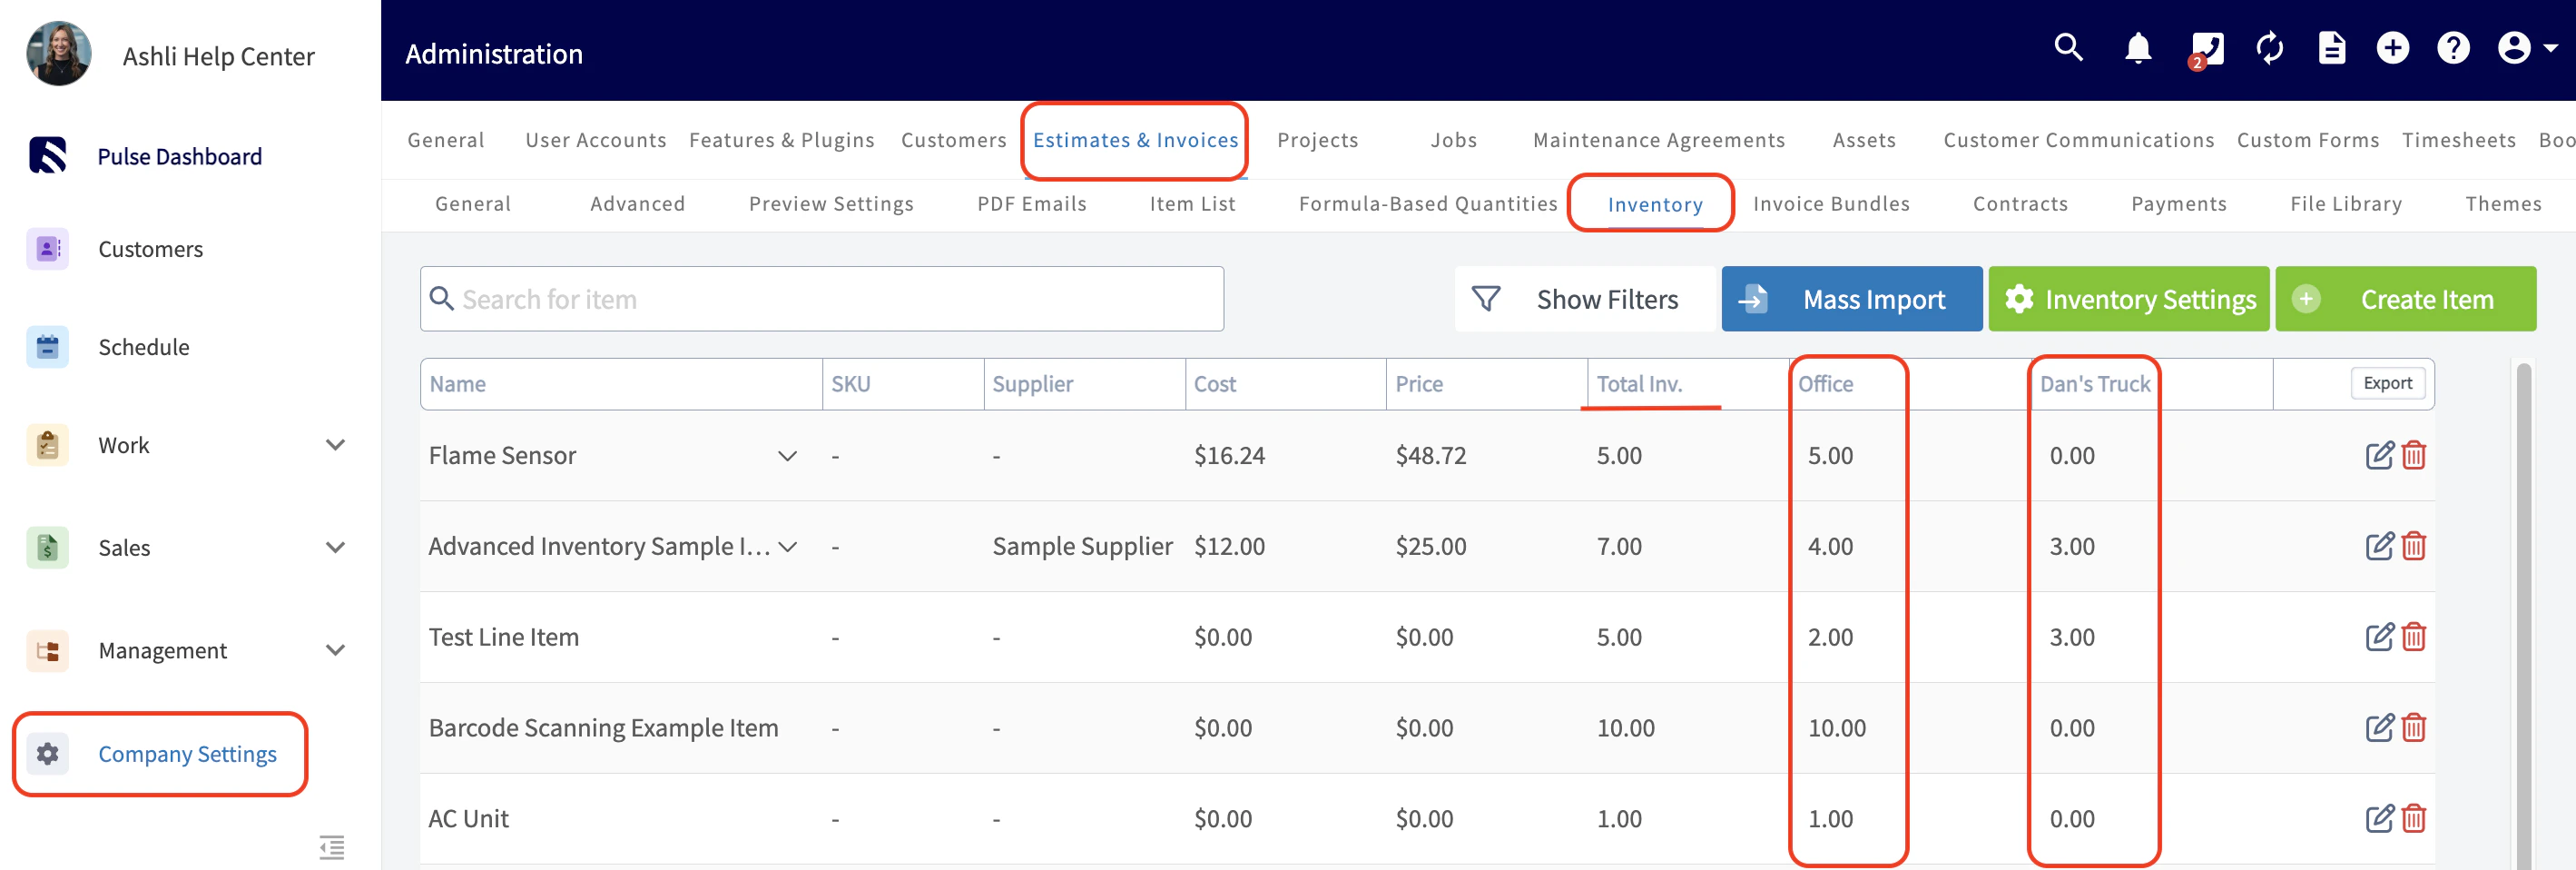
Have additional questions? Contact us at support@fieldpulse.com or use the chat feature in the bottom right corner of your screen.