Use the Payments tab to create reports based on payment data including payment method, payment date/time, related invoice record, and more. Some common payment reports include payments by method, by team member, and by customer.Documentation Index
Fetch the complete documentation index at: https://fieldpulse.mintlify.app/llms.txt
Use this file to discover all available pages before exploring further.
Create a Payment Report
Date Range
Begin by selecting the start date range for which you’d like to report on. Click on the calendar icon to select a date range and click Load Data.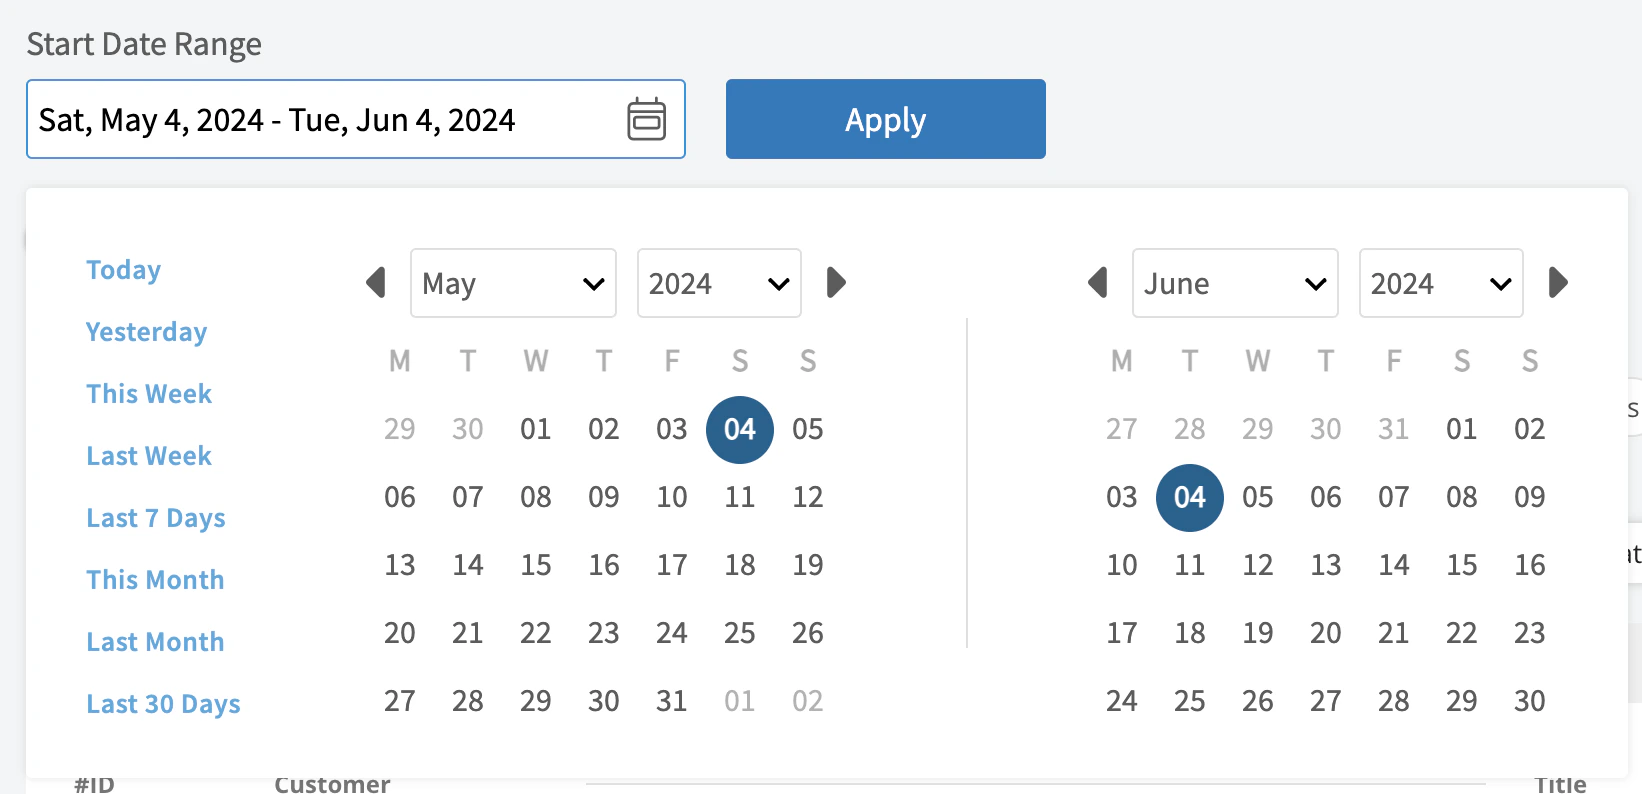
- Today: From 12:00 AM to the current time
- Yesterday: Previous day from 12:00 AM to 11:59 PM
- This Week: From Monday through Sunday of the current week
- Last Week: Previous week
- Last 7 Days: Previous seven days, including today
- This Month: From the first of the current month to the current day
- Last Month: Entire month before the current month
- Last 30 Days: Previous 30 days, including today
- Custom: Use the calendar to select start and end dates
Columns
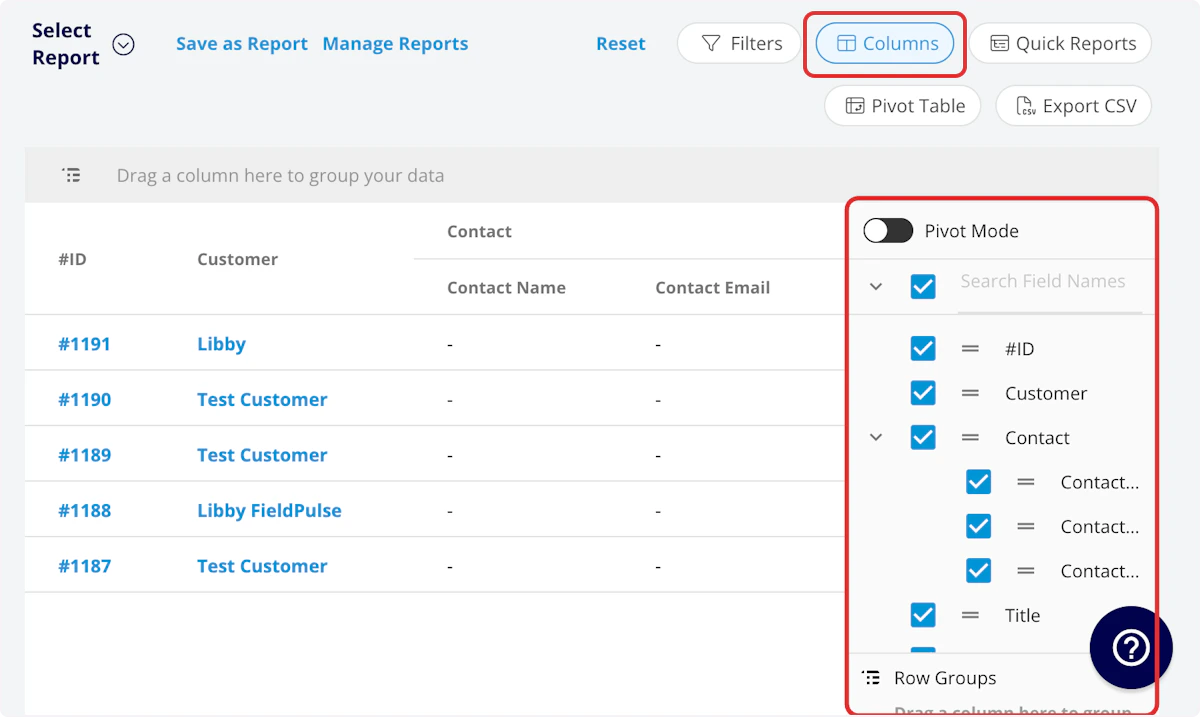
- #ID: Payment number
- Amount: Dollar amount of payment
- Method: Payment method
- Customer: Customer linked to the payment
- Created At: Date and time the payment was created
- Created By: Author of payment record
- Notes: Notes on payment record
- Reference: Payment reference ID
-
Parent Job
- Job Title: Linked job record title
- Created By: Job record author
- Assigned Team Members: Team members assigned to the job
- Assigned Teams: Teams assigned to the job
- Parent Invoice: Related invoice record
- Refunds: Dollar amount of refunds issued
- QuickBooks Originated: Yes or No indicating if the record originated in QuickBooks.
- QuickBooks Class: If you sync with QuickBooks, the class will be displayed here.
-
Customer
- Custom Fields: User-created fields related to the customer record
- Customer Phone: Customer’s primary phone number
- Customer Email: Customer’s primary email address
- Customer Phone 2: Customer’s secondary phone number
- Customer Email 2: Customer’s secondary email address
- Customer Assigned To: User assigned to customer record
- Customer Lead Source: Lead source on the customer record
- Customer Pipeline Status: Customer’s custom sales pipeline status
- Customer Next Steps: Next steps listed on custom sales pipeline
- Customer Notes: Notes on customer record
- Customer Job Notes: Job notes on customer record (automatically inserted onto job records)
- Customer Created Date: Date and time the customer was added to FieldPulse
- Customer Tags: Tags attached to the customer record
Filters

- #ID: filter by contents
- Method: select method
- Customer: filter by contents
- Created At: filter by date
- Created By: filter by contents
- Notes: filter by contents
- Reference: filter by contents
- Payment Recorded Date: filter by date
-
Parent Job
- Job Title: filter by contents
- Job Status: filter by status
- Created By: filter by contents
- Assigned Team Members: filter by contents
- Assigned Teams: filter by contents
-
Parent Invoice
- Parent Invoice Status: filter by status
- Parent Invoice Total: filter by contents
- Parent Invoice Tax Rate: filter by contents
- Parent Invoice Tax Amount: filter by contents
- Refunds: filter by contents
-
Customer
- Customer Phone: select phone number
- Customer Email: select email address
- Customer Phone 2: select phone number
- Customer Email 2: select email address
- Customer Assigned To: filter by contents
- Customer Lead Source: select lead source
- Customer Pipeline Status: select status
- Customer Next Steps: filter by contents
- Customer Notes: filter by contents
- Customer Job Notes: filter by contents
- Customer Created Date: filter by contents
- Customer Tags: filter by contents
-
Related Project
- Related Project Status: filter by status
Common Payment Reports
Payments by Method
Use this report to view payments sorted by payment method. Columns: Customize to your needs, but must include Method Group by: MethodPayments by Team Member
Use this report to view payments sorted by team member. Columns: Customize to your needs, but must include Created By Group by: Created ByPayments by Customer
Use this report to view payments sorted by customer. Columns: Customize to your needs, but must include Customer Group by: CustomerFAQs
What’s the best way to pull a report for deposits?
FieldPulse doesn’t have a dedicated “deposits” report, but you can identify deposits inside other revenue reports using either of these approaches:- Tag the document. When you apply a deposit, add a Tag like Deposit or Initial Payment to the Job, Estimate, or Invoice record. Then filter your revenue report by that Tag.
- Use a payment note. Add a note like Initial Deposit to the payment record. When you export your revenue data, filter the spreadsheet by the note.
Have additional questions? Contact us at support@fieldpulse.com or use the chat feature in the bottom right corner of your screen.